How to integrate Authorize.Net with Centra
About this article
The Authorize.Net module is a module that enables a link between Centra and Authorize.Net. This article will cover how to configure the module and Authorize.Net work.
Before you get started
The start of the configuration of this module has to be done inside Authorize.Net.
Start with getting your API and Transaction keys like so:
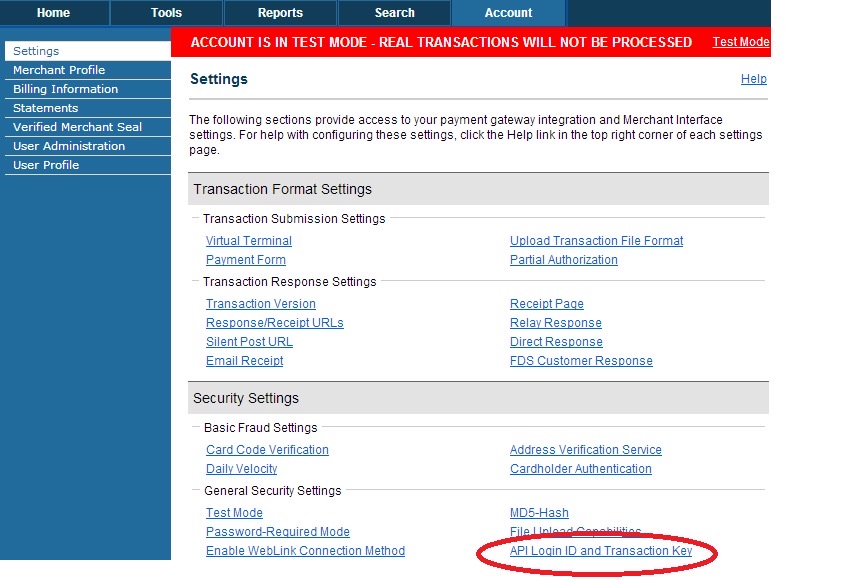
Click the account tab and under Settings you will find API Login ID and Transaction Key:
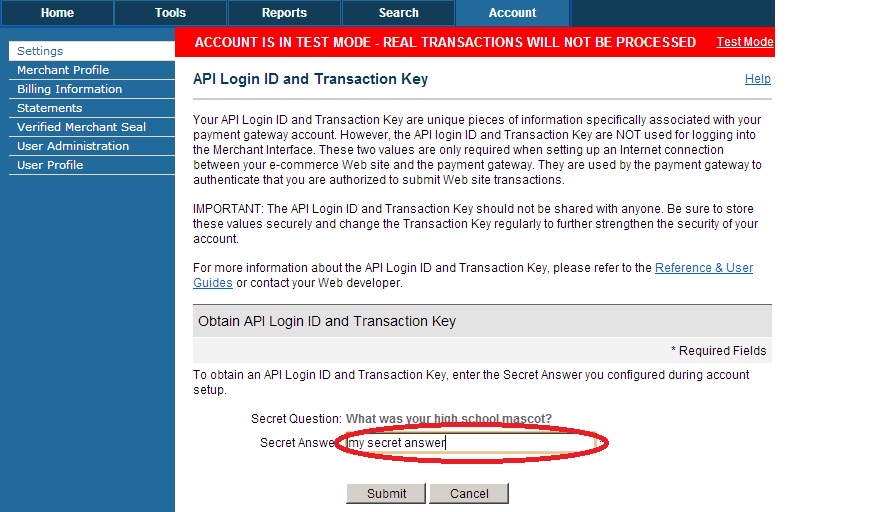
You will be prompted to enter the answer to your secret question. After this step you will be prompted with the API and Transaction Key:
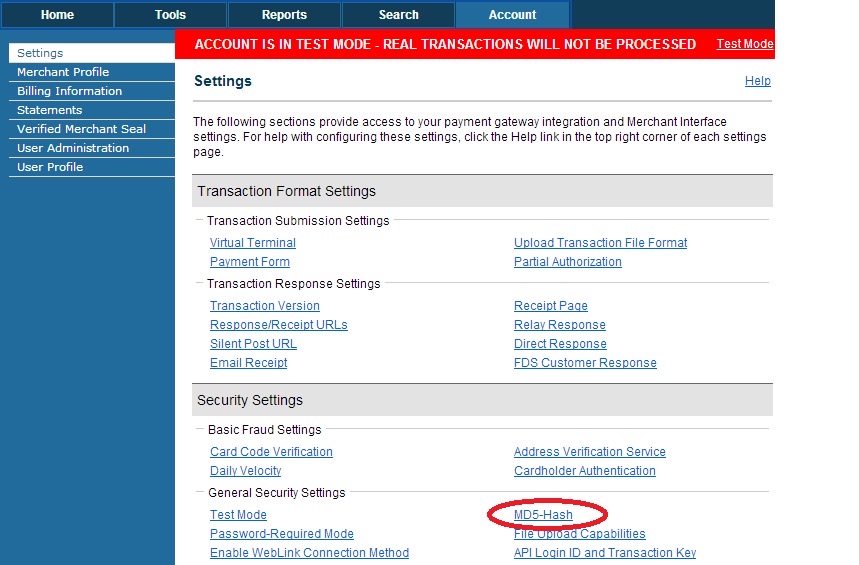
After you have aquired your API and Transaction Keys, you will need to configure the Secret MD5. You can find this under the Account tab and Settings:
This will also prompt you for the answer to the secret question. After that, you can enter the secret MD5 value.
You should now have three keys:
- API Login ID
- Transaction Key
- Secret MD5
Now that you have these, you can configure a new Payment Module inside Centra. To do this, go to 'System' > 'Stores' in the main menu to the left. Choose which store to bind the Authorize.Net Payment Module to, then press '+Add plugin method' and select the plugin called 'Authorize' like so:

The last step is to configure the keys you have aquired in the new payment method:

Last but not least, don't forget to set the status as 'Active'.
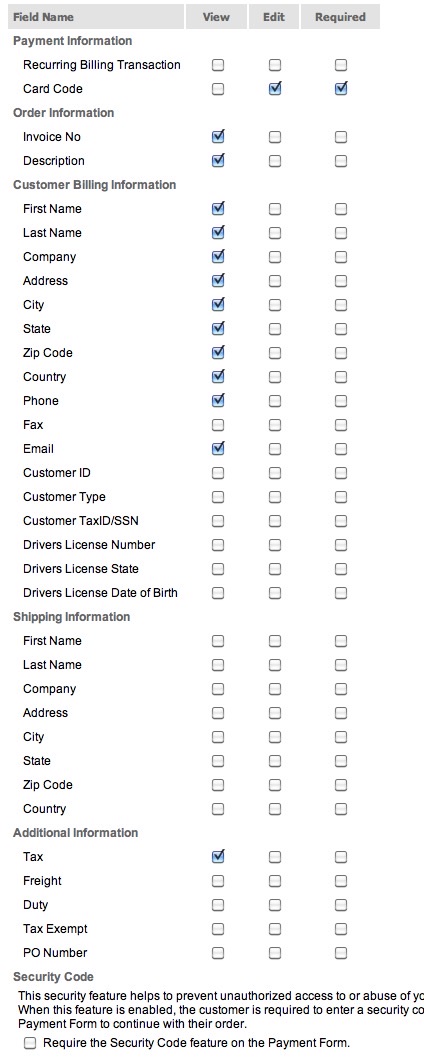
Then, you need to change the payment form fields in Authorize.net by going to: 'ACCOUNT' > 'SETTINGS' > Payment Form Fields and set the following fields correctly:
If you followed these steps correctly, you have successfully configured Authorize.net to work with Centra!