How to set up Attributes
How to access the Attributes page
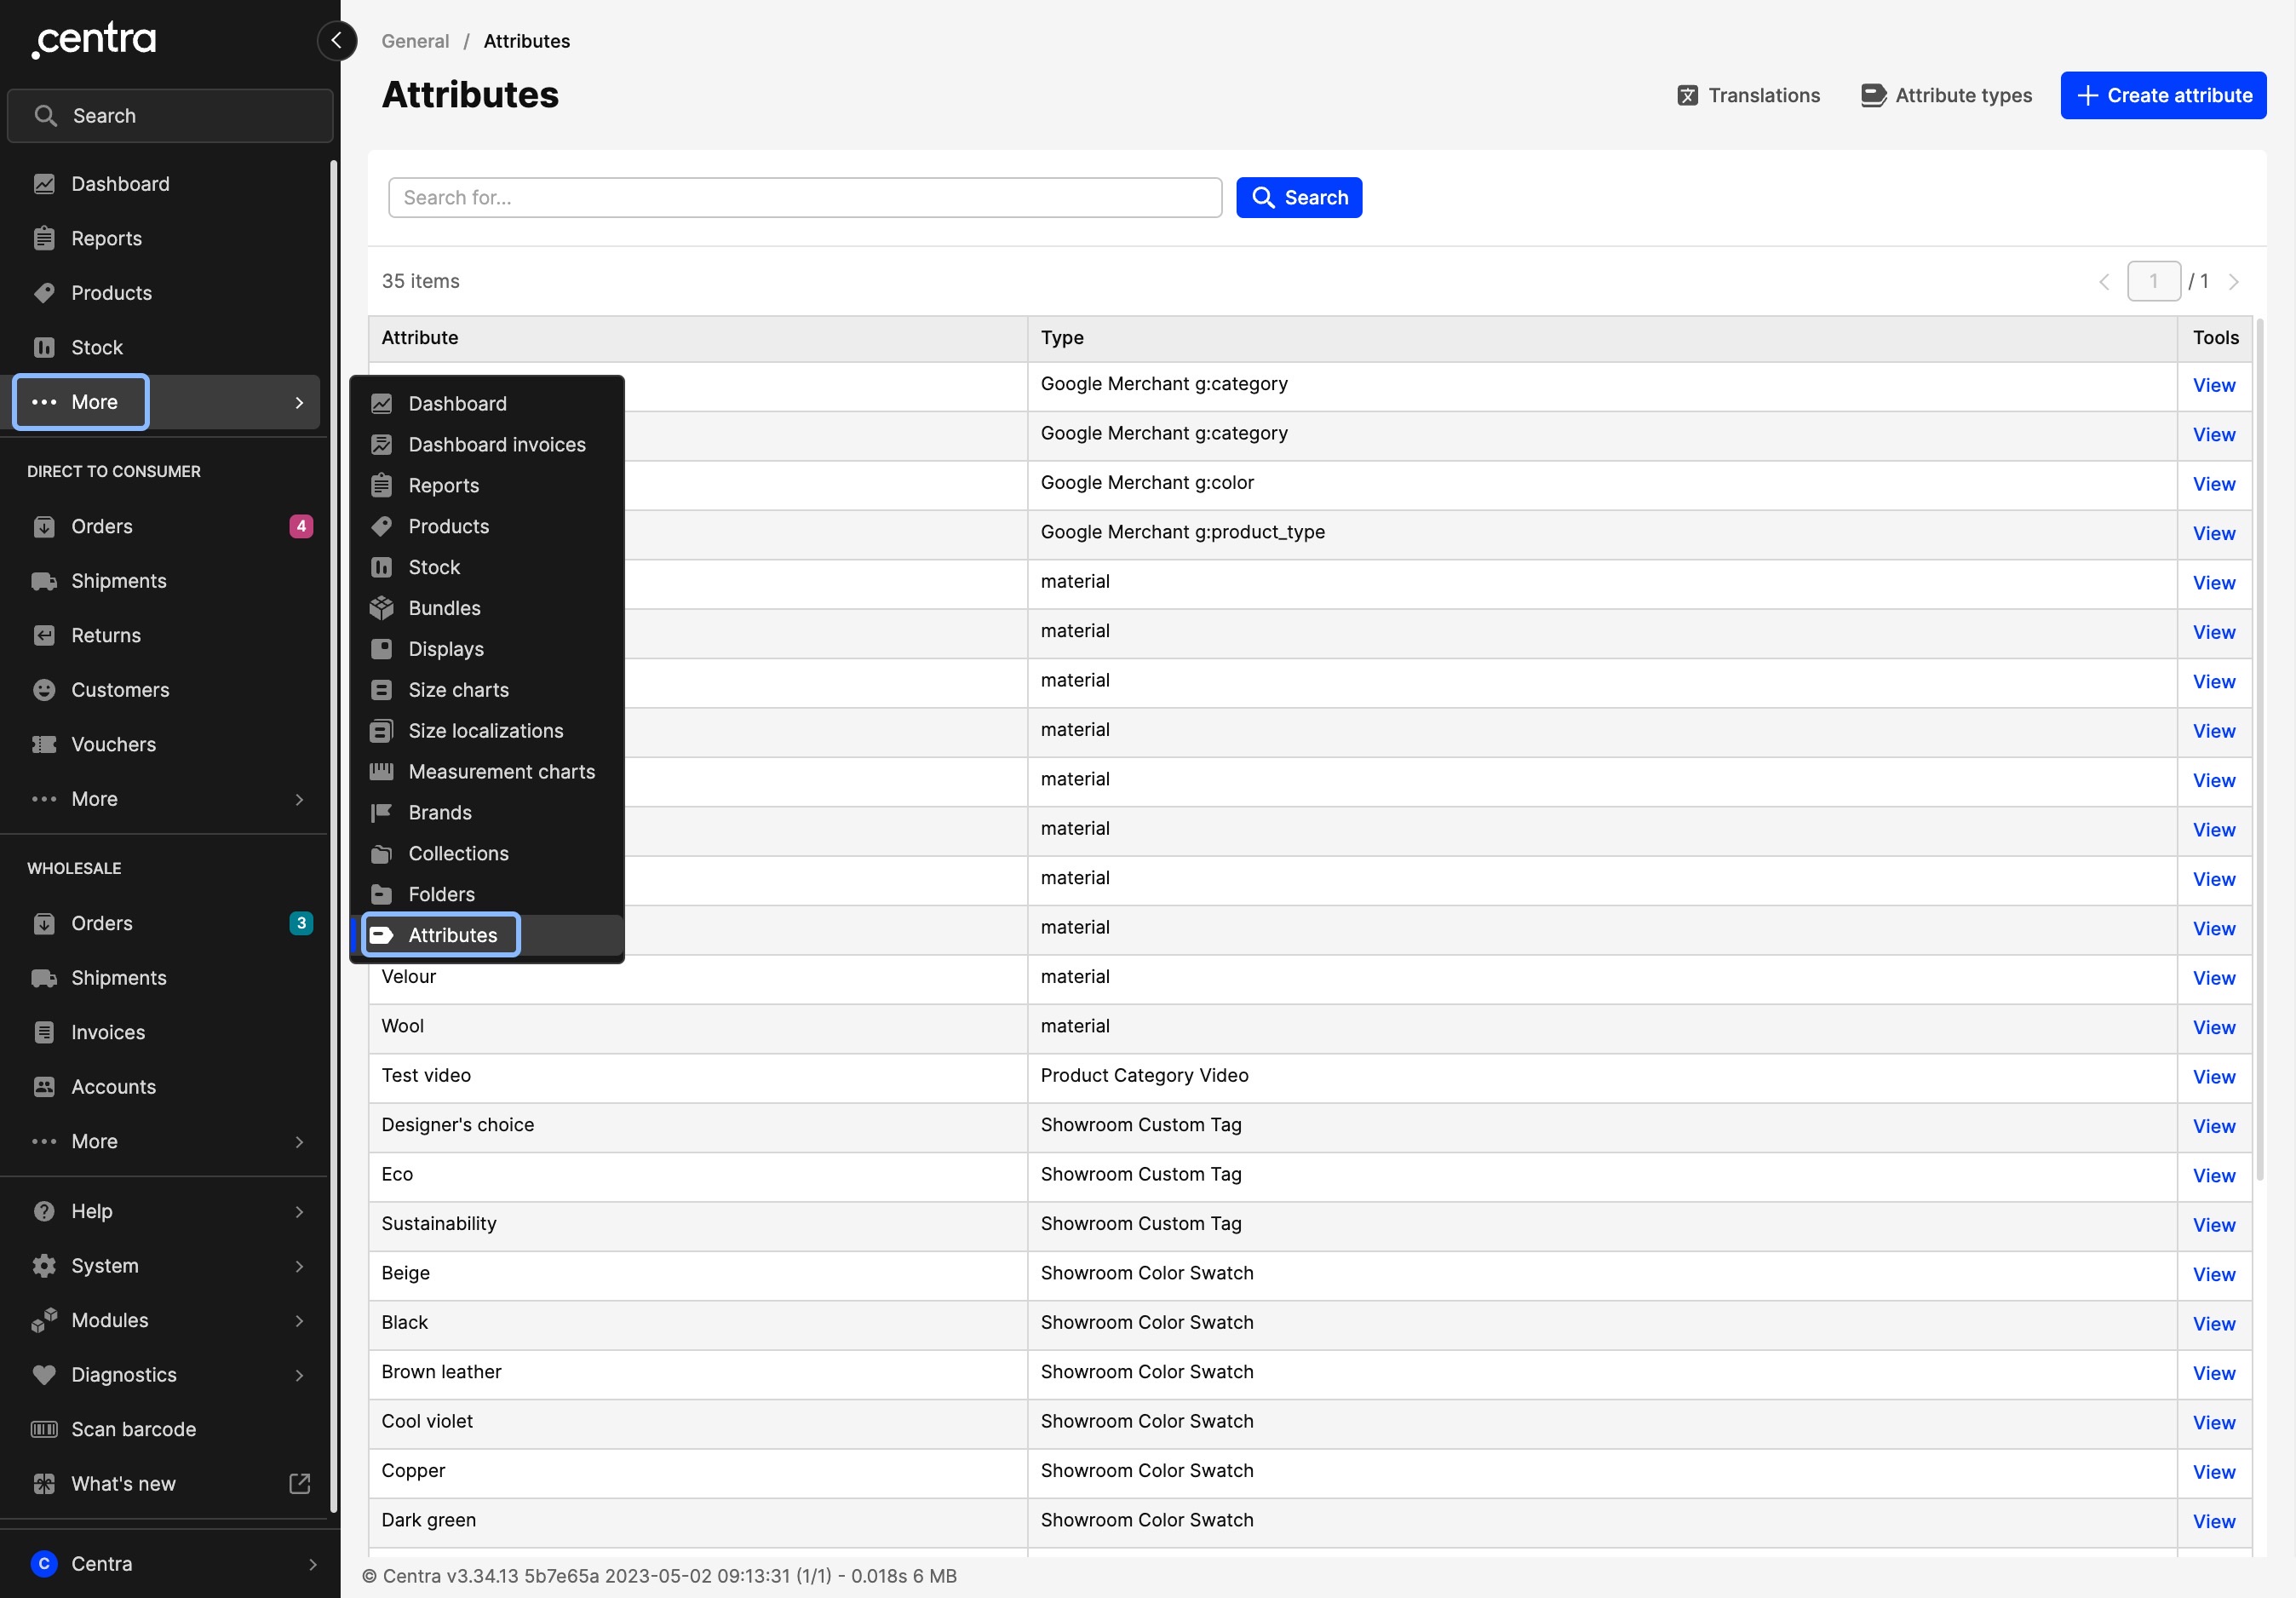
To access the Attributes page, click on 'More' in the General section of the menu and then 'Attributes':
Layout of Attributes page
The Attributes page can be divided into three sections: Attributes Top bar (1), Attributes Action bar (2) and Attributes Listing table (3).
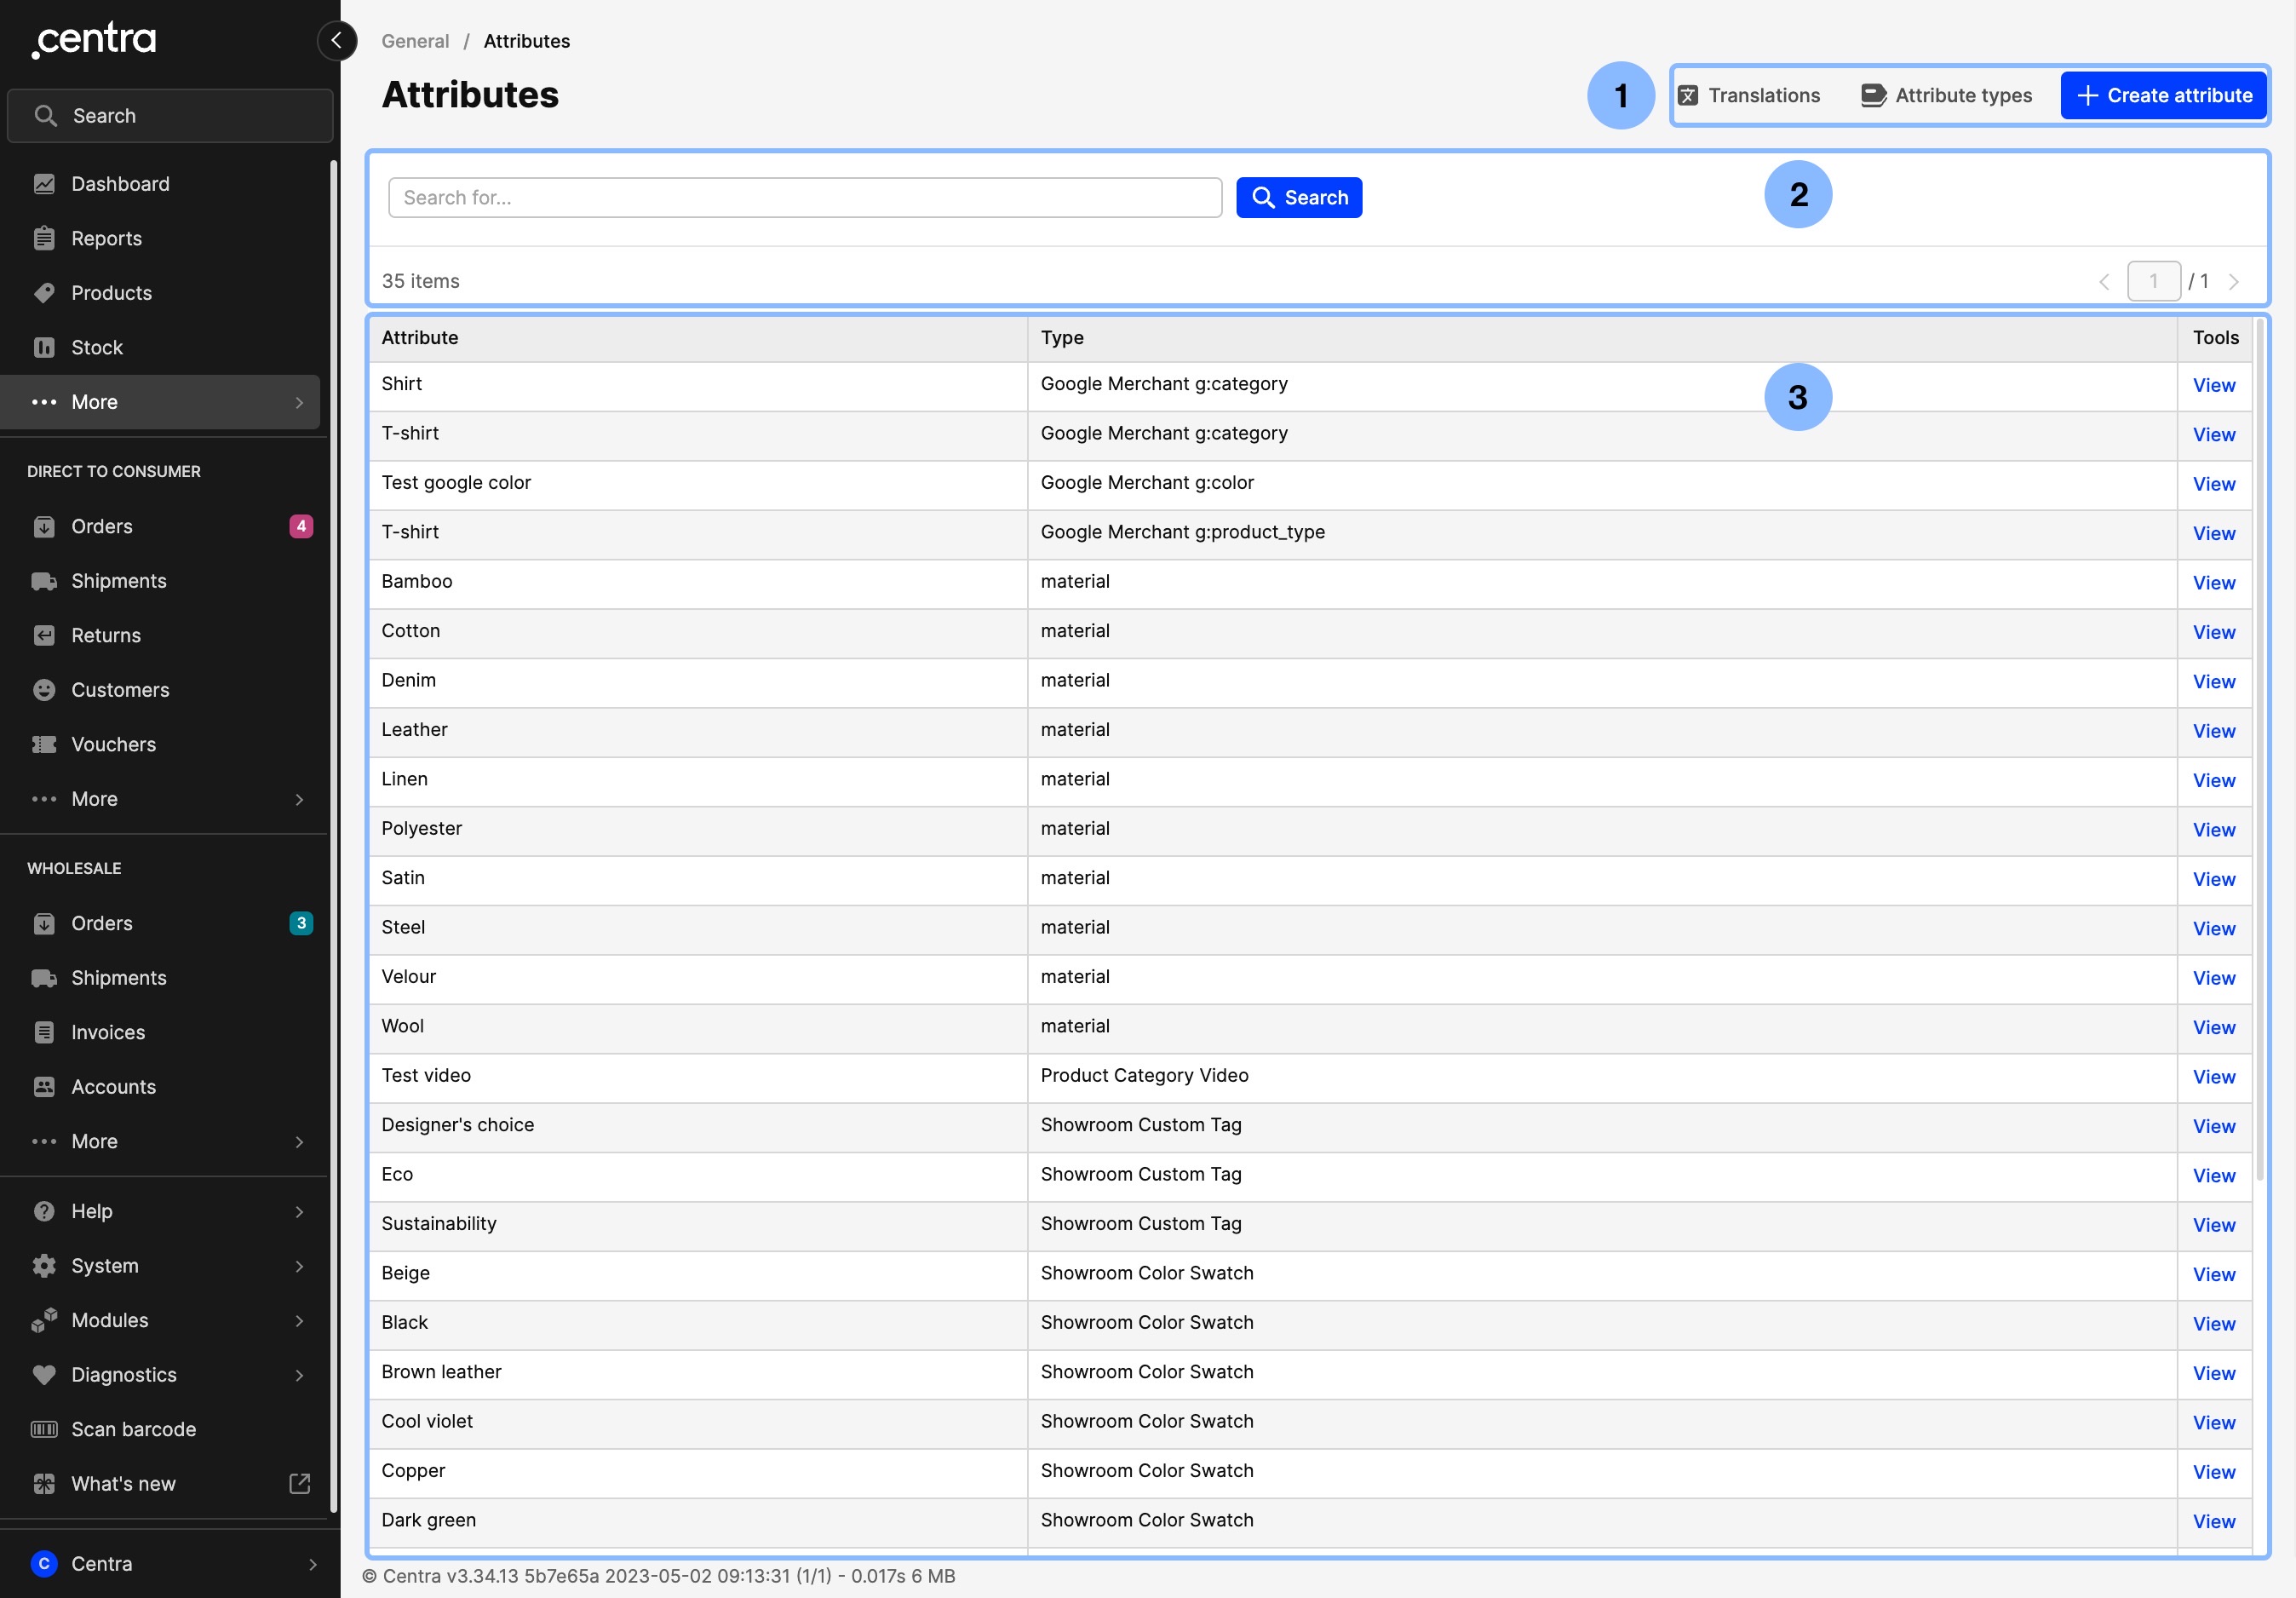
Attributes Top bar
The Attributes Top bar includes three buttons: Translations, Attribute types and Create attribute. Let’s go into specific details about each button:
Translations
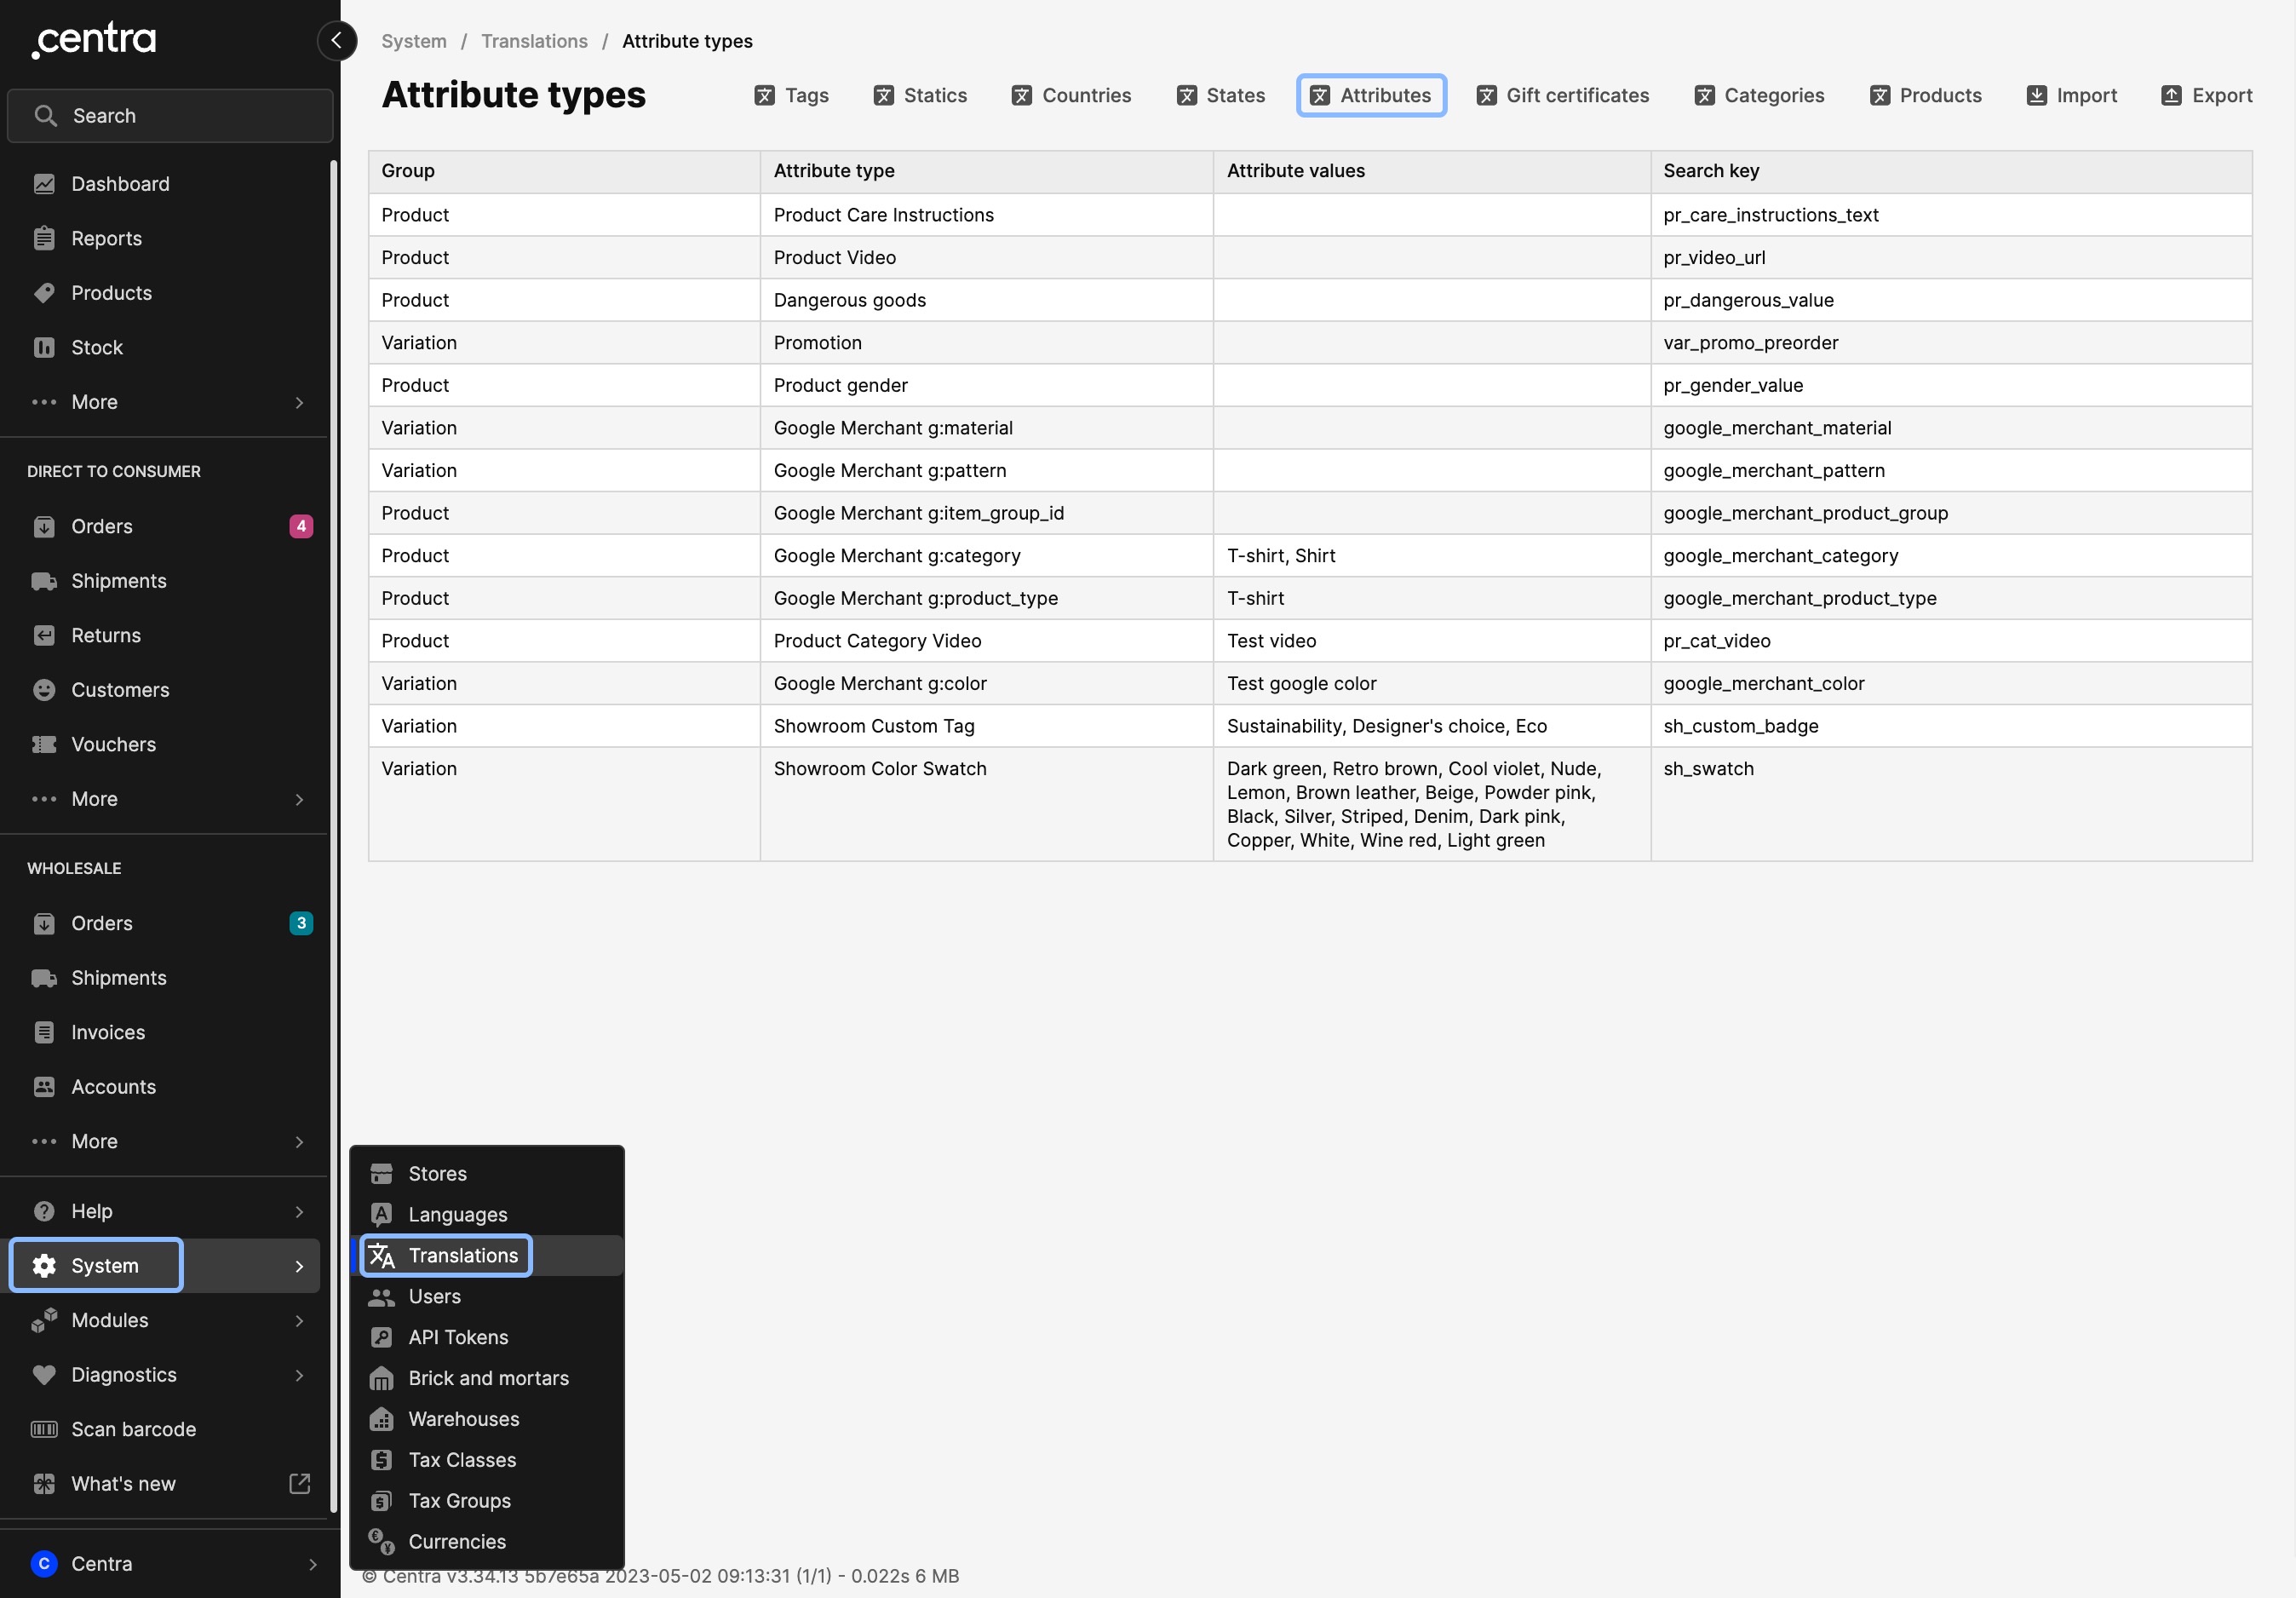
- When you click 'Translations' on the Attributes page, you are redirected to the Translations page, where you can add content about attributes in different languages. Another way to access this would be: 'System' > 'Translations' > 'Attributes'. Here is how this page looks:
The first column includes all available attributes. The following columns include all languages that have been set up in your Centra. In our example, we have set up Chinese, English, Japanese, and Swedish. - If you click 'Edit', you can input the translated content in the respective attribute and language
- Once you are done, click 'Save' to complete the changes.
Attribute types
You can add attributes to different parts of Centra. Some examples include: Products, Variants, Displayed, Orders, Customers etc. The Attribute types page is a list of all the available attribute types set up in your Centra instance.
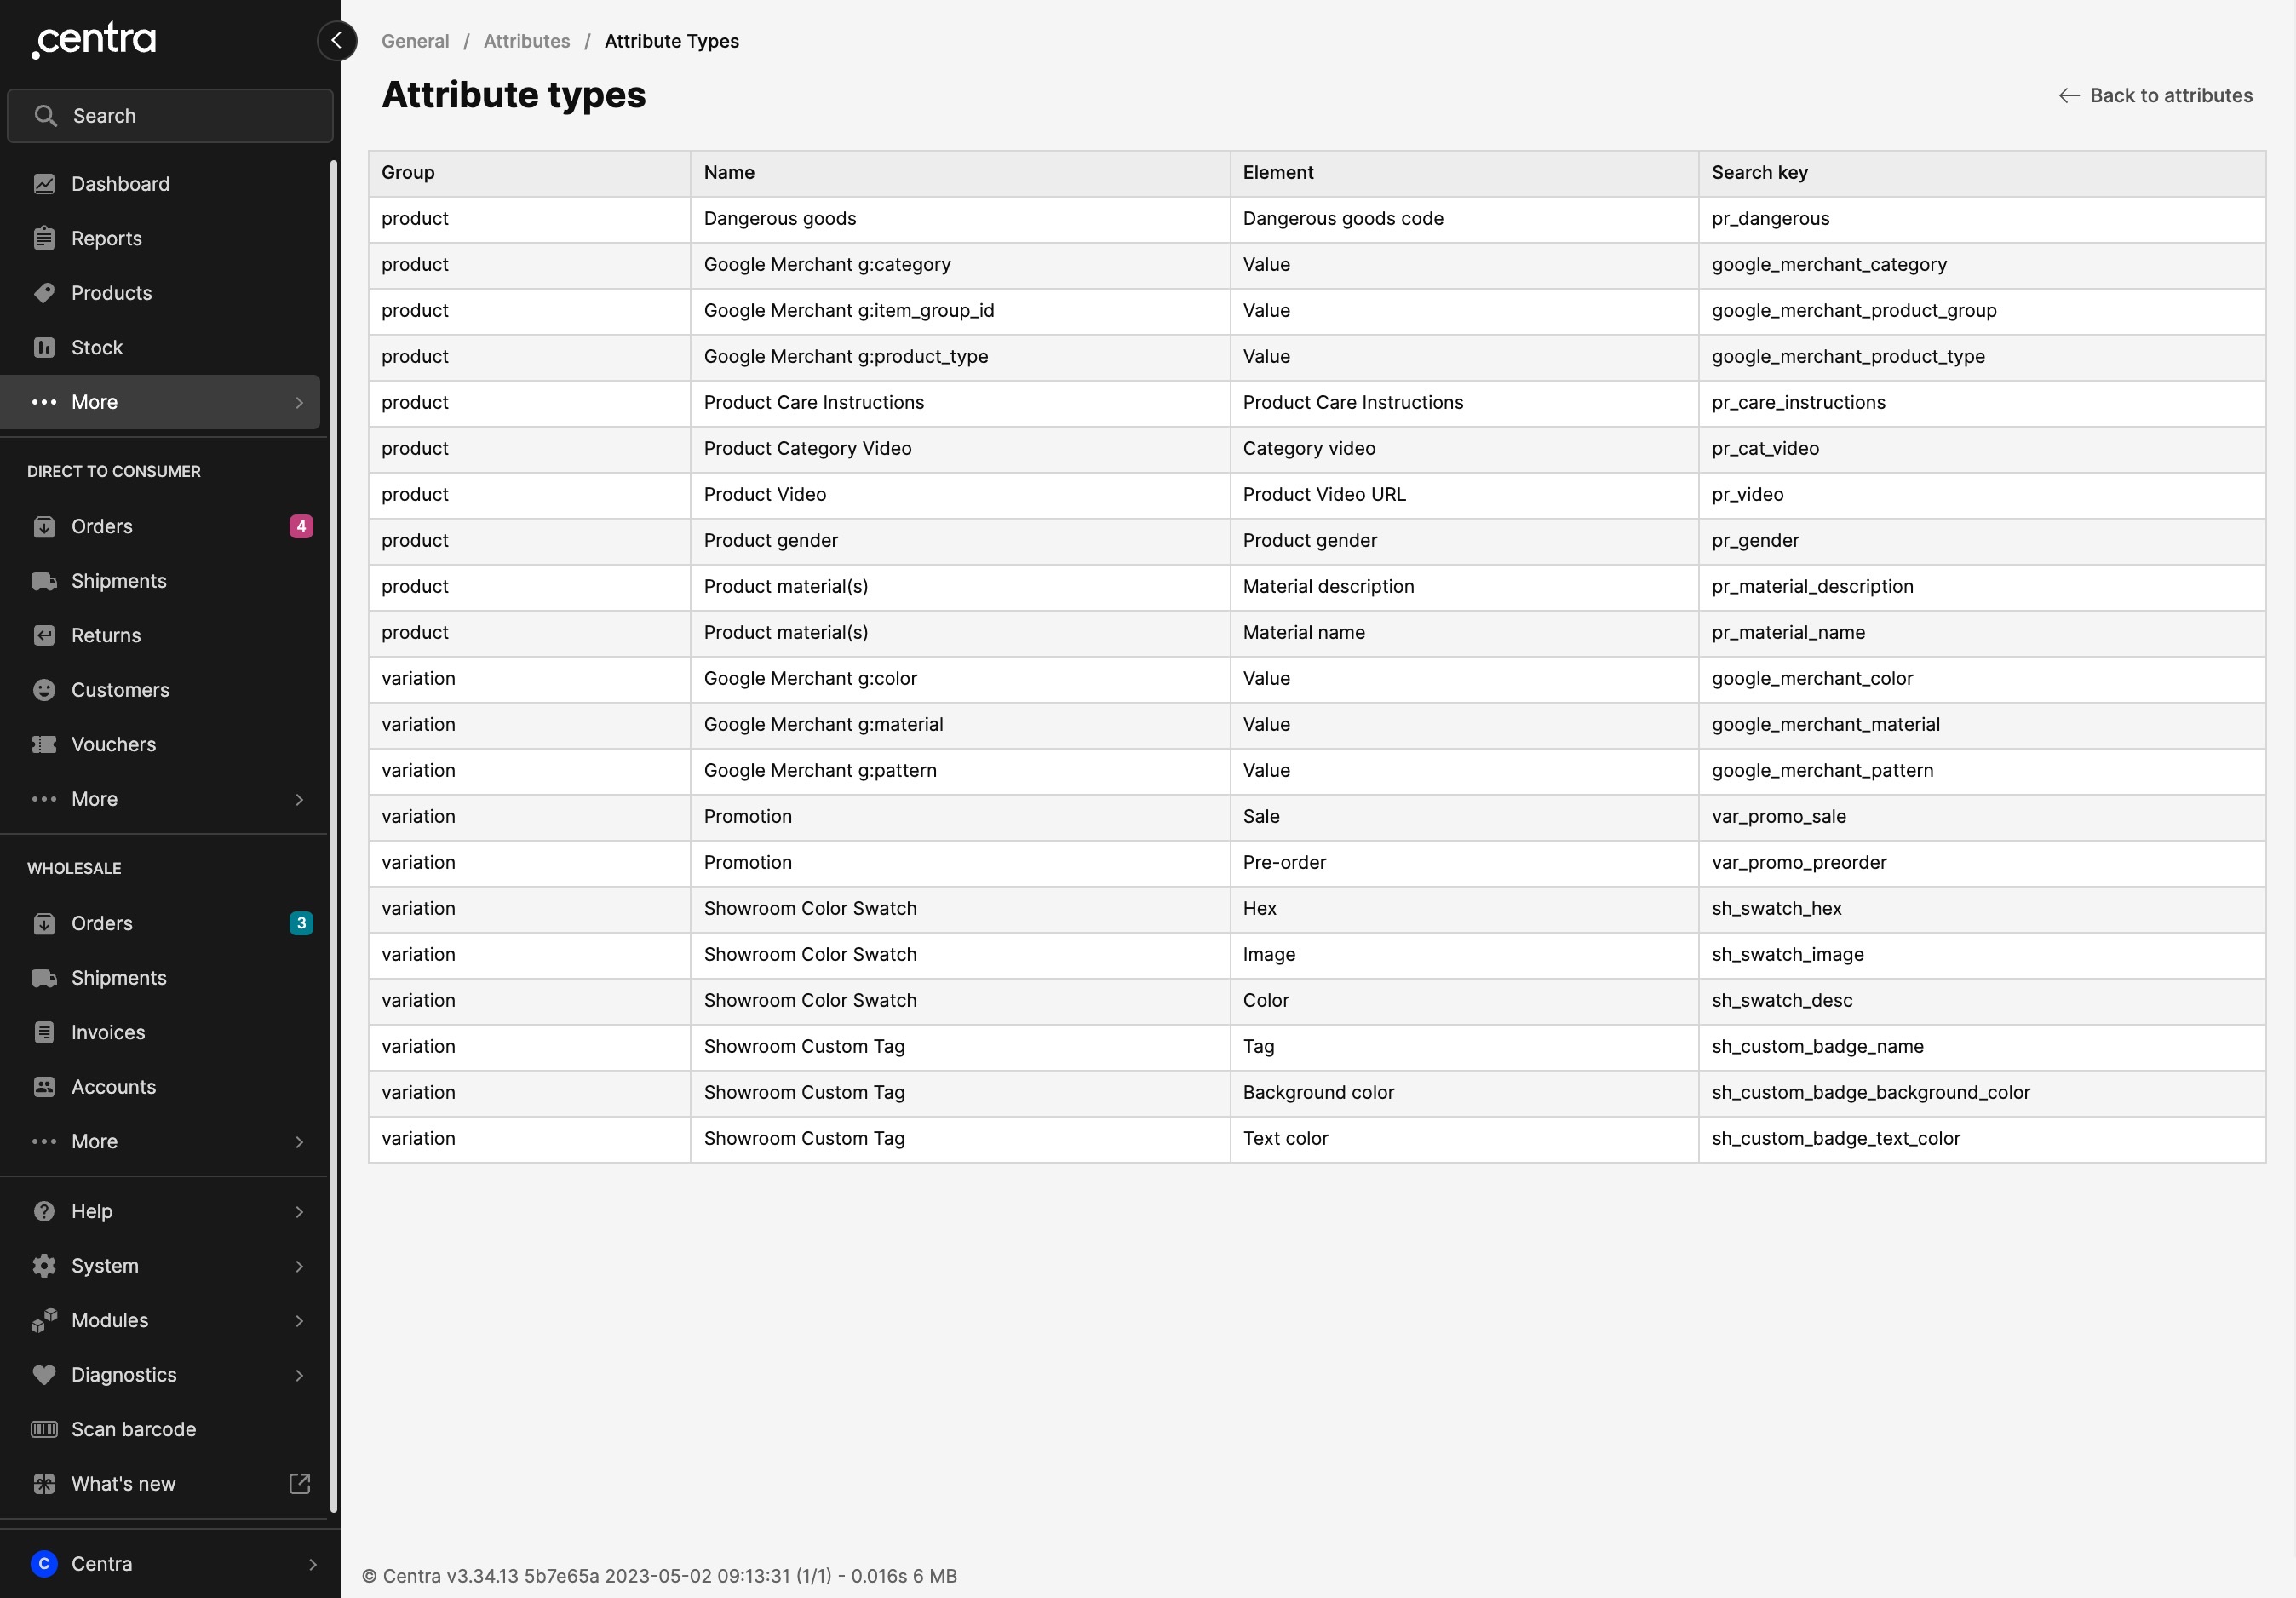
This list includes the following info:
- Group - This dictates which part of Centra the attribute belongs to (i.e. product, variant, display etc.). More info can be found here
- Name - The name of the attribute type
- Element - The field of an attribute that holds data. Every field on an attribute, apart from the Name and Type, are considered elements. Example: the 'Showroom Color Swatch' attribute has the following elements: Color, Hex, Image
- Search key - This can be used in search bars across Centra. Find out more here about using search keys.
Create attribute
- To create a new attribute, click on 'Create attribute' in the Attributes page
- In this view, you can add a name for your attribute and select the type:
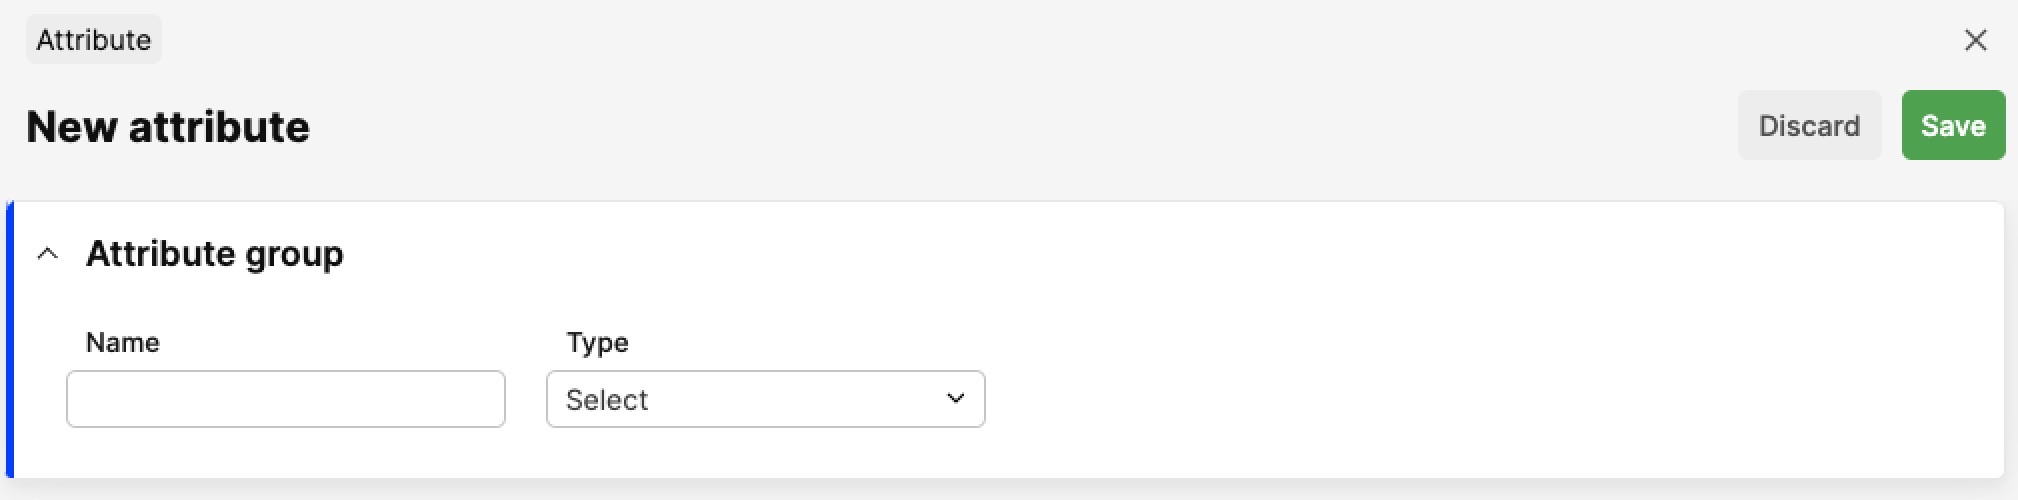
- Depending on the Type you choose, some more fields might appear. Please fill those out accordingly
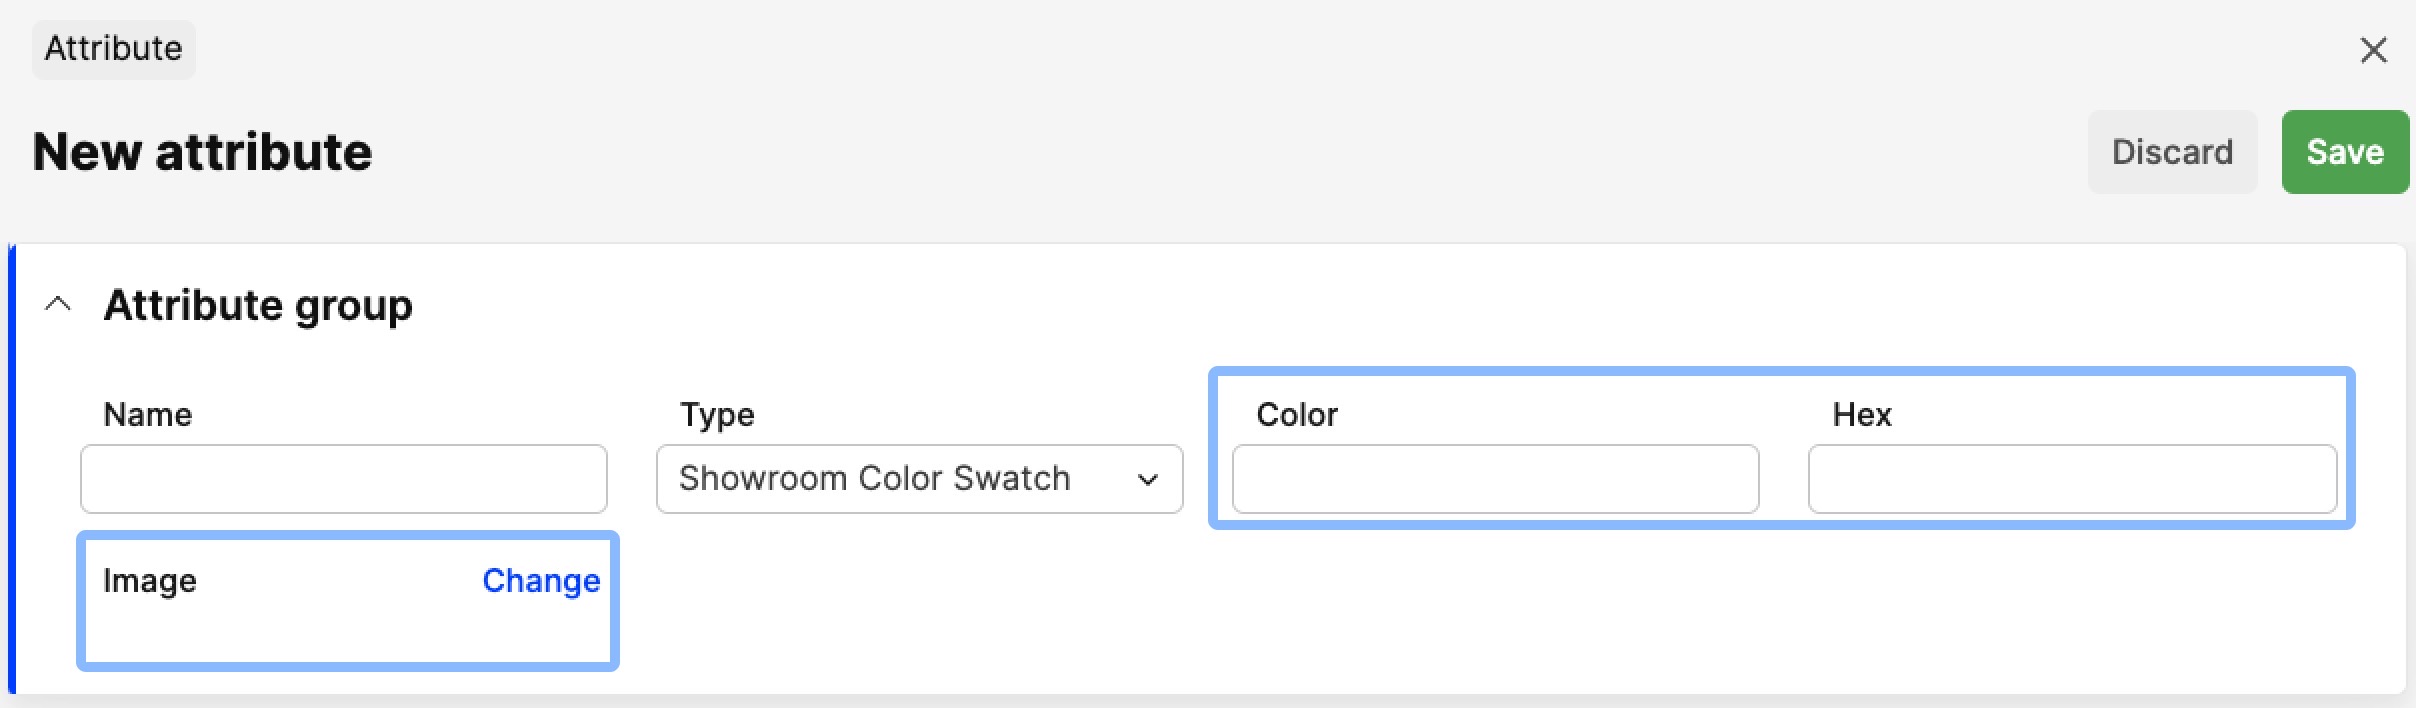
Example: If you choose ‘Type: Showroom Color Swatch’, three more fields will appear: Color, Hex, and Image, as seen below:

- Click 'Save'.
Attributes Action bar
The Attributes Action bar includes a search bar, pagination, and a summary of items found in this page. You can read more about these here.
Attributes Listing table
The Attributes Listing table includes information about the attribute as well as its type. On the right-hand side, in the Tools column, you can click on 'View' to open a selected attribute. Remember, though, that you can click anywhere on the row to open the attribute of your choice.