How to use CMS Page Editor
About this article
It is possible to compose custom pages using interactive page editor directly in Showroom. This article contains a guide on how to work with page sections, content and product blocks, how to upload the media, edit text and much more.
Page glossary
- Page - The entire page content that will be visible to some markets
- Section - Part of the page consisting of several groups of blocks, there can be multiple sections on the page. Sections can be restricted to different markets
- Group of blocks - Group consisting of composed content blocks and products blocks or mixed content, that lies in the section. There can be multiple groups of blocks in the section
- Content block - Single block with custom content that lies in the group of blocks
- Product block - Single block consisting of fixed number of products that lies in the group of blocks
Editor UI

- The most important information about the page (title, status) is displayed in the top left corner
- Markets are displayed next to page status and there is a cog icon that allows to open Page settings modal
- There is a breakpoint switcher in the middle of the topbar that allows to see how the page will look like on desktop, tablet and mobile
- In the right we have action buttons: Save, Preview, Publish
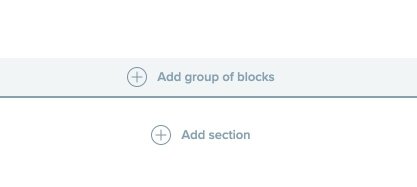
- Editing empty page starts with adding first section with ‘Add section’ button in the bottom of the page
- After section is added we have an option to Add group of blocks
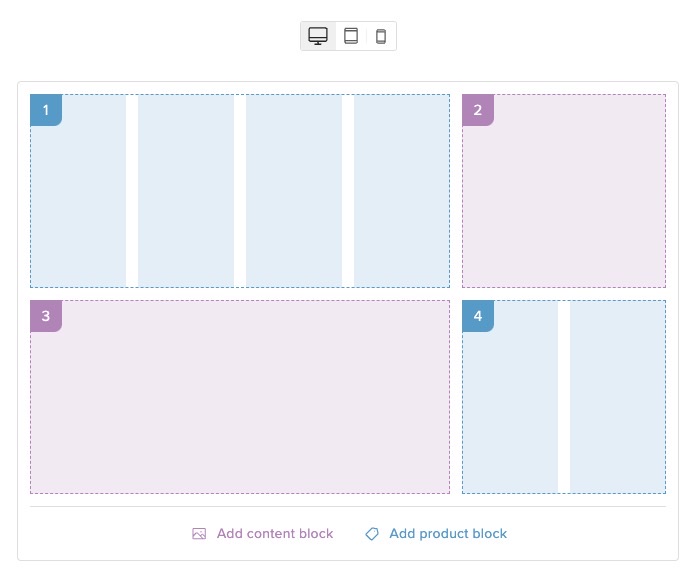
- After clicking Add group of blocks button we get the popup where we can choose a template:
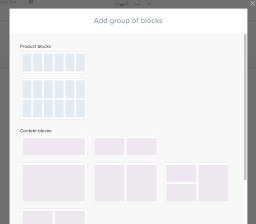
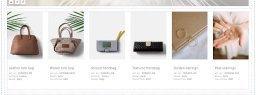
- Templates are composed out of templates with product blocks, content blocks or both
- After choosing a template it is added to the section
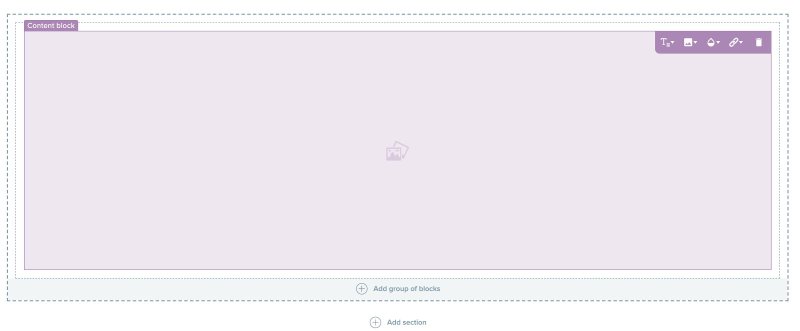
- After hovering over the block, there is a toolbar displayed in the top right corner
- Content block has the following options: Text, Media, Background, Link, Delete
- Product block has the Edit products option
Restricting section visibility
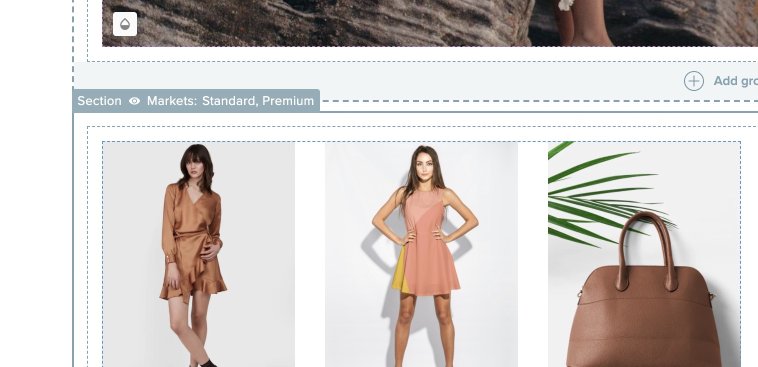
It is possible to restrict the entire section to be seen only by specific markets.
- By default, when adding a new section it is set to be visible by users from all the markets from page settings.
- You can preview for which markets the section is visible for, by hovering on the section area:
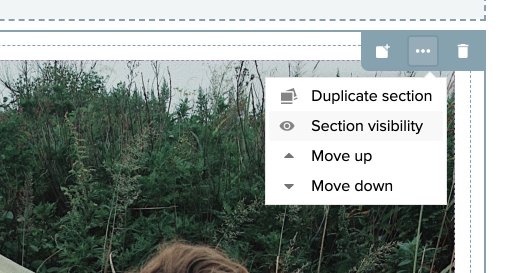
- To change section visibility settings hover over the section area, choose three dots icon in the top right corner and click on 'Section visibility'
- You will be presented with the modal with Visibility settings:
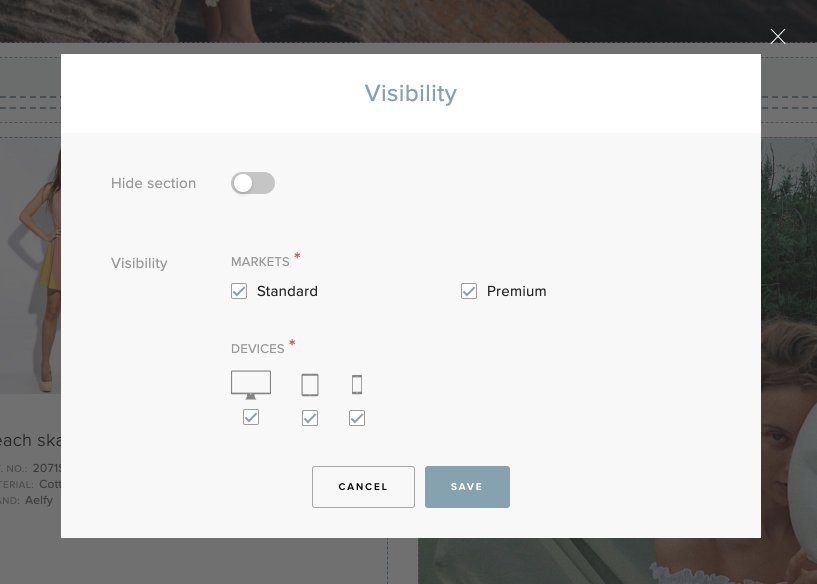
- Hide section functionality allows you to hide the entire section from all the users without removing it from the page
- Markets listed in the visibility section are the markets that the section will be visible for. It is possible to change them by checking/unchecking the checkboxes.
- Devices listed in the visiblity section are breakpoints for which the section will be visible for. It is possible to change them by checking/unchecking the checkboxes.
- After changing the visibility settings, make sure to save your changes by clicking the Save button.
Adding text
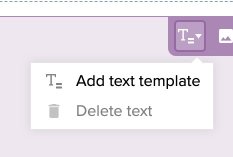
- Hover over the content block and click on Text icon
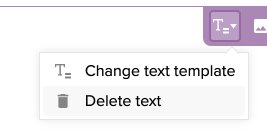
- Choose Add text template
- Choose desired text template from the modal
- Sample text is added to the content block
- Click on the text part that you want to edit
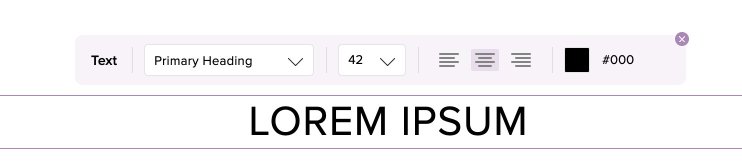
- Manage text appearance by choosing text style (Primary heading, Preheading, Paragraph, Quote)
- Choose font size, text alignment and color
- Hover over the text block to see the resize and move buttons
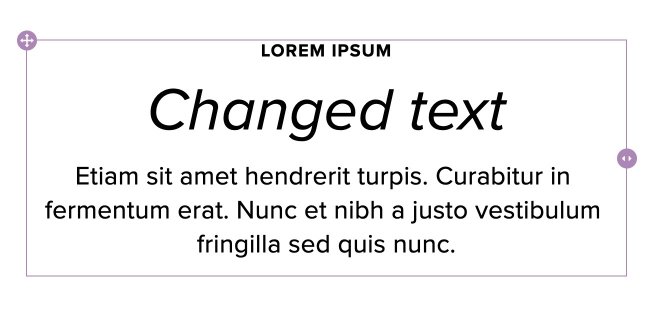
- Move the text vertically by dragging the move icon in the top right corner
- Change text width by dragging the expand icon on the right edge
- Delete the text by accessing the block toolbar, clicking Text icon and choosing ‘Delete text’ option
Adding background
- Hover over the content block to display the toolbar and click on Background icon
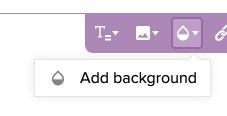
- Click Add background option
- Choose desired background color in the color picker in the left corner
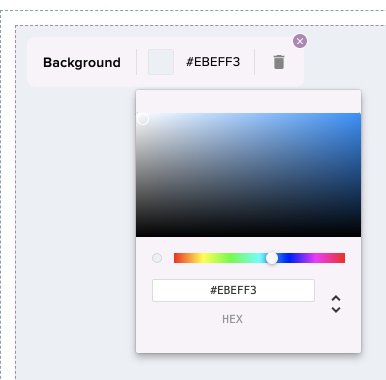
- After you’re satisfied with the background, click outside or close the toolbar with X icon
- To delete the background click the Trash icon in the background toolbar
Adding media
- Hover over the content block to access the toolbar and click on the Media icon
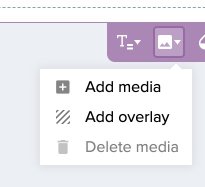
- Choose Add media icon
- In the popup, you have the possibility to add media by uploading the file or pasting the direct URL
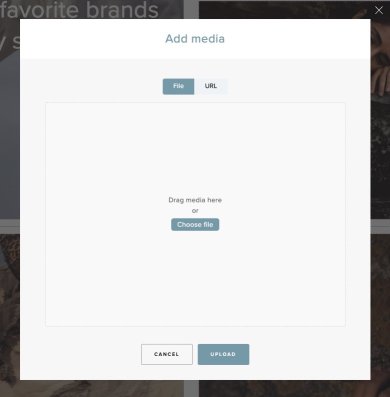
- To add media by uploading the file, simply click Choose file button and select media, or drag the images directly into the file upload area
- To add media using the URL, simply paste the media URL into the URL input
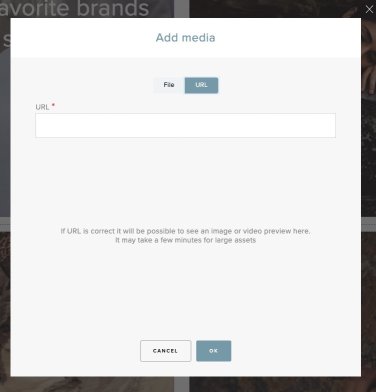
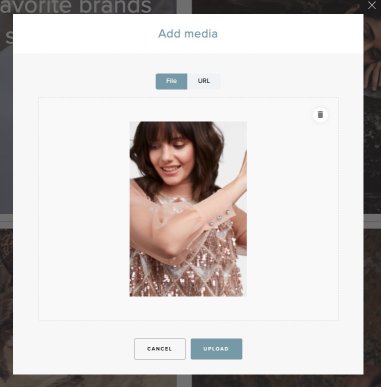
- Preview the picture and click OK
- See that the image is added
- You can add images and videos
- To edit or delete the media hover over the content block to show the toolbar and click on Media icon
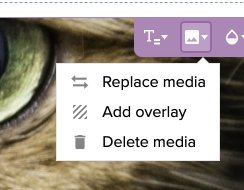
- Click on the Replace media option to open the media popup and change the media
- Click on Delete media to remove the media
Adding overlay
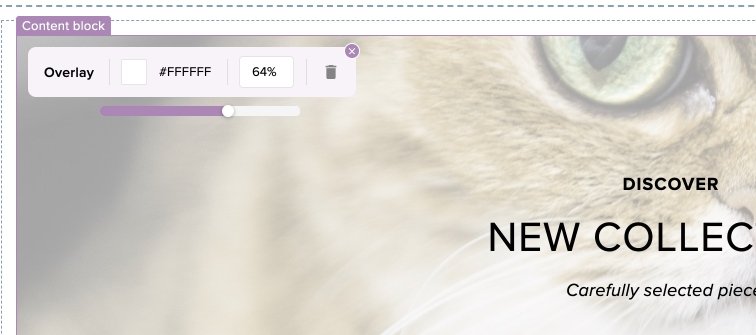
- Overlay can be added to increase the text visibility on image background
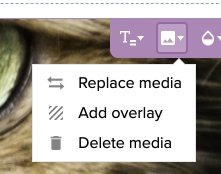
- Hover over the content block to show the toolbar and click on Media and then Add overlay
- Work with the toolbar displayed on the left and adjust overlay color and opacity
- Remove the overlay by clicking the Trash icon
Adding links
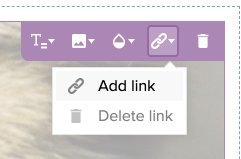
- Link can be added to the content block. To do so hover over the content block to show the toolbar and click the Link icon
- Choose Add link
- Paste the URL to the desired page that you want to direct the users to in the modal
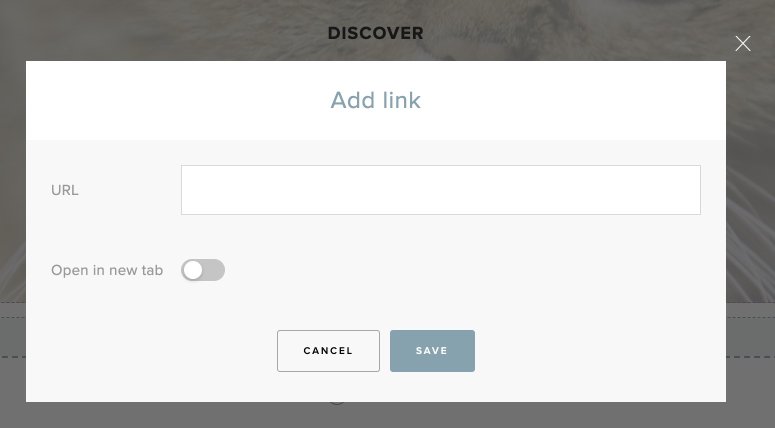
- Choose if the link should be opened in the new tab (window)
- Click Save
Feature markers
- Small icons are displayed on the content block to visualize what settings are currently applied

- The icon will be displayed when the content block has: applied background, overlay and/or link
- It will not be visible to the end user, it appears only in the Page editor
Changing content block height
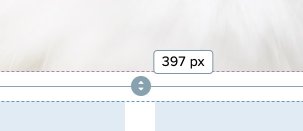
It is possible to change group height for the groups consisting of content blocks, to do so:
- Hover next to the group bottom edge and see that there is a resize icon displayed
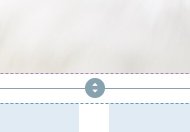
-
Drag the resize icon and resize the group
Adding products
It is possible to add products only to the product blocks, to do so:
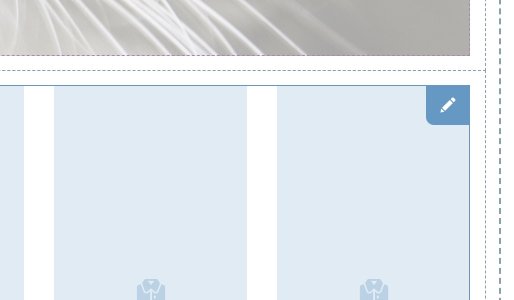
- Hover over the Product block and click on Edit icon
- Choose products modal will open
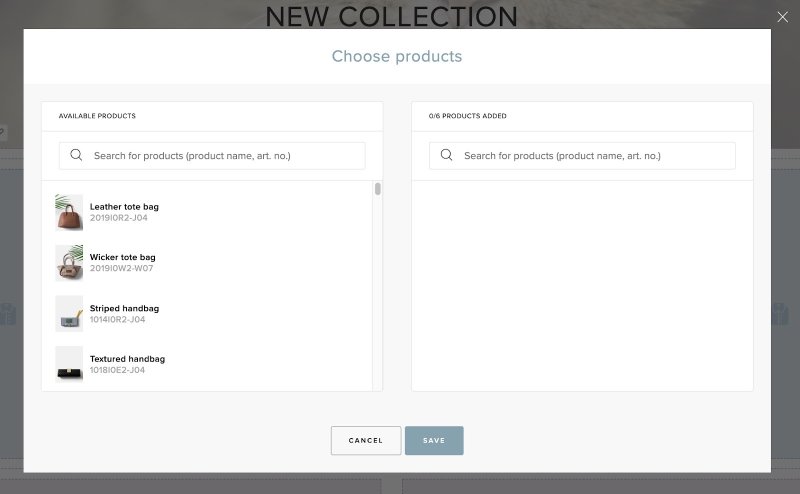
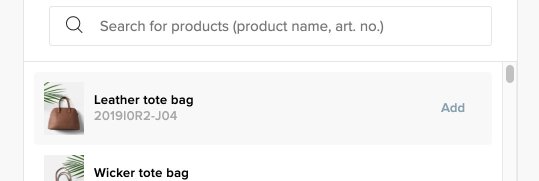
The popup consists of two sections: Available products and Product added - Add products by hovering on the product and clicking Add
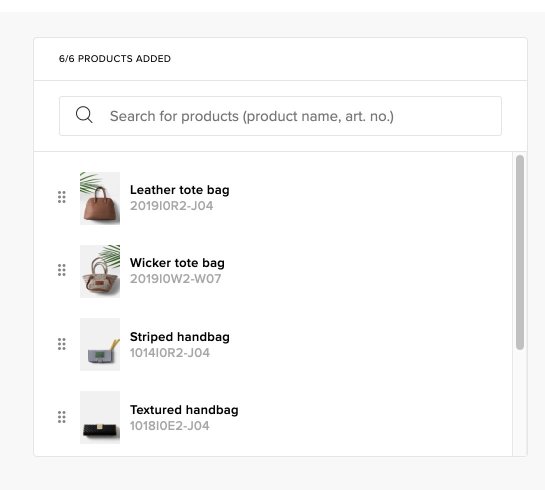
The products that you will be able to choose from are determined by the page markets (configurable in page settings) and section markets (configurable in section visibility). Please note that the products that you can choose from the popup must be available in all of the section markets and not at least in one of them - There is a maximum number of products can be added to the products block based on its capacity
- It is possible drag and reorder the products, this will determine in which order they are displayed on the page
- After you’re satisfied, click Save button
- The products are added
- To remove some of the products, hover over the block and click Edit icon
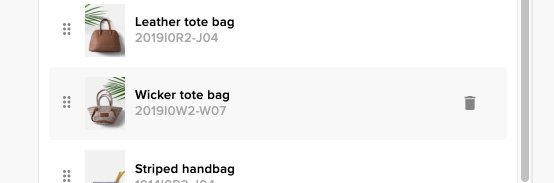
- In the Products added section hover over the product you want to remove and click on Trash icon
Clearing content block content
It is possible to remove all of the content block settings by one click, to do so:
- Hover over the content block to access the toolbar and click on Trash icon
- Confirm Clear in the modal
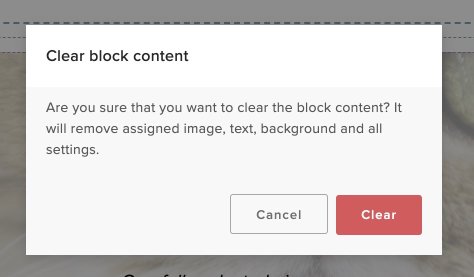
- After this action all of the text, media, background, etc. will be cleared and the content block will be empty
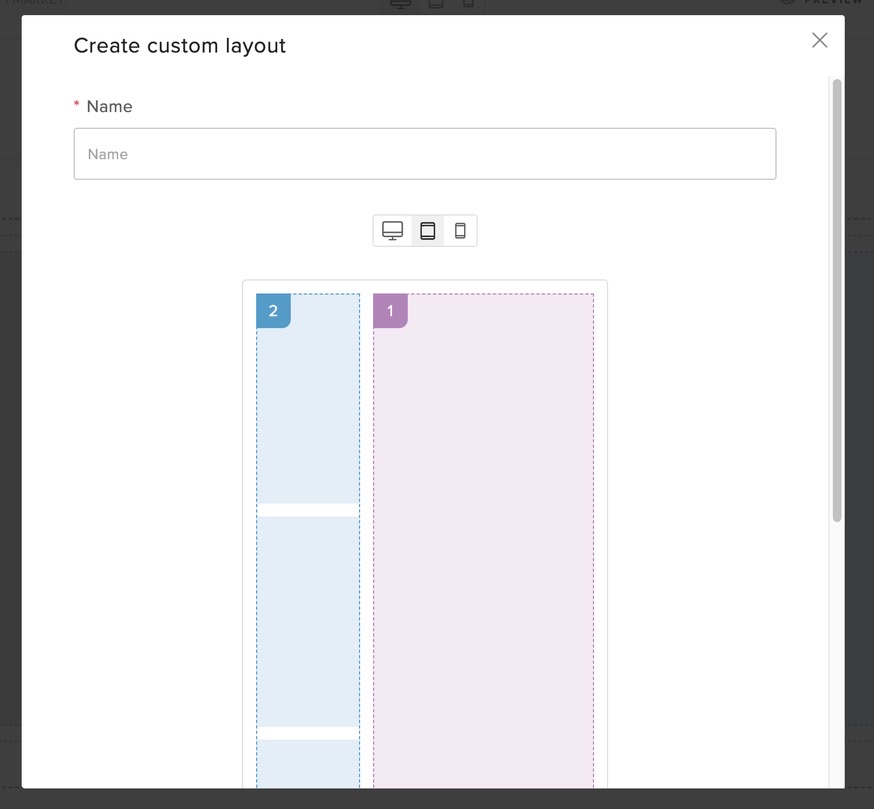
Custom Layout Overview
Saved layouts are shared among all users assigned to the store, enabling collaborative page creation. This shared functionality, allows team members to work together seamlessly on designing and arranging the page. To delete a layout, you can simply remove it from the templates list by clicking the trash button. If you need to edit an existing layout, you can do so by selecting the pencil button. These tools make managing and customizing layouts easy and efficient for all users involved.
Editing or deleting the layout template does not affect content that’s been already created using it.

How to add and reshuffle blocks
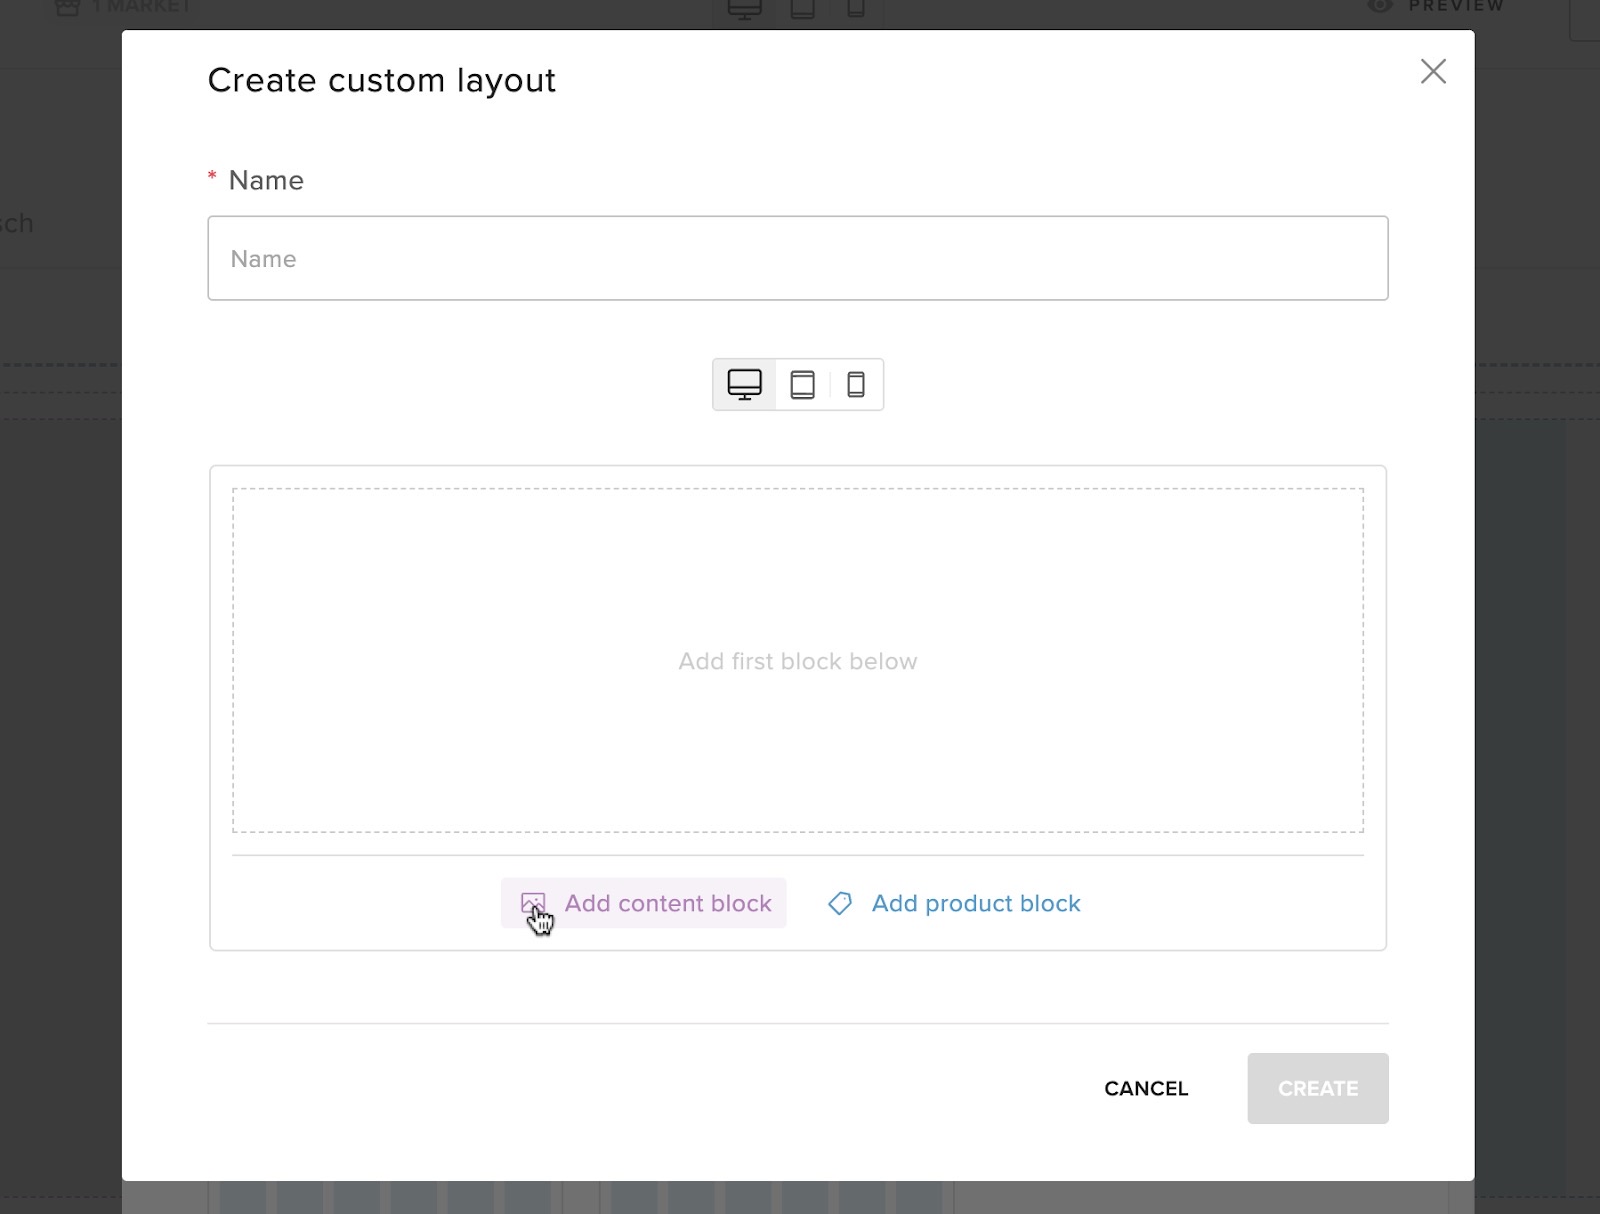
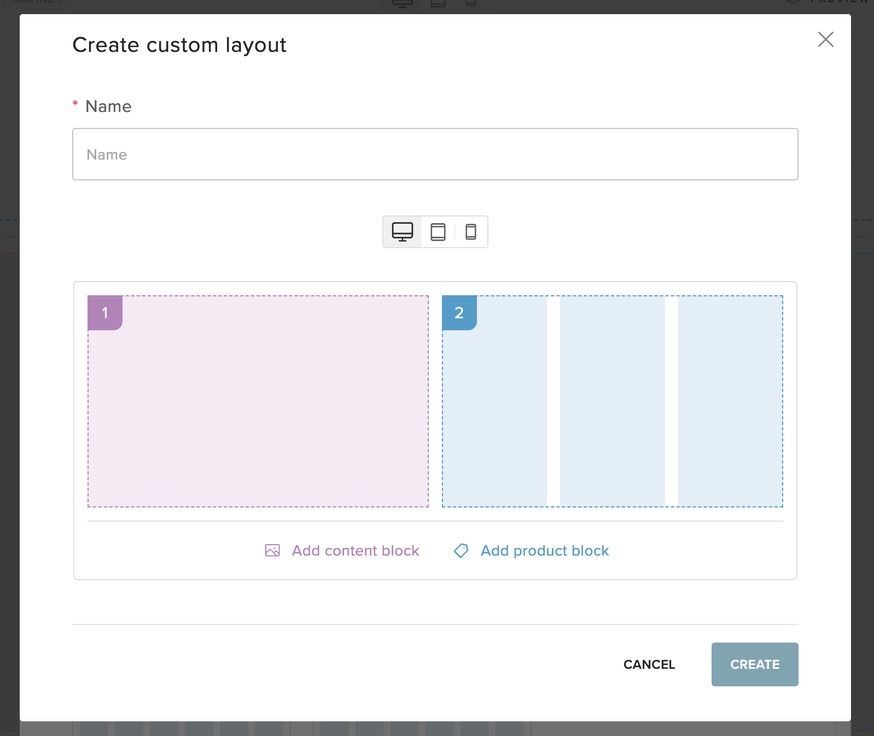
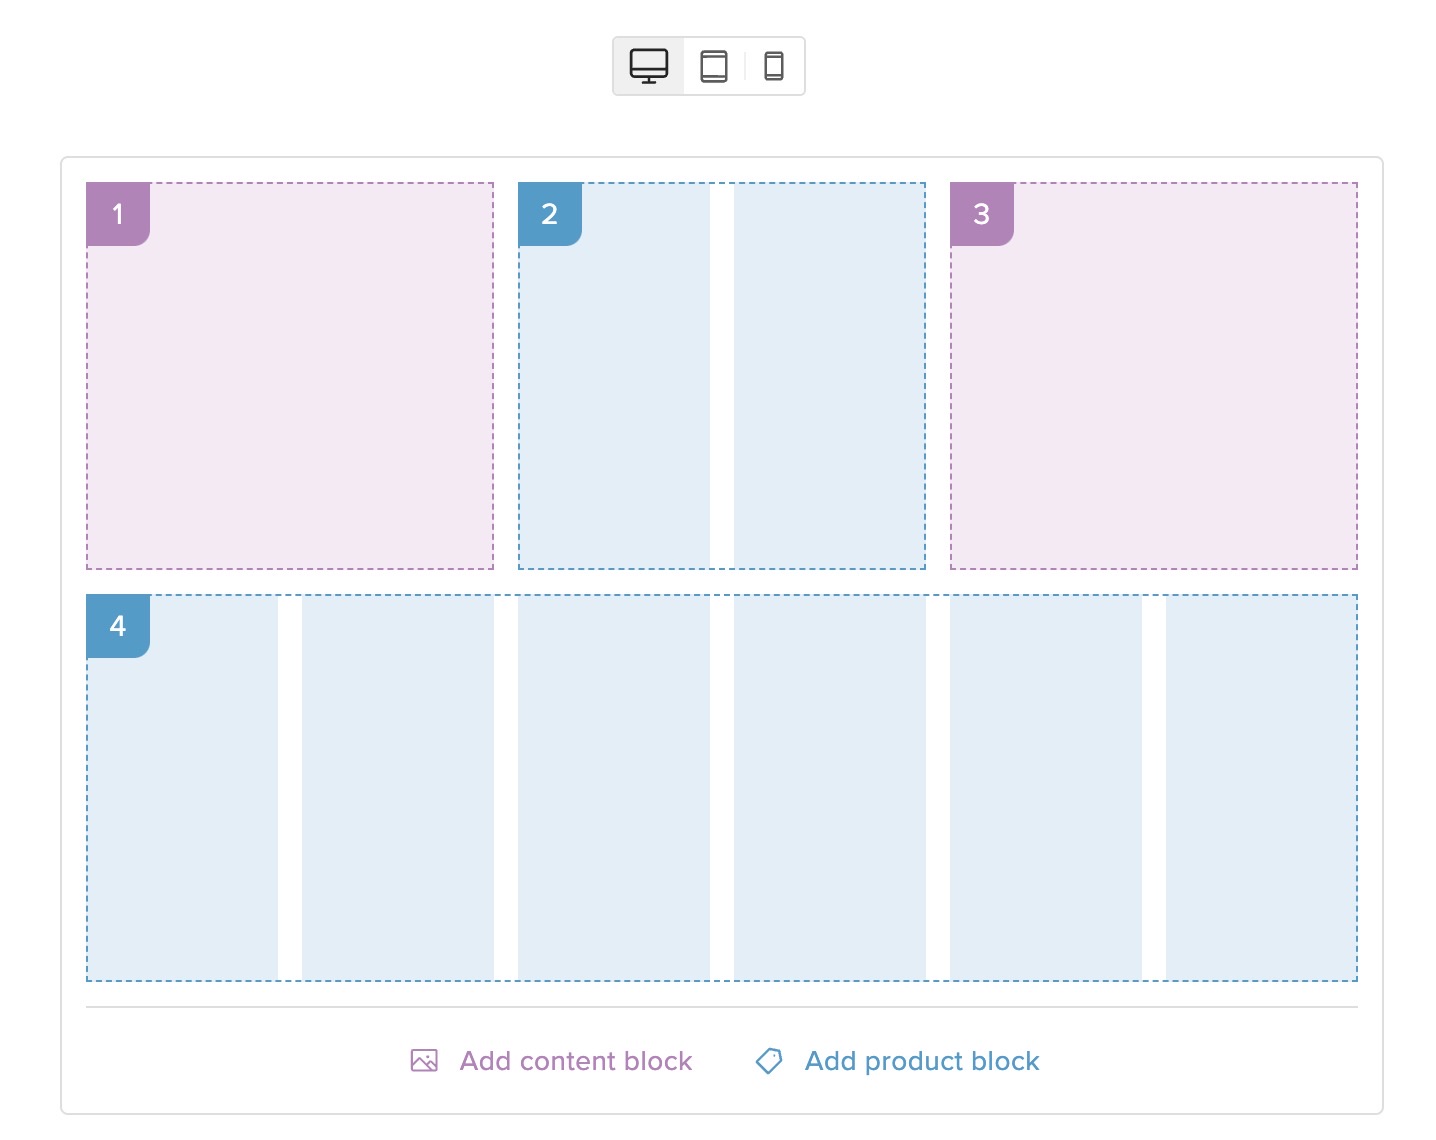
To add a block to the layout, click on Add content/product block buttons located beneath the template wrapper. The new block will be added to the end of the layout, allowing you to continue building and customizing your page.
Each resolution has a set amount of columns.
- Desktop: 6 columns
- Tablet: 3 columns
- Mobile: 2 columns
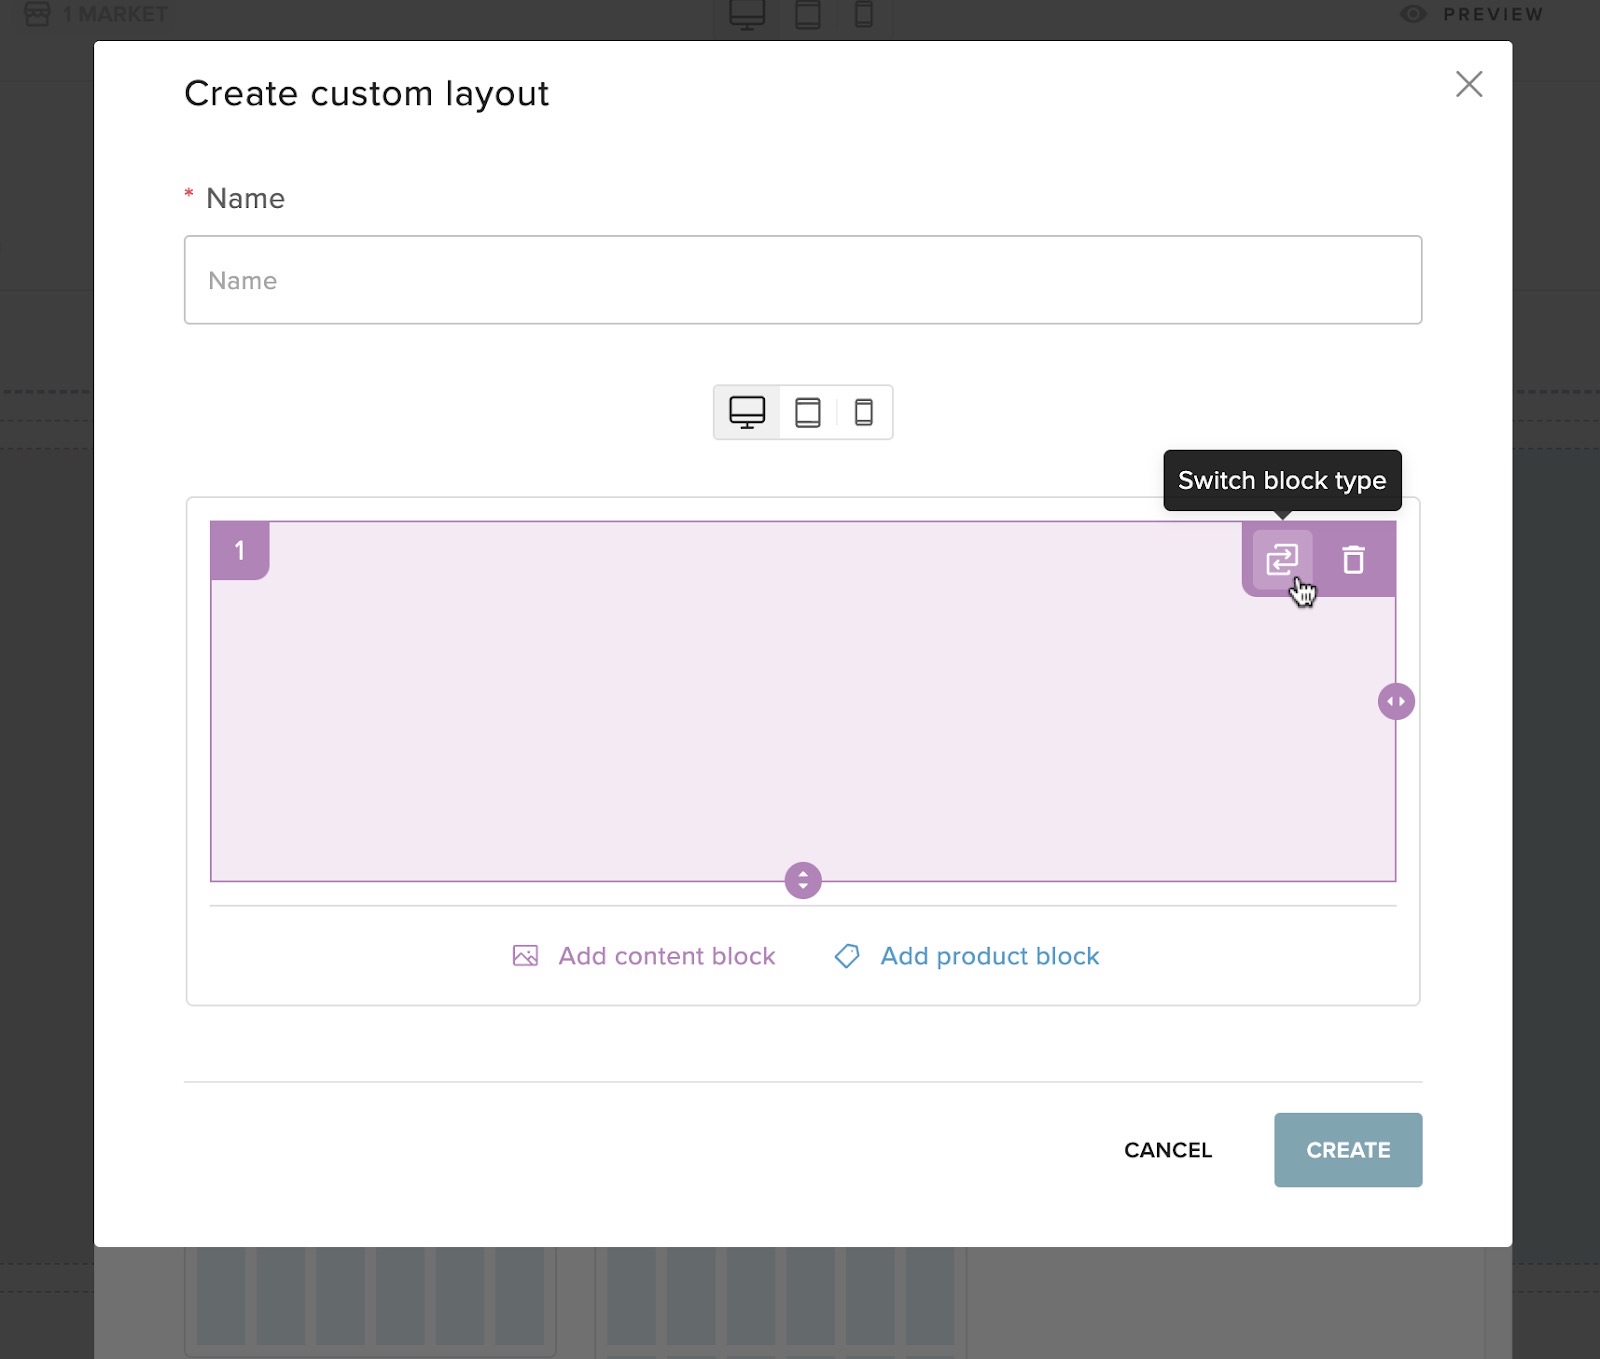
To toggle a block type from content to product, use the switch block type button. This button becomes visible when you hover over the block, allowing you to change the block type to suit your needs.
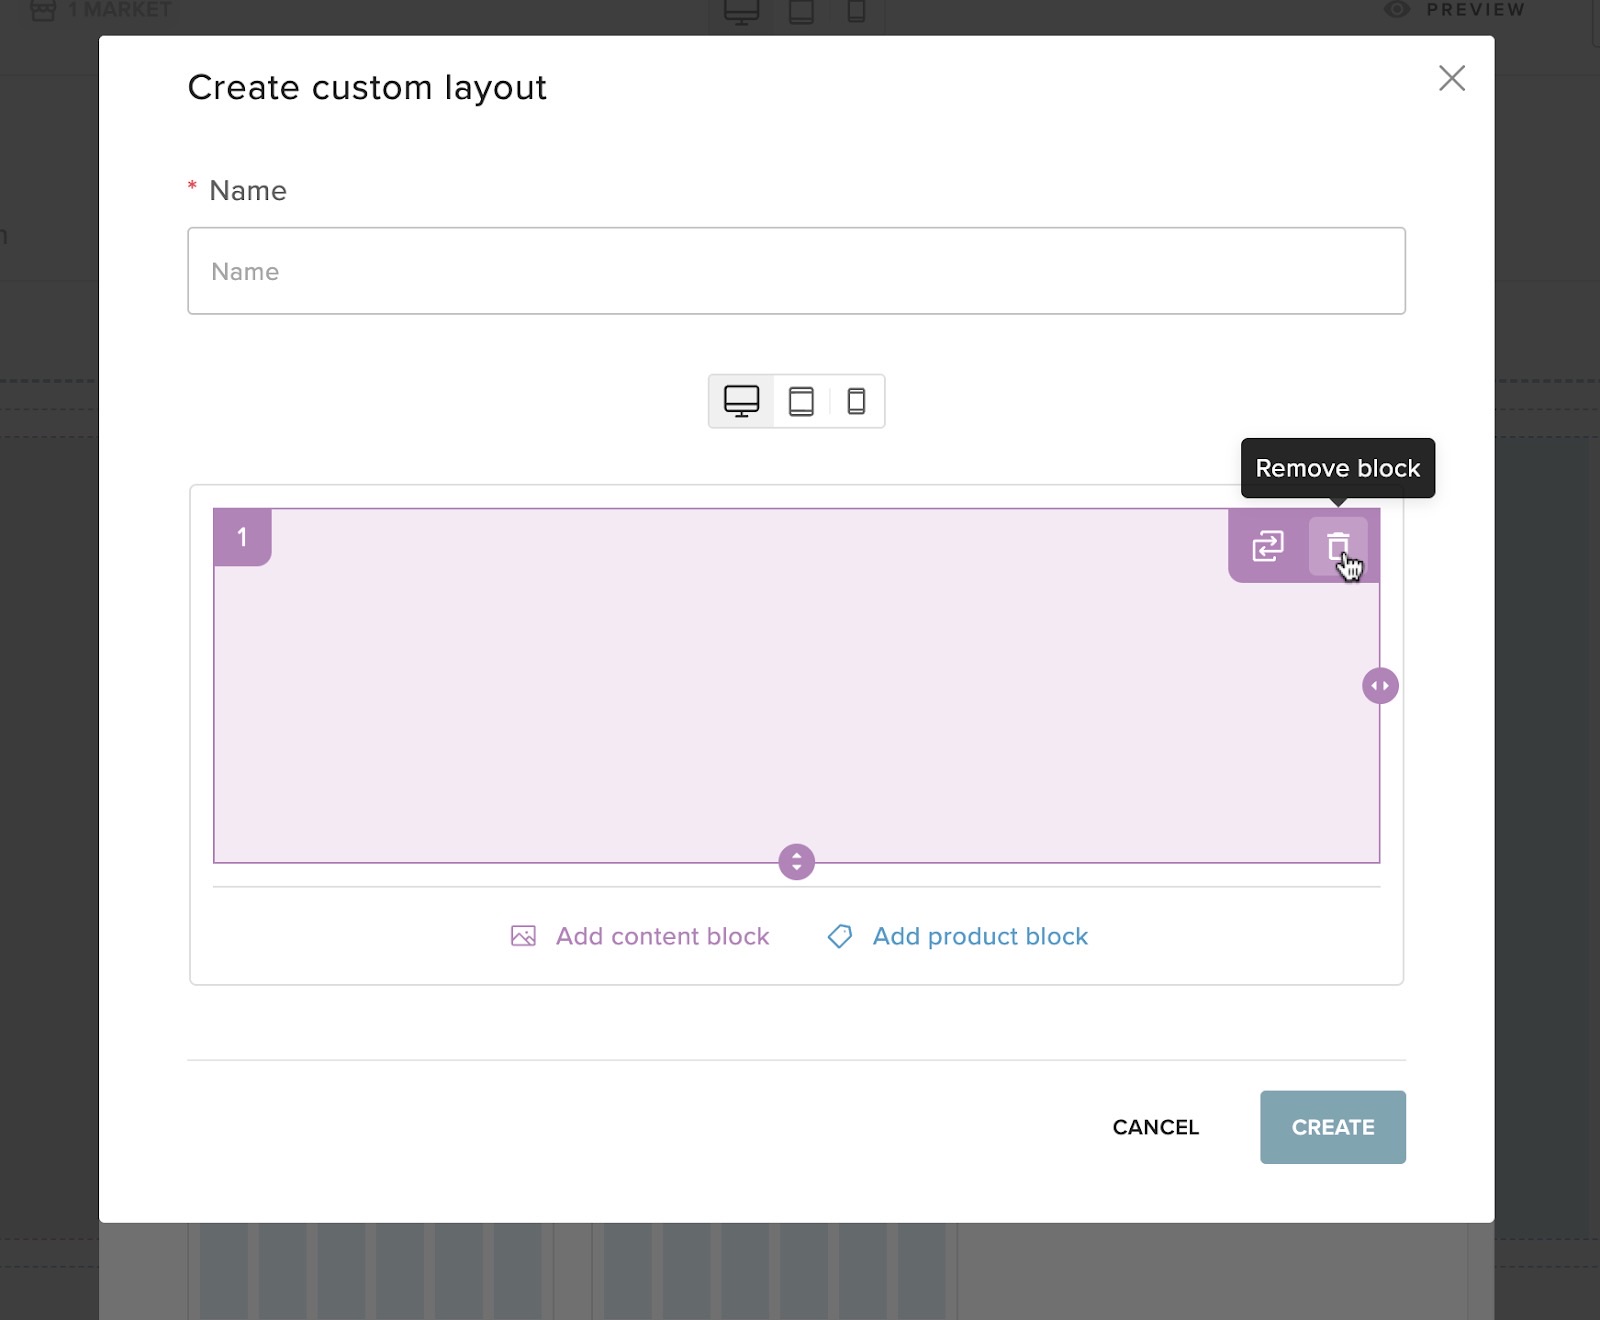
To delete a block, hover over the block and click the trash icon that appears
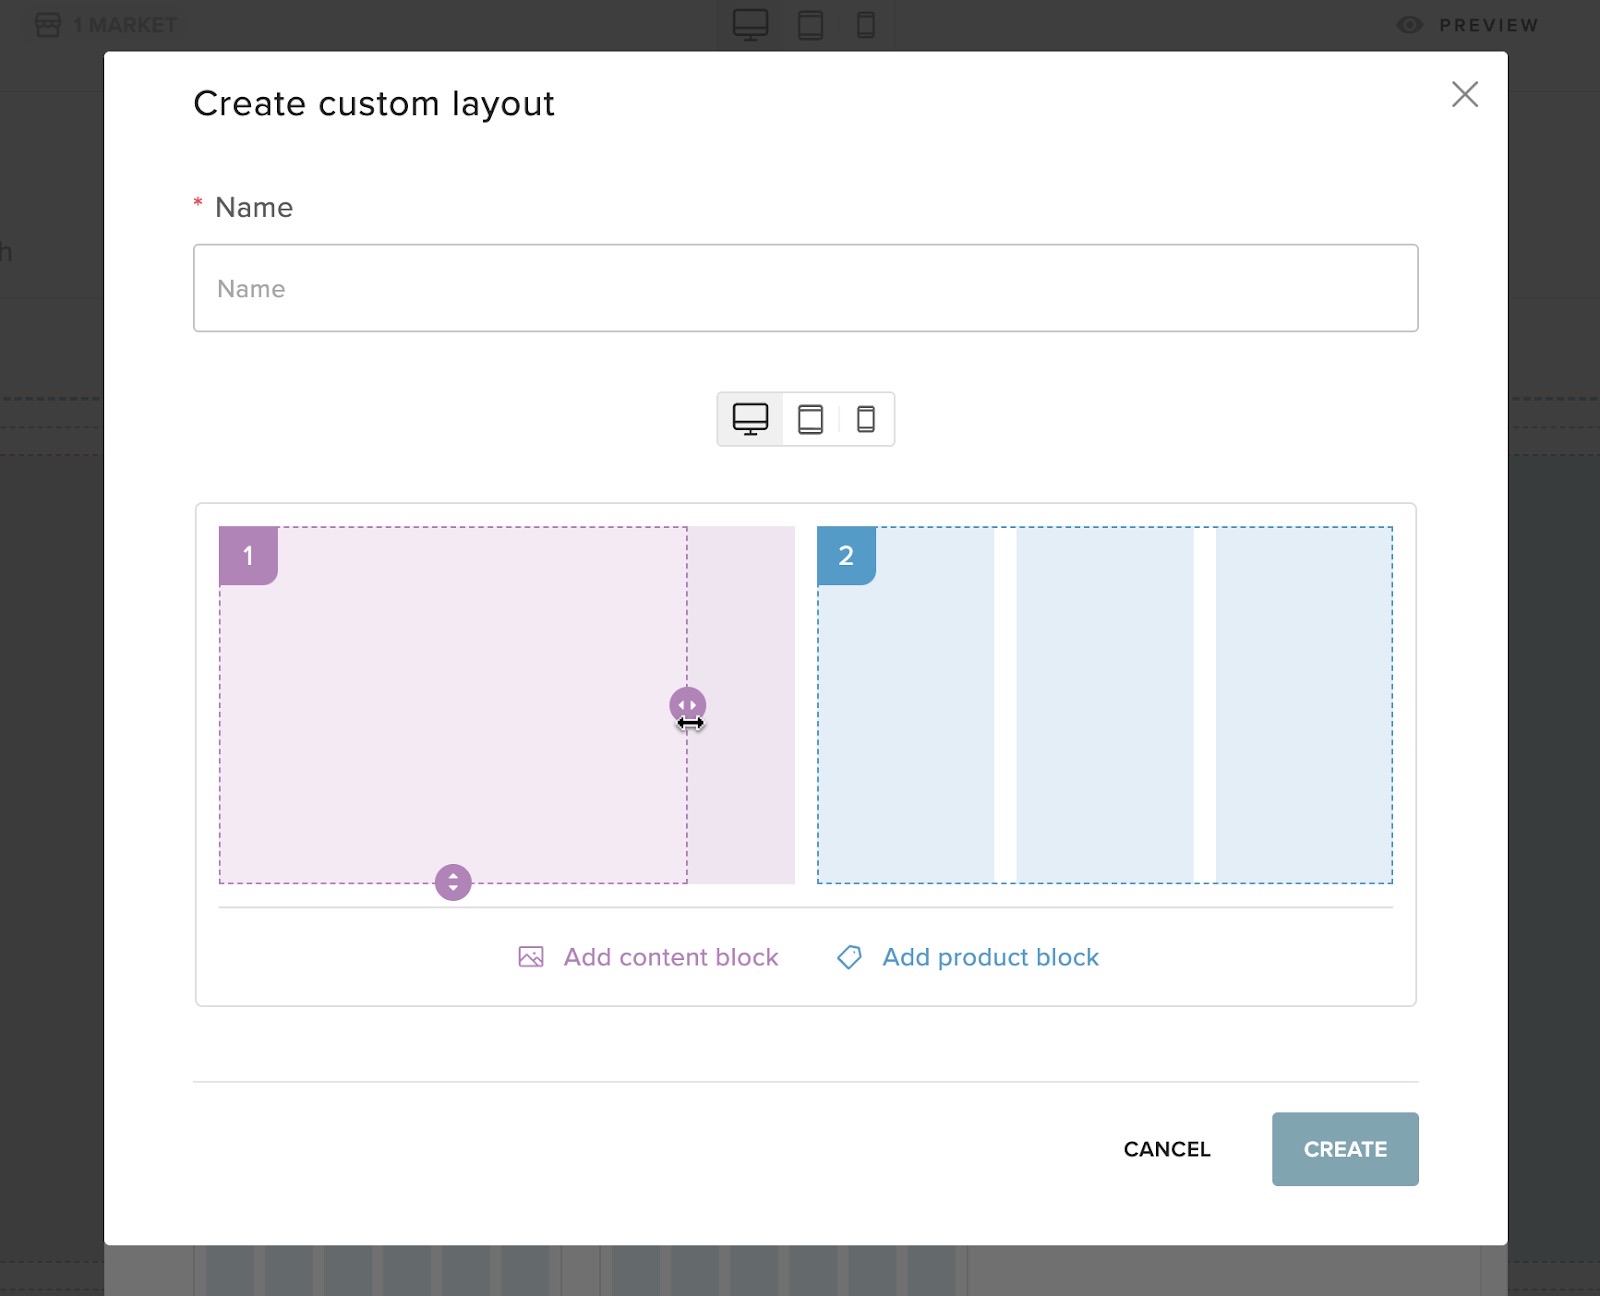
To resize a block, simply drag the resize button. The UI will dynamically adjust to reflect the new layout as you drag, finalizing the changes once you release the mouse button.
Blocks sync
Until changes are made specifically for tablet or mobile resolutions, block positions and dimensions will remain synchronized across all screen types. Once adjustments are made for a particular resolution, synchronization will only apply to product blocks when altering the quantity of products within them.
It is only possible to change the number of products in the block on the desktop. Tablet/mobile layouts only allow resizing the product blocks in a way that keeps the amount of products intact
The block number reflects the order of the blocks on the desktop view. If the user changes the order on a different resolution, the block number will still correspond to the desktop’s order.
When reordering items on the desktop, the new position numbers will be applied to the blocks, incrementing first by row and then by column.
How to edit already created content
To edit the content on the page using a different layout, click on the "Change Layout" button in the popover. You can either create a new layout template and select it afterward, or edit an existing one and apply the changes after saving.
Note: This feature for now is limited. More complex layouts with more than one product block won’t transfer all products across layouts.
Limitations of the blocks
The number of products in product blocks is defined in the desktop view and remains synced across other resolutions. Consequently:
- Blocks with 4 products may display empty space on tablets when spread across the full width.
- Blocks with 3 products may have empty space on mobile devices across the full width.
To address this issue, consider creating two separate product blocks, one for 4 products and another for 2 products. This approach provides flexibility in setting up blocks according to your preferences on desktop views.

Here’s how users can arrange blocks across different resolutions to achieve a dense layout without any empty spaces