How to use the Consignation Module in Centra
About this article:
Consignment is when a brand sends goods to a store. The brand keeps the ownership of the goods until the store sells the items. They then report back to the brand which items they've sold and the brand then invoice them for only those items. Here you can read about how to set it up.
How to use the Consignation Module in Centra
The Consignation modules enables you to handle your consignment clients efficiently. You are able to transfer stock from your warehouse directly into the consignees warehouse once you have set your Account to Allow ship to warehouse. These transfer orders will be marked as internal so you can easily exclude them from the Dashboard and Reports. Once you're about to invoice your consignment clients you'll just go to their warehouse, fill in the sold quantities and create the invoice, Centra will automatically connect the invoice to the shipment(s) from which the products were originally sent. The stock values in the consignee warehouse will be decreased accordingly when the consignation invoice is created.
Your Centra setup may not include Consignemnet Module. Please contact Centra Support for further information.
Creating a consignment warehouse in modules and connect it to an account
Make sure you have an B2B account setup for your consignment partner, read more how to do that here
When that is done you need to do the folling steps to create a consignment warehouse for the account
- Go to 'Modules' and 'Consignation' in the bottom, left-side menu.
- Click '+Create warehouse' in the top right corner
- Select the account you would like to make a consignment partner
- Click 'Create'
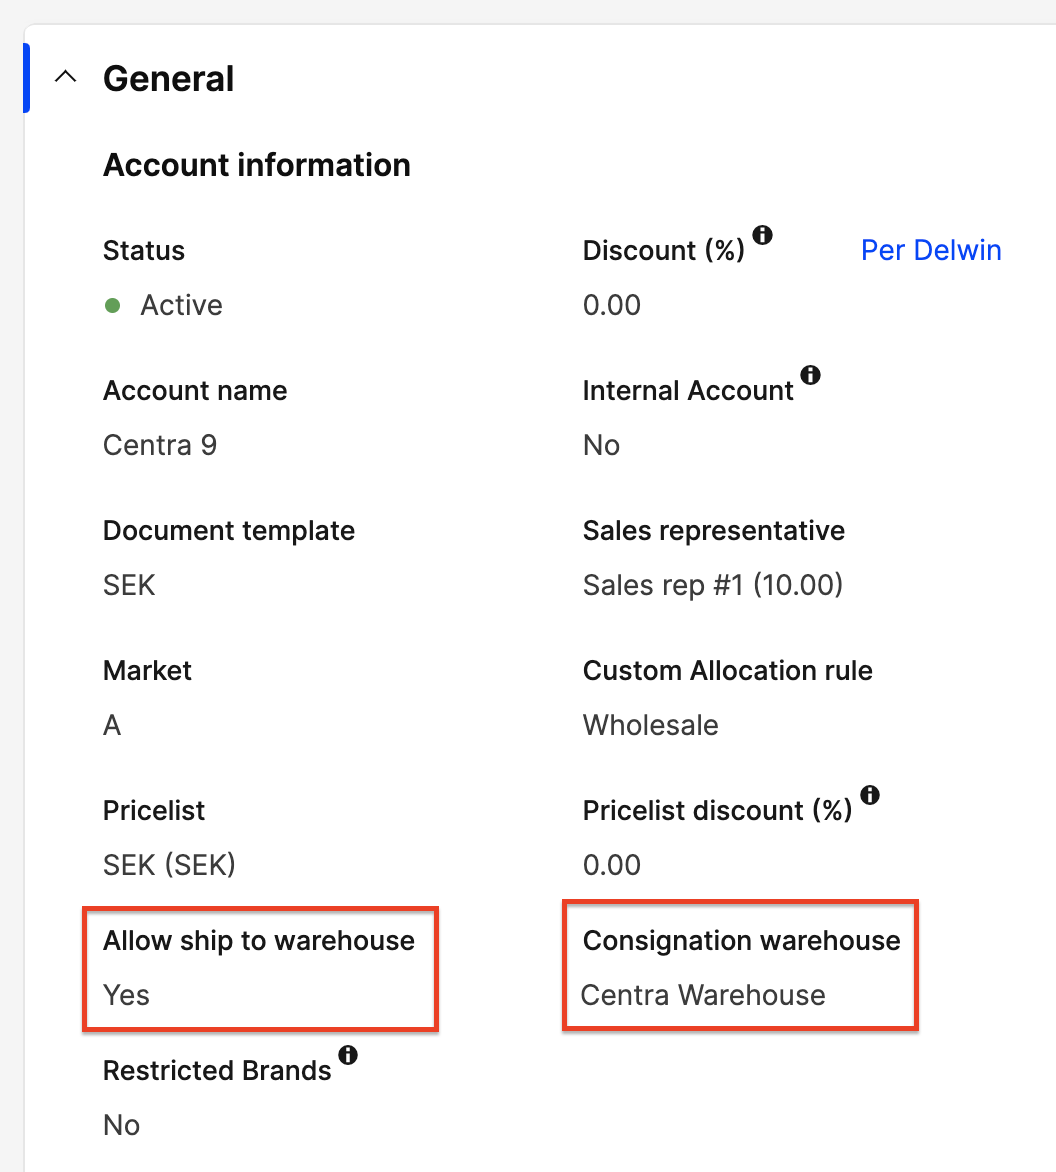
The Account has now got these two extra fields filled out under 'Account information' here:
Creating a consignment order for your account
-
Go to your consignement account under 'Wholesale' > 'Accounts'
-
Click 'Create selection' and create an order as usual, read more how to place an order here
-
Create a shipment, read more how to do that here
-
When the shipment is created you scroll down to 'Shipment info' and click 'Edit shipment' and 'Complete shipment' that will mark the shipment as shipped
-
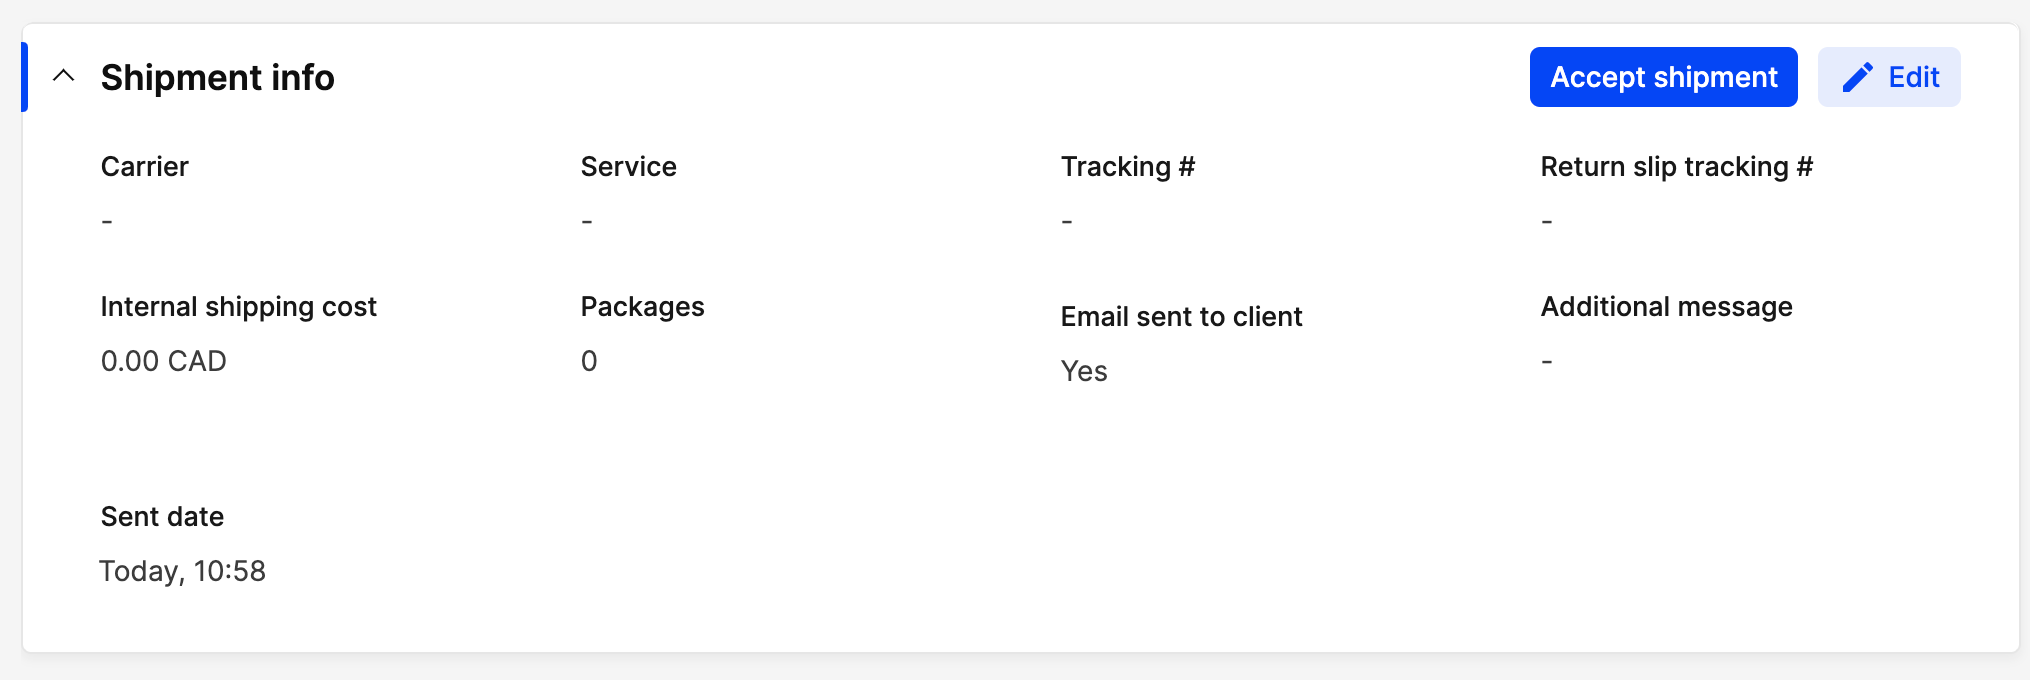
Once the shipment is marked as 'Shipped' (after 'Complete shipment') you will have a new button in the bottom-right corner or the 'Shipment info' called 'Accept shipment' as shown in the below image.
This button should be clicked only once the customer confirms that they've received their ordered goods.
-
Click 'Accept shipment' and choose which warehouse the goods should be moved to. This action will move the stock from your warehouse to the customers consignation warehouse.
To invoice
Then when a month or so has passed you will hopefully get back a report from the customer that tells you how much they sold of what items and it's time for you to invoice them for thoes pieces. And here are the steps for how to to that:
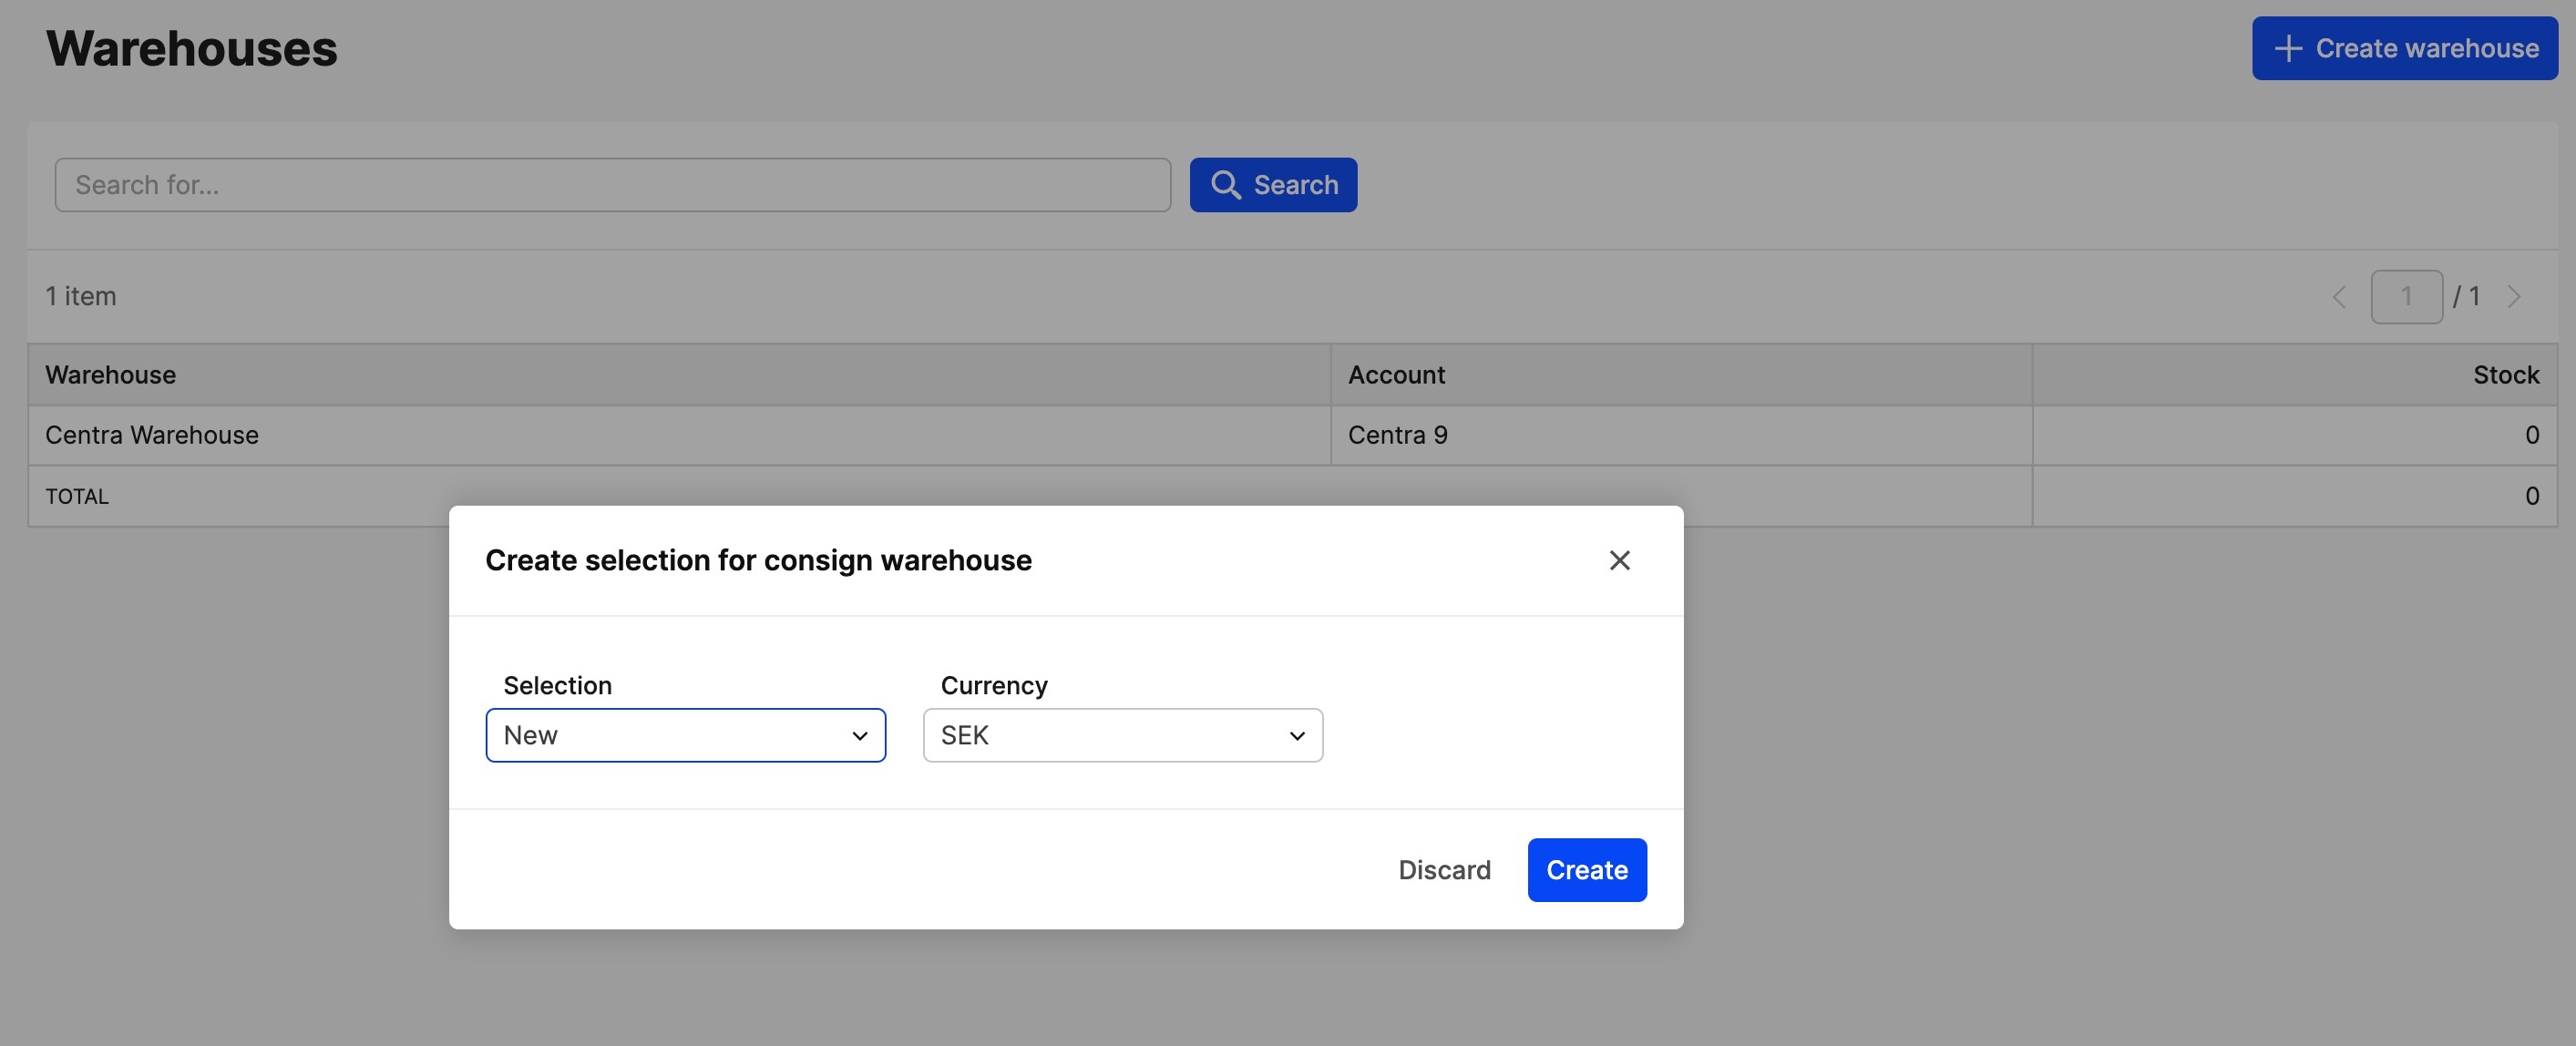
- Go to 'Modules' and 'Consignation'
- Choose the warehouse to consign and choose selection & pricelist as shown in the below image and click 'Create':
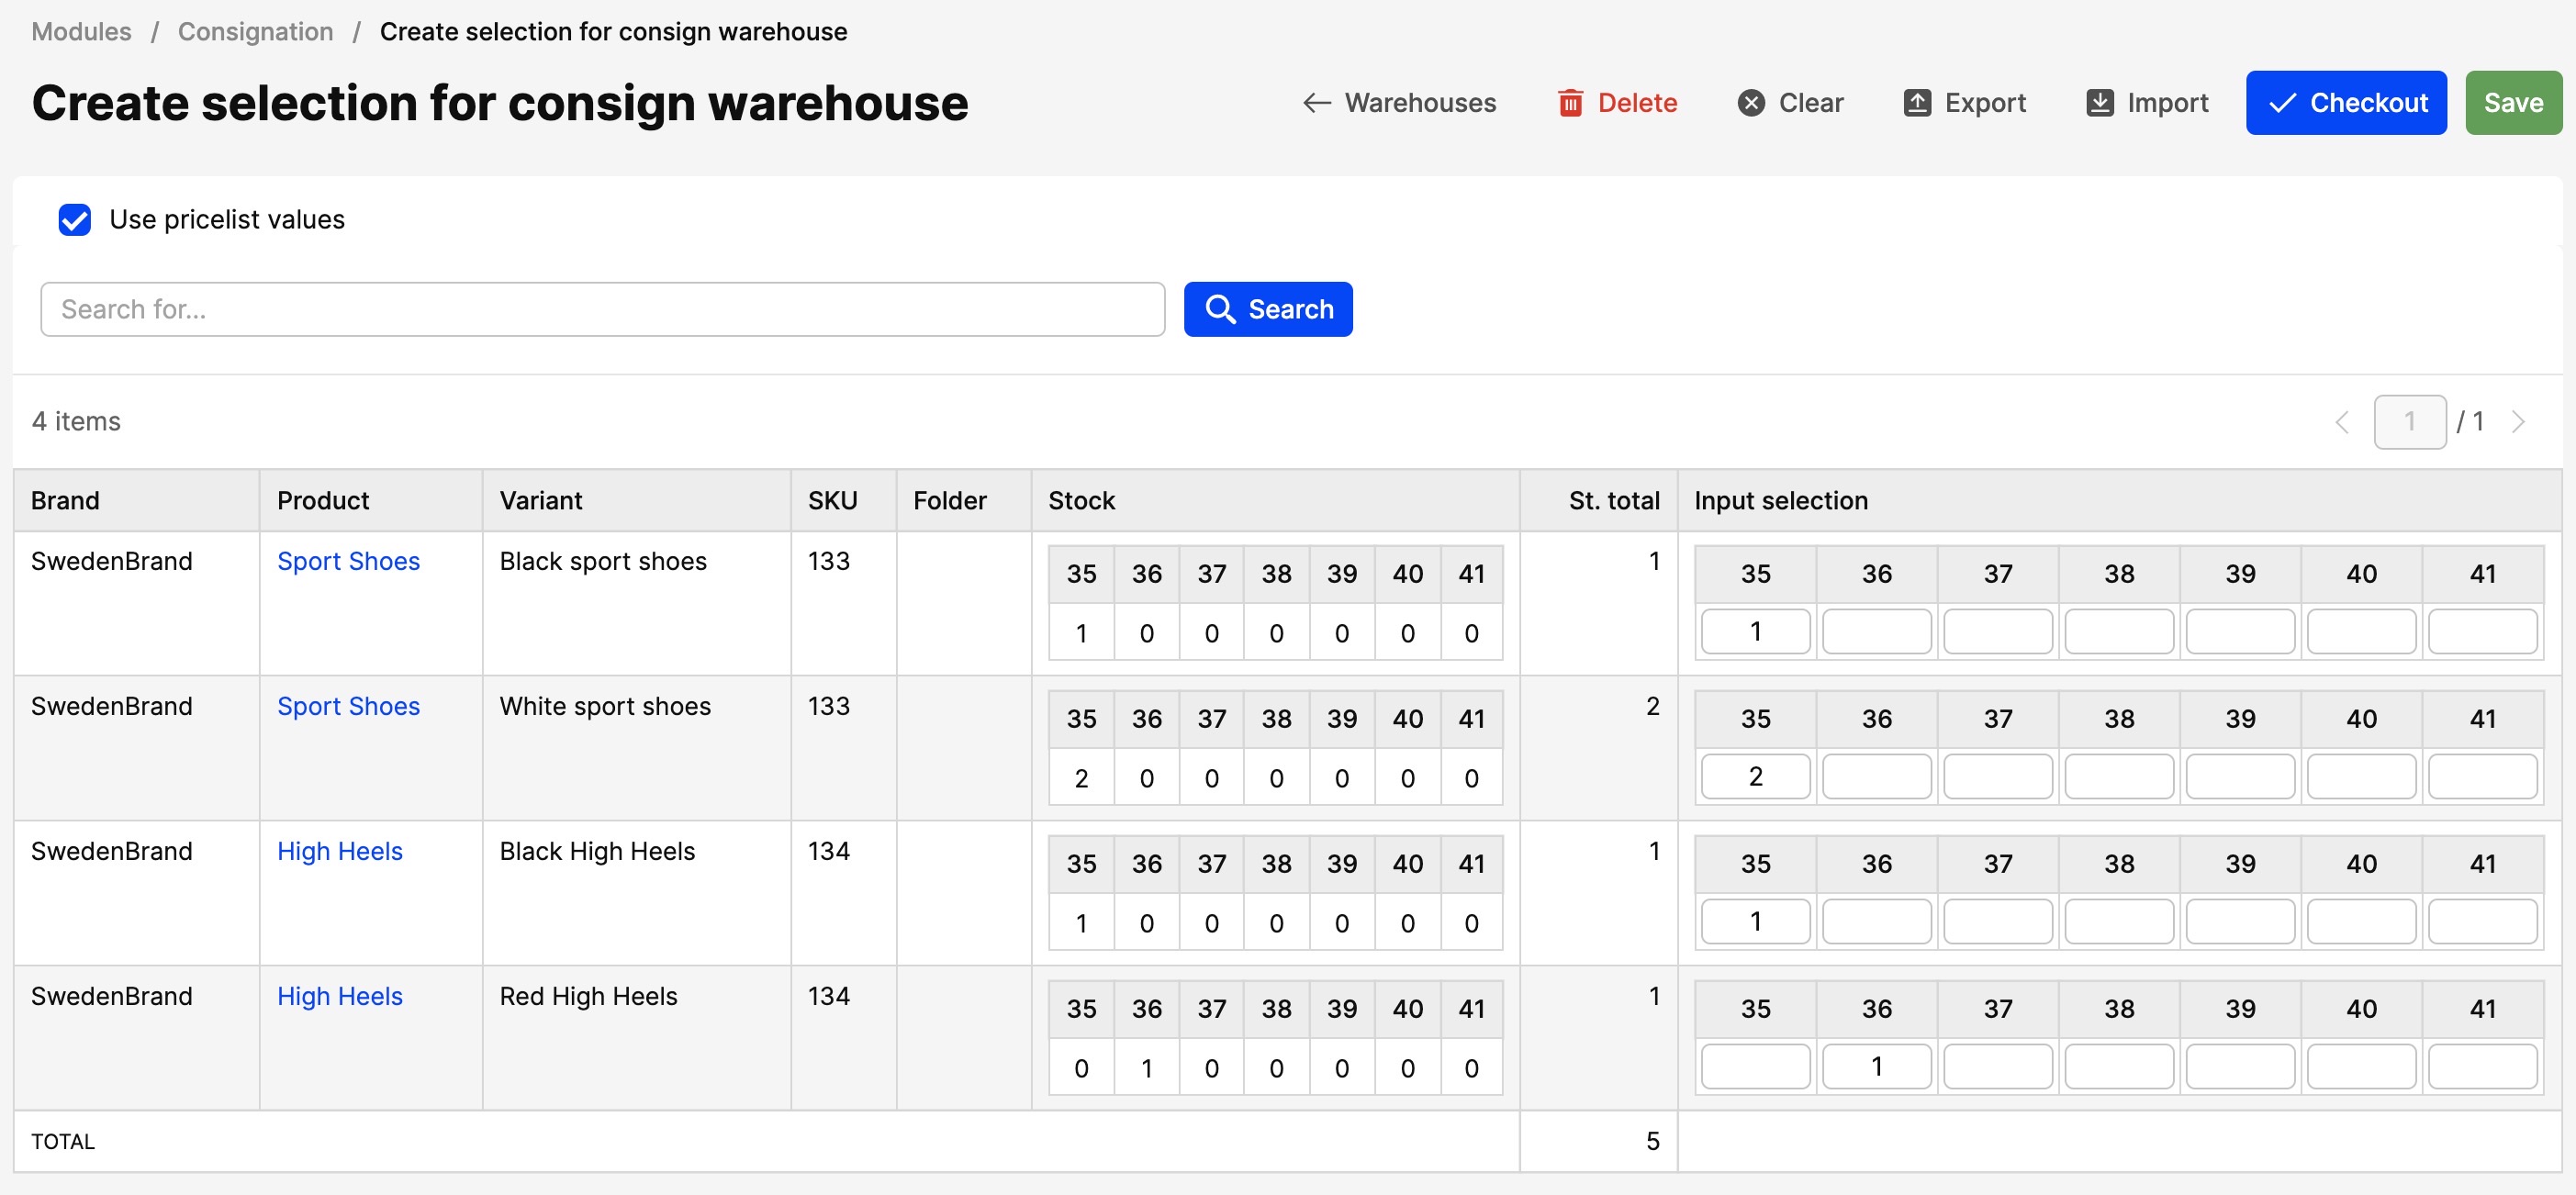
- Fill in the quantities you want to invoice in each size in the 'Input selection'-column as shown in the below image. If you have made changes to the prices between the delivery and the invoicing of these pieces then you can choose to invoice them in their current price list values by selecting the checkbox in the upper-right corner. Otherwise, they'll be invoiced for the same price they had when they were delivered.
- Click 'Checkout' in the upper-right corner
-
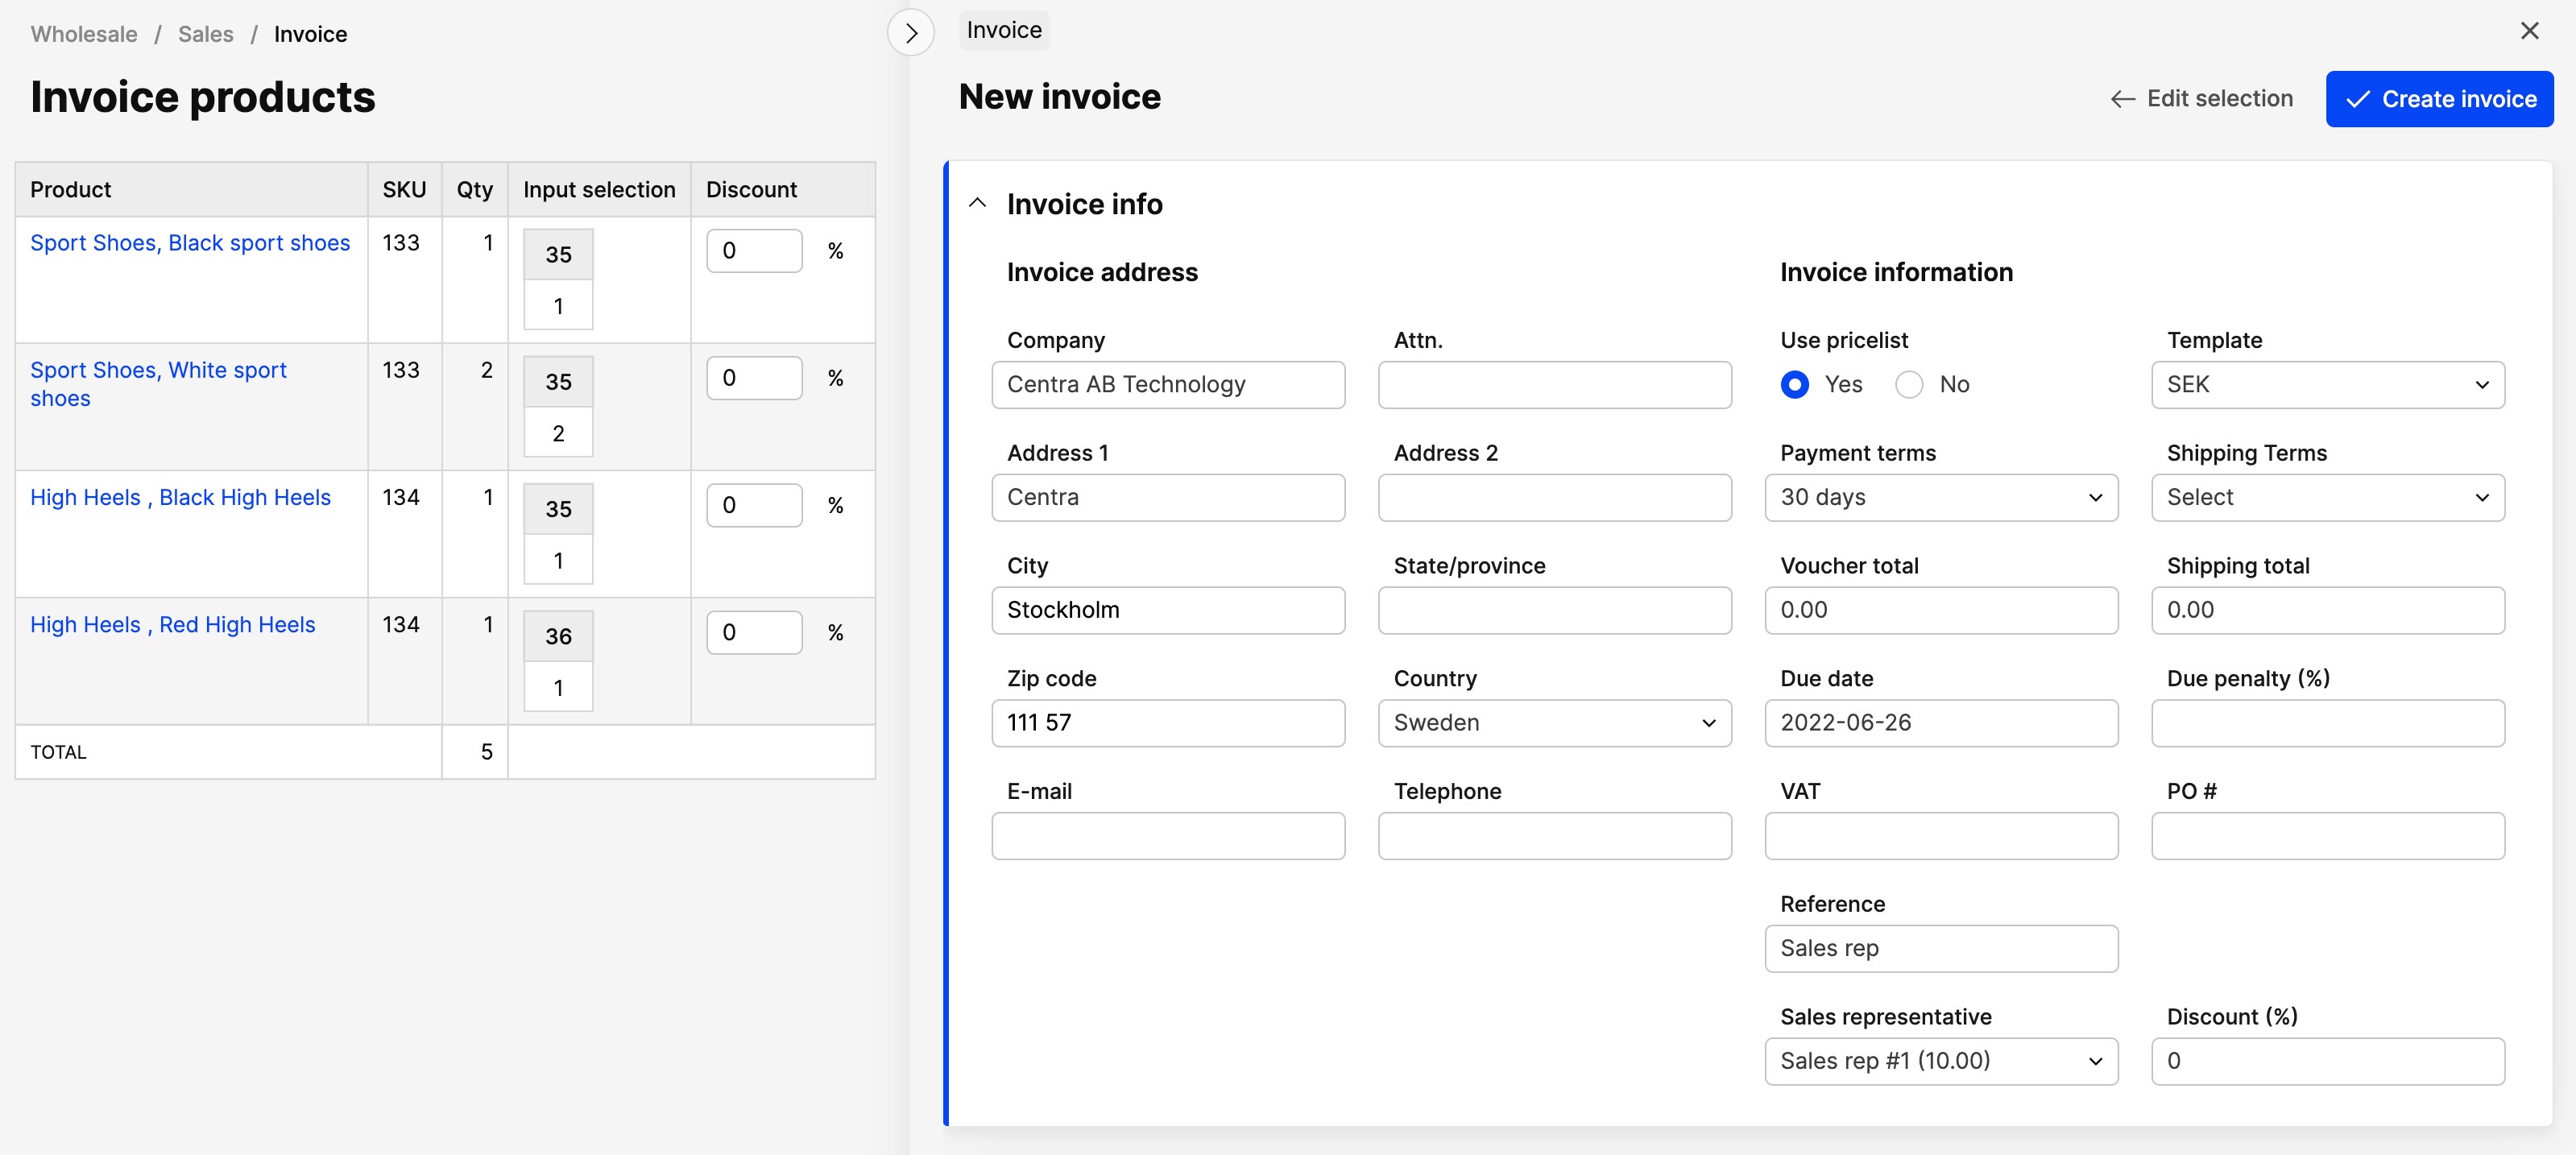
In the next step you choose address, payment term etc and then you click 'Create invoice' as shown in the below image. Also, on the right side you will see the list of invoiced items.
You've now successfully created an invoice for your consignment order and in the invoice you will see which order and shipment it's connected to and you'll handle it as your other invoices in the system.