How to create and edit orders in Centra Showroom
About this article
Here is an introduction of Centra’s Showroom. This instruction will walk you through placing and editing orders. A guide you can hand out to Agents, Sellers and other Users of the Centra Showroom. Just follow the numbered steps below to begin. If you at any time have questions or need assistance, see if you can solve it internally or contact our support, and we will be happy to help you out.
Create and edit orders in Centra Showroom
The following steps will show you how to create an order, edit, review and checkout.
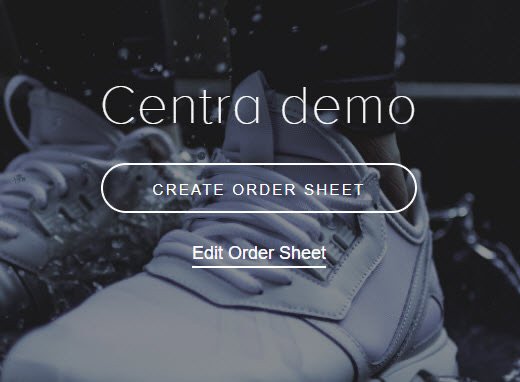
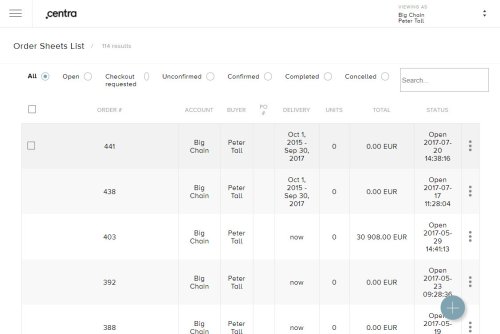
Log in to the Showroom, read more about how to do that here. When you’ve logged in to the Showroom your starting page should look like this image below.
If you have access to more than one customer account you can search for your customer in the upper right corner here:

-
To create a new order click “CREATE ORDER SHEET”. To work on a previous order click “Edit order sheet”. Order sheets are saved automatically until the order has been completed.
-
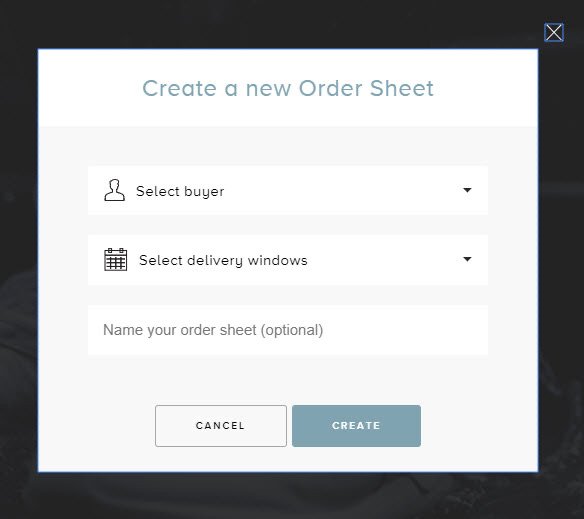
After clicking “CREATE ORDER SHEET” you will see the window below.
-
You get the option to “Select buyer” if you are an Agent that have access to more than one Customer. Click “Select delivery window” and choose your desired delivery window from the drop sown menu. After choosing your desired delivery window, *name the order sheet (optional), then click “CREATE”.
*the naming feature is for your reference only.
-
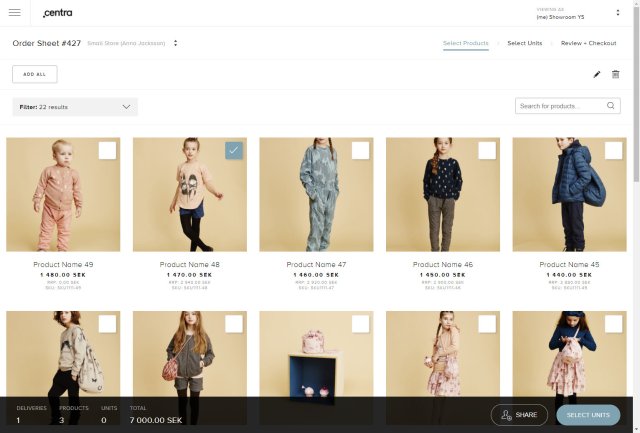
After clicking “CREATE” you will enter the product list portal.
- Here you can filter out products by Product groups or Categories.
- Search for products by typing in Product name, Category name or SKU/article number.
- Edit by pressing on the pen in the upper right corner and change the delivery window or update the optional order name.
- Then you select the items you want. Just click the boxes in the top right corner of the product image. A blue “check” will appear.
Please note that searching for any phrase will also include any filters applied before. If you select color category "White", but then search for "Black", it's likely you will get 0 results. Remember to check the active search filters in the top of the products page.
-
After you’ve selected all the products you’d like to order you click “SELECT UNITS” in the top or bottom right corner of the page. This view can also be minimized for a better overview if you click on the button marked red in the print screen below

-
Now it’s time to enter the desired quantities under each size, and you can see the stock levels and how many are available for each size in grey brackets. And the red cross means that the size is out of stock. You will see unit quantities and value totals appear automatically as you enter the units. You can also print you order sheet or create a PDF by clicking on the printer icon in the top right corner. When you are done entering all the assortments click “REVIEW + CHECKOUT” in the top or bottom right corner of the page.
You can at any time click “Select Products” again to go back and add more styles to the order.
-
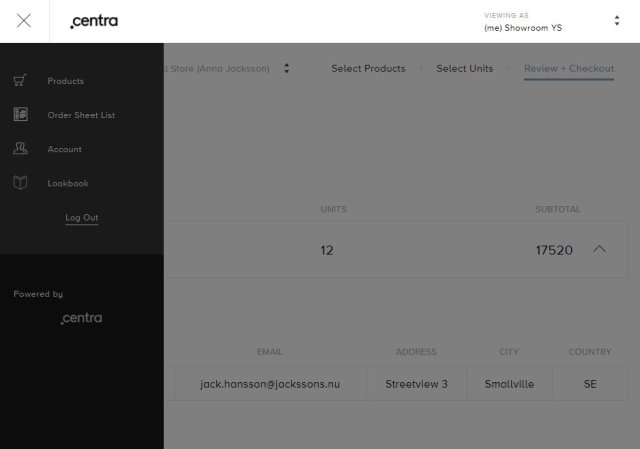
You have now entered the “REVIEW + CHECKOUT” page. Here you can review the order to ensure there are no mistakes made. You have now entered the last steps in the ordering process. Fill out additional information if desired in the fields.
- Make sure it’s the right name and shipping address is selected.
- Add a voucher, to get discount, if you have one.
- Enter your PO number (purchase order number)
- Enter the preferred Shipping date. If you leave this field blank the order will be shipped as early as possible within the corresponding shipping window.
- Enter a preferred Cancel date, if you wish to cancel your order if for example the shipment hasn’t been made before a certain point. The cancellation itself is done manually.
- Add any relevant additional information about your order
- Use the “SHARE” feature to share a link to the order with your sales representative or colleagues. Type in an email address and don’t forget to press ENTER before you press share in the “Share Order Sheet” pop-up window.

Keep in mind, whomever you share the order with will have the ability to edit it.
- Tick the box to confirm that you’ve read the Terms and Conditions, to get to the Terms & Conditions simply click the hyperlink.
-
You can now Request Checkout or Confirm order depending on the what setup you have.

-
To log out, find your old orders or create another order, click the hamburger menu on the top left corner or the page. If you click on the logo you will go back to the starting page.

- Products – Continue to work with an open order
- Order Sheet List – Shows list of all orders placed. From this view you can also press the blue + symbol in the lower right corner to create a new order:
- Account – Displays information of your account, you will also be able to change your password here
- Log out – Log out from your account