Customers in DTC
About this article
A DTC customer is usually created when an order is placed. However, you may add a customer account manually in the backend. This article shows how to create a customer in that manner, and also provides an overview of all settings on the Customer Listing and Details panel.
Customers page layout
Click on ‘Customers’ in the menu to access the Customers page:

The Customers page is divided in 3 parts: Customers Top bar (1), Customers Action bar (2) and Customers Listing table (3). All of them are described in detail below:
Customers Top bar
Here you can find two buttons:
-
Export - This can be used to export a list of all customers. When you click on ‘Export’, the following pop-up appears:
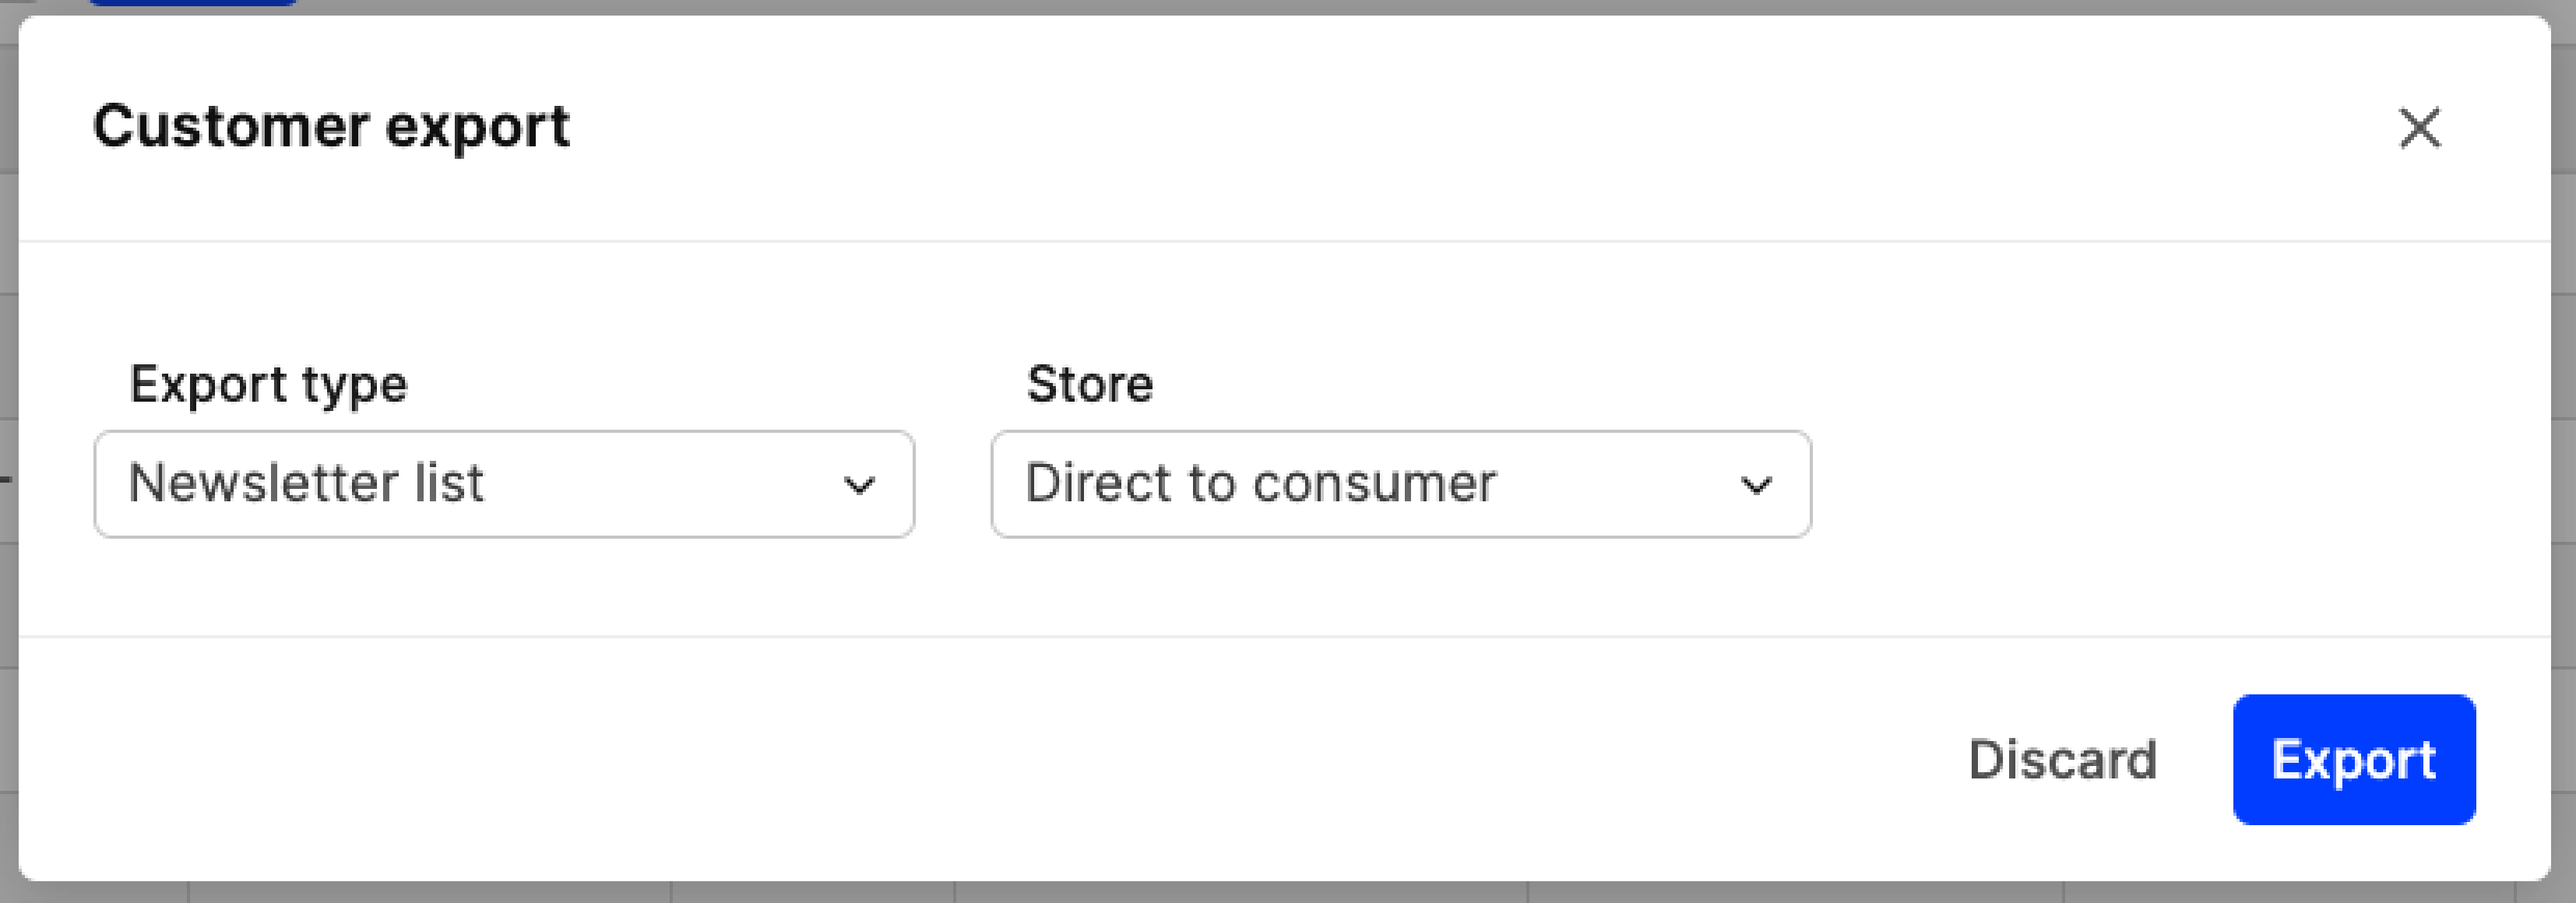
Here you can choose the ‘Export type’ and ‘Store’. The store selector is useful when more than one DTC store is available in your Centra instance. If that’s the case, you can select one, and only customers registered in that store are included in the export file. The ‘Export type’ setting includes the following options:
- Newsletter list - This list includes customers that have signed up to the newsletter. On their customer card, the setting ‘Receive newsletter’ is set to ‘Yes’. This file contains the following data: Email, Name, Country, Language, Gender, Product, Created
- Customer list - This file contains information about all customers found in the customer page. The following columns are included: CustomerID, First Name, Last Name, E-mail, Telephone, Cell, Fax, Address 1, Address 2, Zipcode, City, State, Country, Gender, Birthdate, Orders, Last Order, Newsletter, Registered
- Consents list - Customers that have information added in the ‘Consents’ section of their customer card are included in this file. The following data points are included: Name, Email, Consent Name, Consented, Consent Key, Consent Version, Consent Language
-
Create customer - This button can be used to create a new customer. You can read more about this below.
Customers Action bar
The Customers Action bar includes the Listing action bar found on most Centra Pages - read more about this here. Within this action bar, you can find the following: Search bar, View selector, Tabs, Batch actions, and Pagination.
Customers search bar
Use the search bar to filter out specific customers. All available parameters are listed in this article.
Customers view selector
The view selector includes all available DTC stores, so that you can filter out customers from a specific store. Note that if you are only using one DTC store, this selector is not available.
Customers tabs
The tabs found on the Customers Listing help you to filter customers based on status. The statuses seen are: All, Active, Inactive, Canceled. Remember that the ‘All’ option includes all customers apart from the ones with ‘Canceled’ status. Each tab that has results also includes a number showcasing the total number of customers with the respective status.
Customers batch actions
The batch actions in the Customers Listing can help you make bulk changes to customers. To use the batch actions, you first need to select the customers you would like to perform changes on by ticking the respective box on the left. Once this is done, select the appropriate action in the dropdown menu and select ‘Apply’. Below we review all options found in this dropdown:
- Change status - This action can be used to change the status of the selected customer cards. Once you select this option and click ‘Apply’, the following pop-up appears:
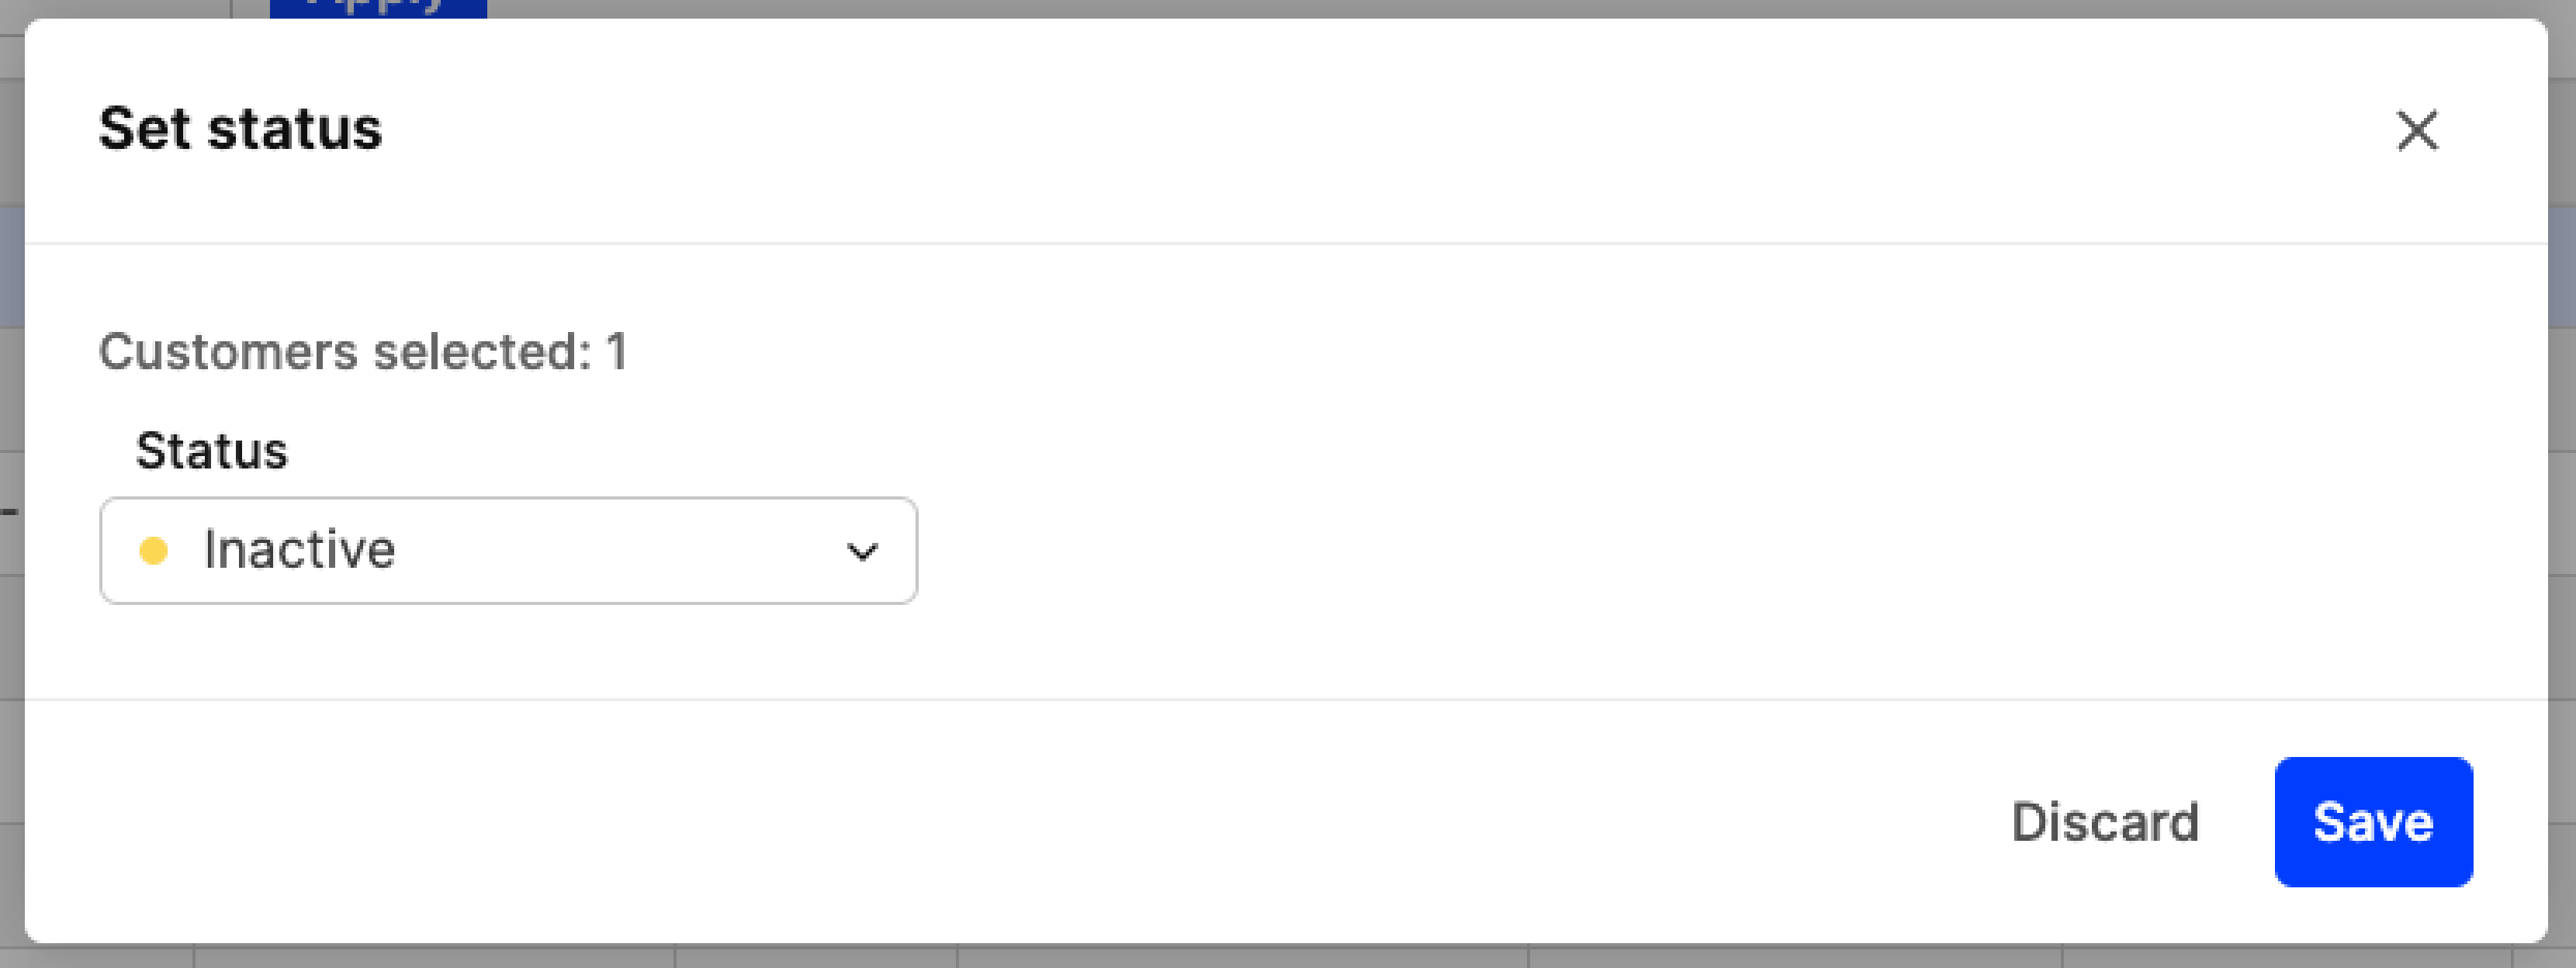
At the top, you see the number of customers selected, and in the dropdown menu below, you can choose which status to use. The options include: Active, Inactive, Canceled. To perform the change, click ‘Save’, after which all selected customers have their status changed.
- Anonymize - This action allows you to remove all customer data from the selected customers. It’s great to use in situations where the customer no longer gives consent to have their data processed, and for GDPR purposes. Once you select the customers you wish to anonymize and click on ‘Apply’, the following pop-up appears:
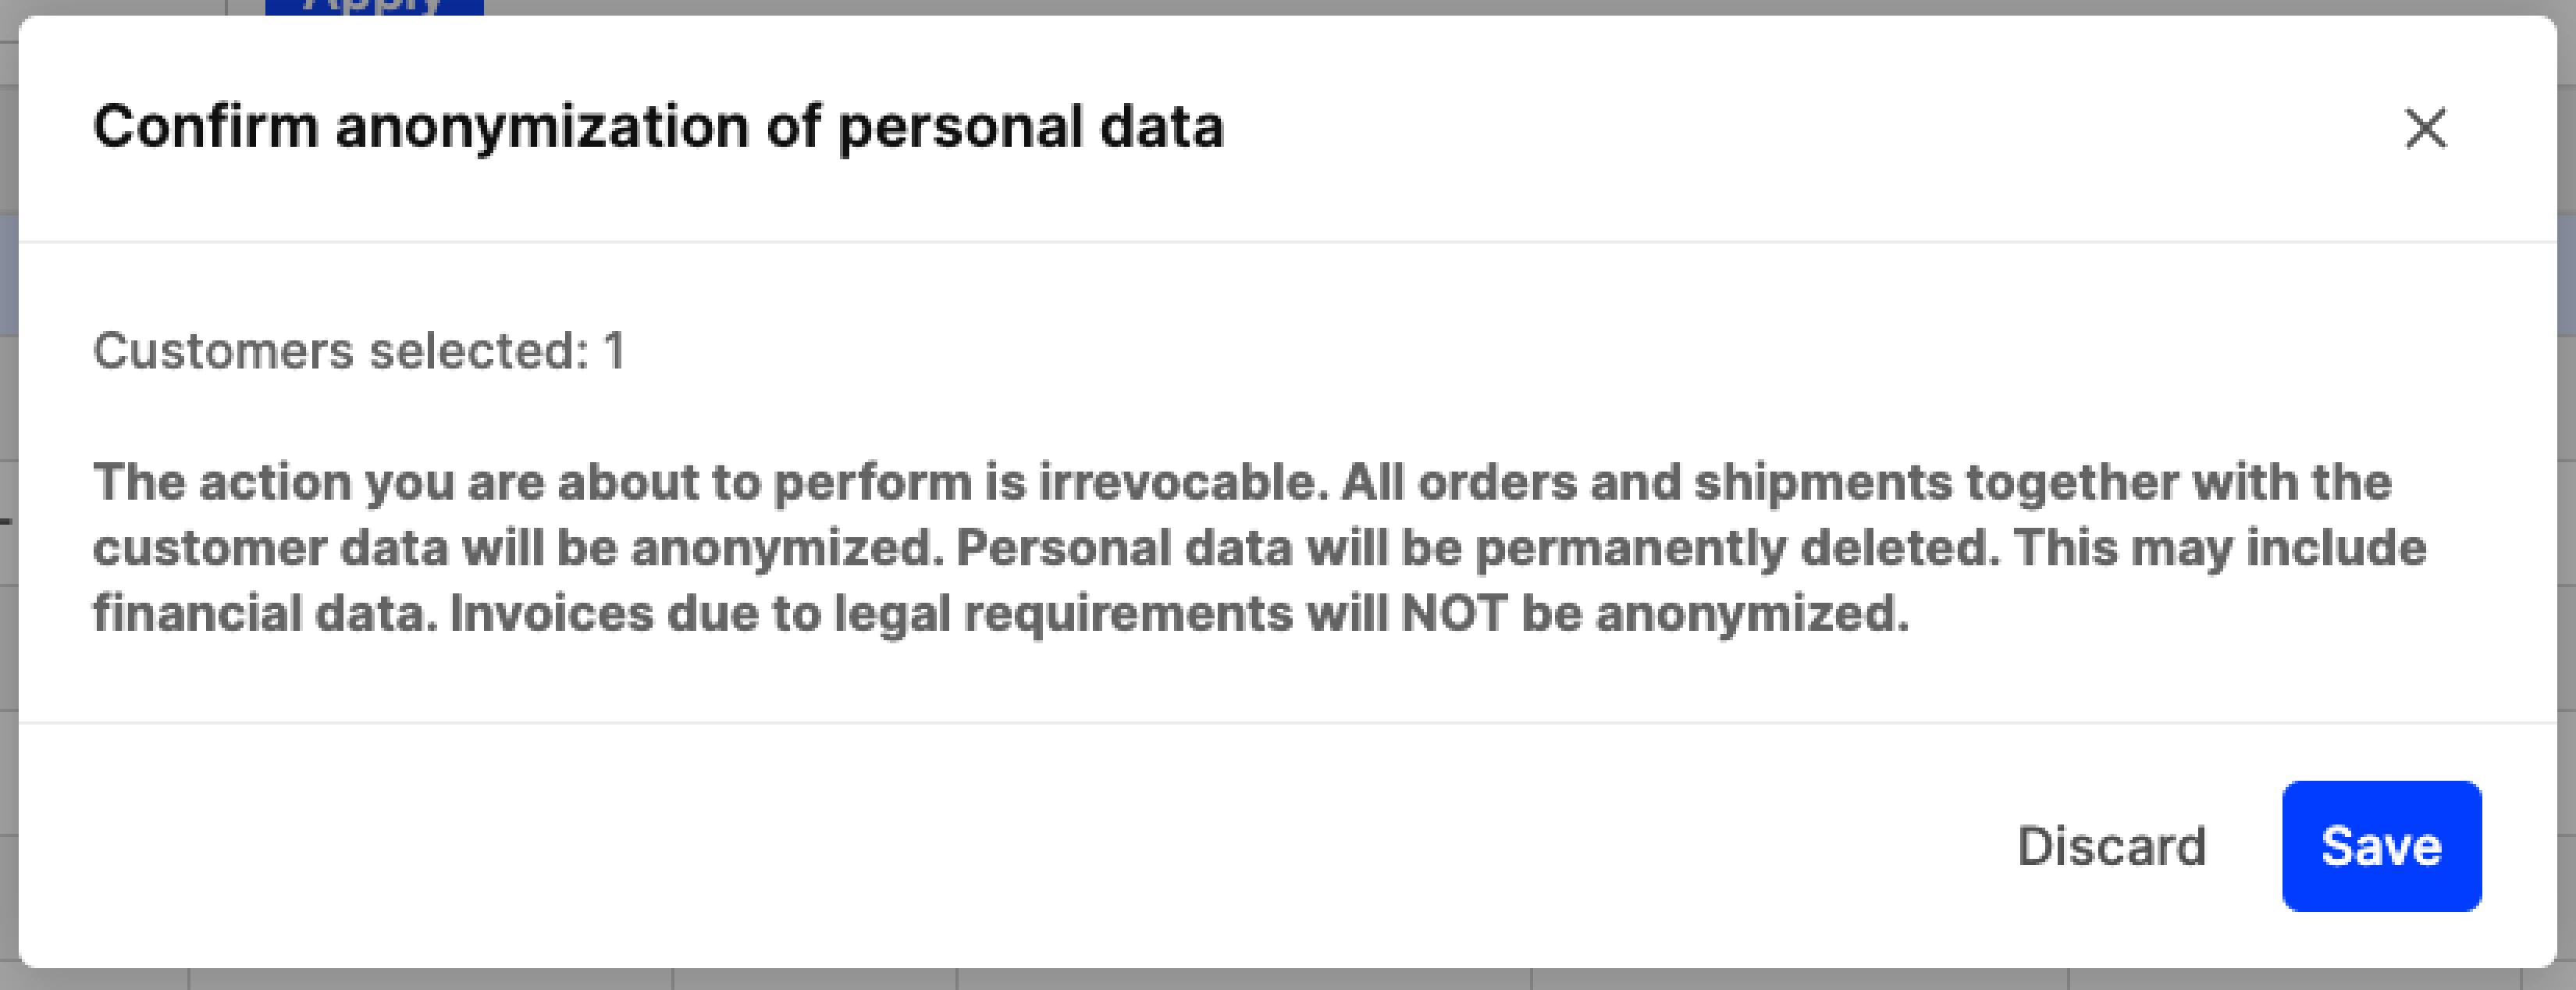
Here you can see the number of selected customers and a message explaining that this is a permanent change, that the customer data cannot be restored after this action is performed, and which parts of Centra are affected.
Customers pagination
The standard pagination is used in the Customers Listing. Feel free to read more about pagination in general here.
Customers Listing table
The following columns can be seen in the Customers Listing table: Status, Customer, City/State, Country, Orders, Last Order, Last Active, Total, Store, Created, Tools. All headers can be used for sorting in ascending/descending order by clicking on them. To sort multiple columns simultaneously, hold Shift while selecting them. A customer details panel can be opened by clicking anywhere on the customer row or on ‘View’.
Customer Details panel
Once a customer is selected, the following sections are displayed on the customer card: Customer metrics, Customer information, Consents, Orders, Incomplete orders, History, Email history, Login history. These are described in detail below.

Note that in the top-right corner, you can find three buttons:
-
Disable - This changes the status to ‘Canceled’. When this action is performed, two new buttons become available:
- Delete - This deletes the customer permanently from your Centra
- Restore - With this action you can restore the customer back to status ‘Active’
-
Edit - Use this to edit the fields found in the ‘Customer information’ section
-
Create selection - This allows you to create a selection for this particular customer. This is explained in more detail in this article.
Customer metrics
Customer metrics is an information section that brings deeper insights into customer behavior and value. This feature includes essential metrics on customer level, enabling you to identify your most valuable clients. They offer a snapshot of customer value and behavior, facilitating actions like personalized discounts and improved service strategies.
Every customer-related event, from orders to returns, contributes to the data. Centra collects and processes these events, recalculating the metrics twice a day. This ensures that the metrics are always up-to-date, providing accurate insights into customer behavior.
The following key metrics are available:
Order intake value
This metric showcases the monetary value of a customer's orders over a defined period. It helps brands identify high-value customers who contribute significantly to the business.
How it’s calculated:
- Data from all orders created are used, including shipping and handling costs. Formula used: Product value + Shipping & handling fees (both values taken from the ‘Order intake value’ widget)
- This metric is calculated the same way as in the ‘Order intake value’ widget in the Dashboard. More info can be found here. However, do note that the main difference is that this metric is calculated for all orders placed by the selected customers and not over the period of time as defined in the Dashboard.
Customer return rate
The return rate metric reflects the percentage of a customer's order value that has been returned. This metric is helpful in understanding customer satisfaction and loyalty, allowing you to target improvements for customers with high return rates.
How it’s calculated:
- Formula used: Returned products value / Product value (both values are taken from the ‘Order intake value’ widget)
- This metric is calculated the same way as in the ‘Return rate’ widget in the Dashboard. More info can be found here. However, do note that the main difference is that this metric is calculated for all orders placed by the selected customers and not over the period of time as defined in the Dashboard.
Customer information
This is the only editable section on the customer card. Here you can find all the customer details, such as status, customer ID, Billing address and Other information. Within Other information, the following fields can be found:
- Gender - Select the gender from the dropdown menu
- Birthdate - Input the birthdate of the customer
- URL - Insert any relevant links
- Receive newsletter - When ‘Yes’ is selected, it means that the customer has given consent to receive newsletters. In such a case, that customer’s information is also found under DTC > More > Newsletters
- Registered user - This setting is important if your website includes a sign in option. If the customer has registered and created an account this is set to ‘Yes’. Note that this setting is not editable
- Tax class: This can be used in cases where the Default Tax group needs to be overridden. Great to use when a tax exemption is needed. Find out more here
- EC-Vat no - Input the VAT registration number
- Market - Select the Market that the customer should be included in
- Pricelist - Choose which Pricelist should be assigned to the customer
- Language - Here you can set the language that should be used for all communications with the customer
- Internal comment - This can be used when extra information is needed for the customer.
These settings should be filled out manually when a new customer is created in the backend. Otherwise, when a customer places an order, they are automatically filled out through the order placement. Similarly, if a customer signs up to the newsletter, a customer card is created and some of these fields are filled out.
Note that when a new customer is created, two more fields are available, which are not found on the customer card after you click ‘Save’. These are:
- Add to store - Choose which store the customer should be connected to. If only one DTC store is used in your instance, then by default this one is selected. If multiple DTC stores are used, please use the dropdown to indicate which store the customer should belong to
- Password - Insert a password. Used in cases where registration is available on your website.
In the top right of the Customer information section, the following buttons can be found:
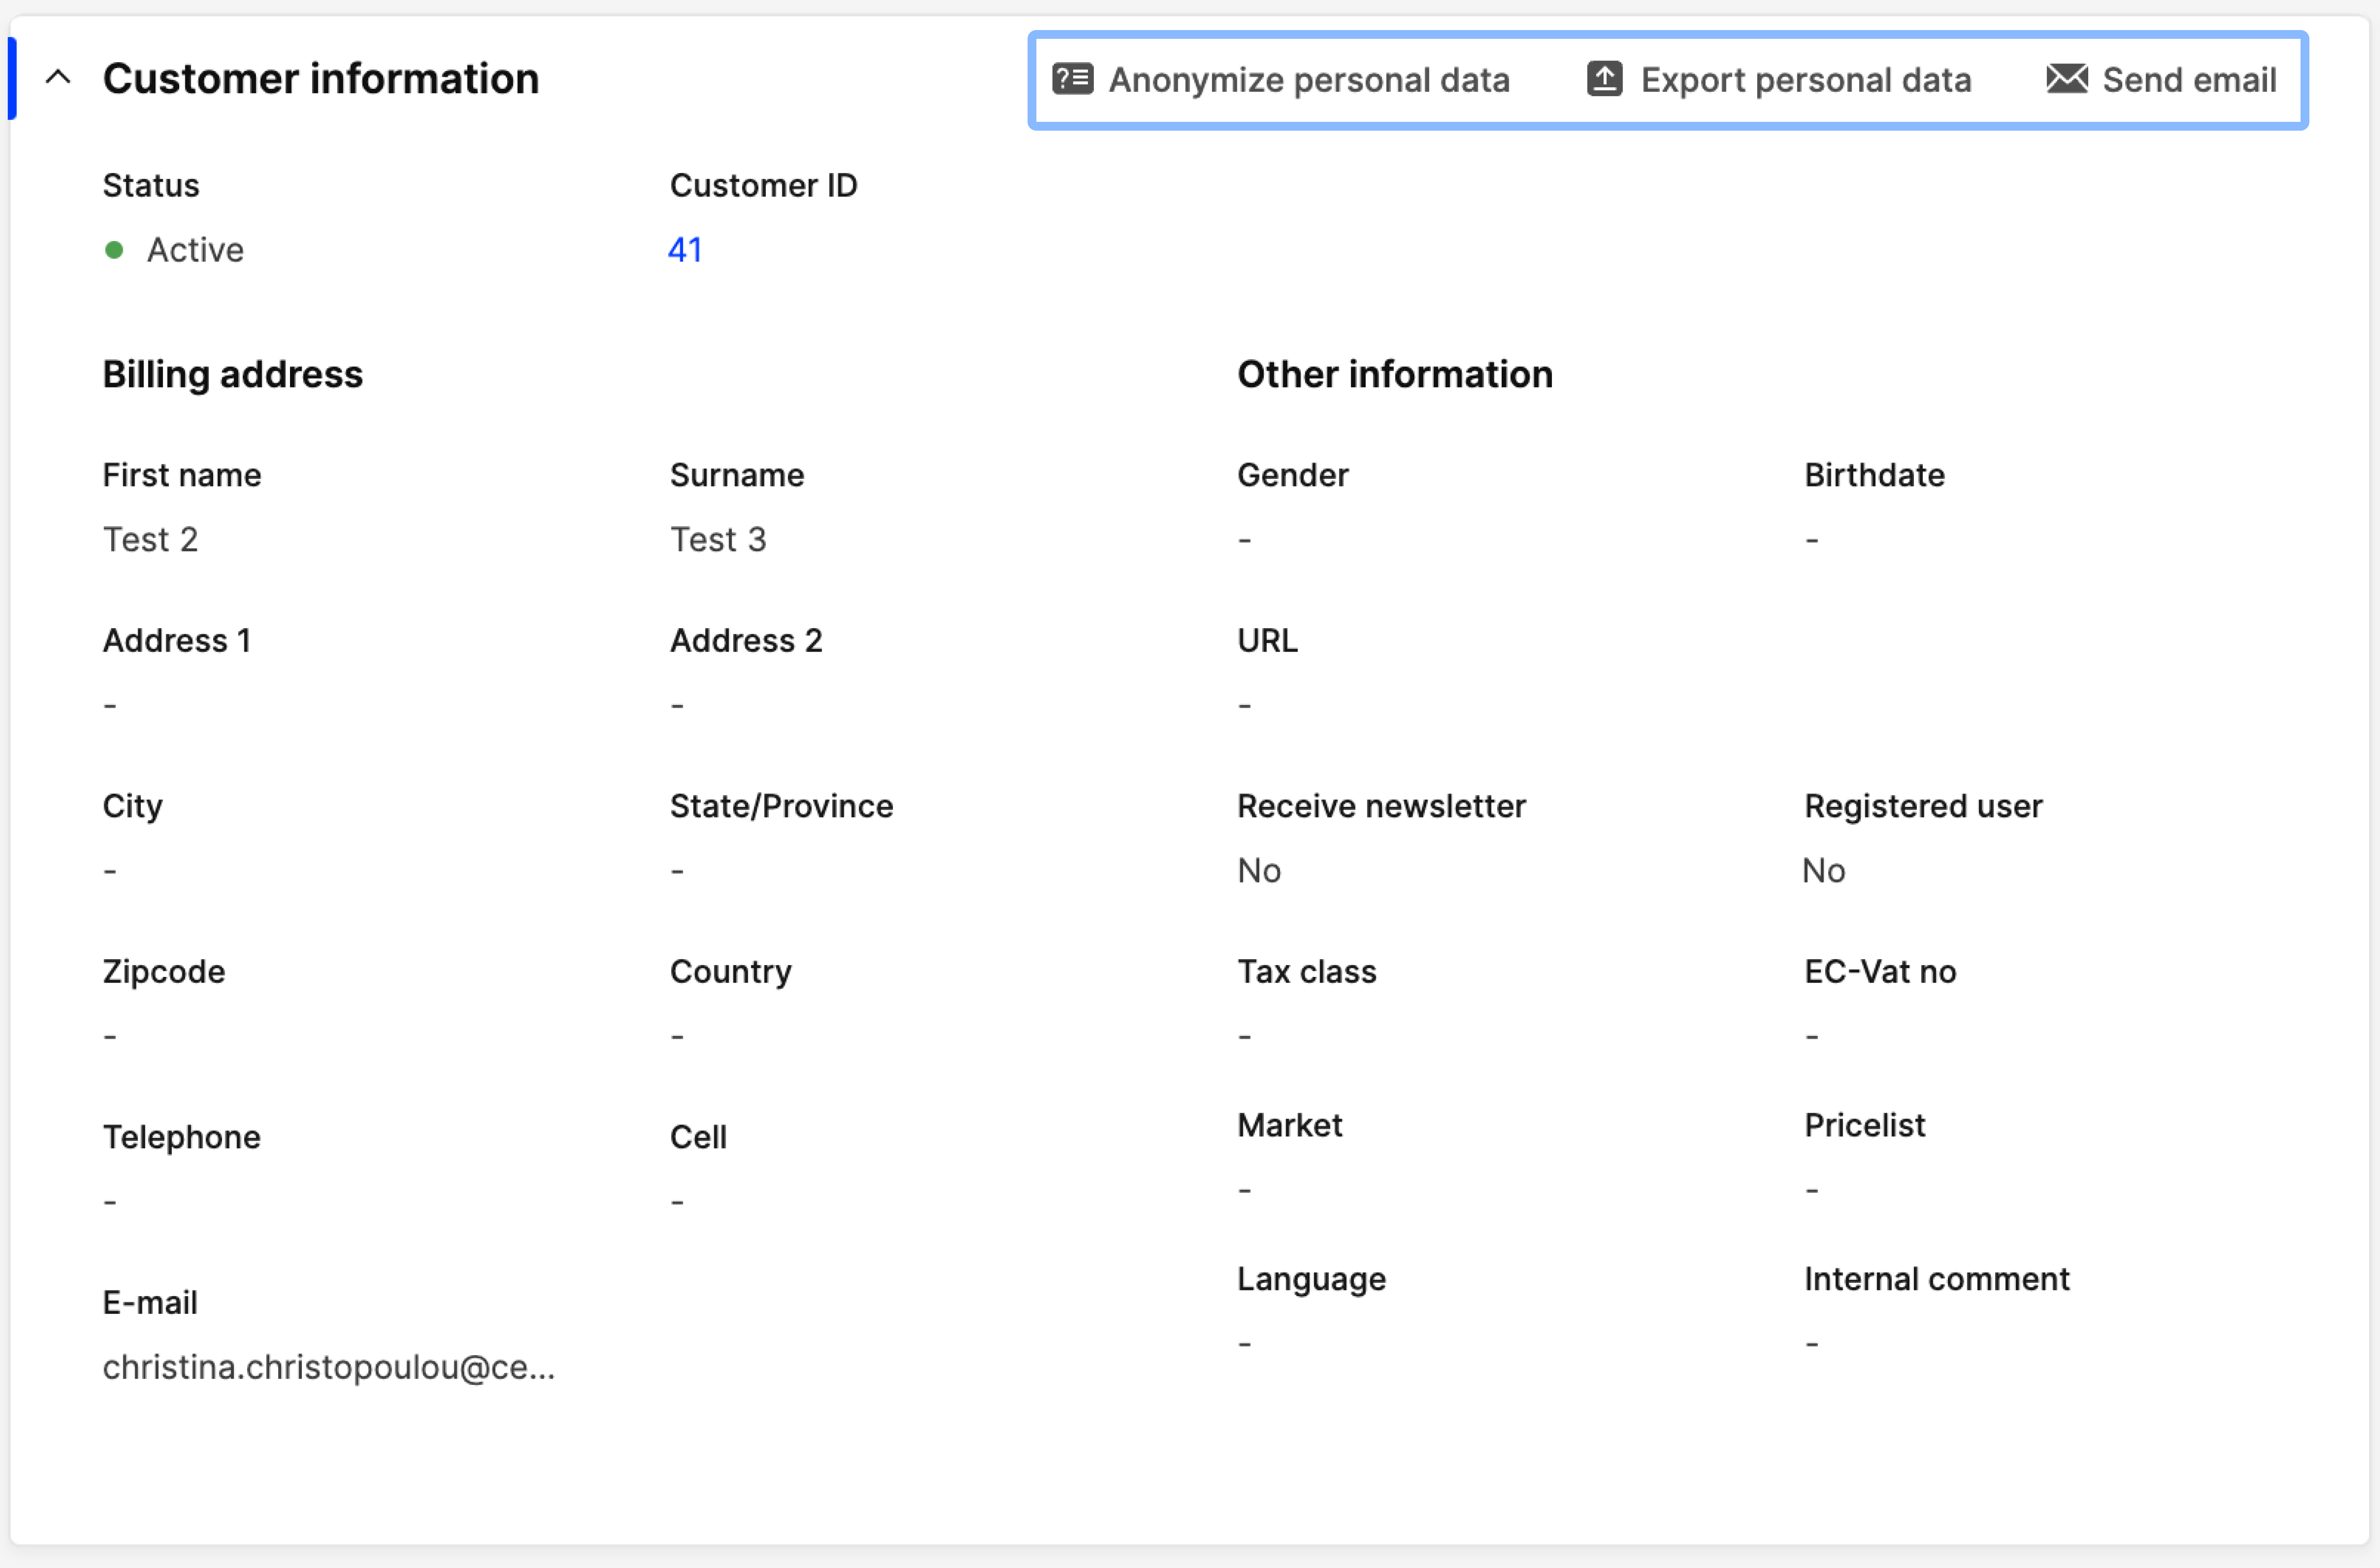
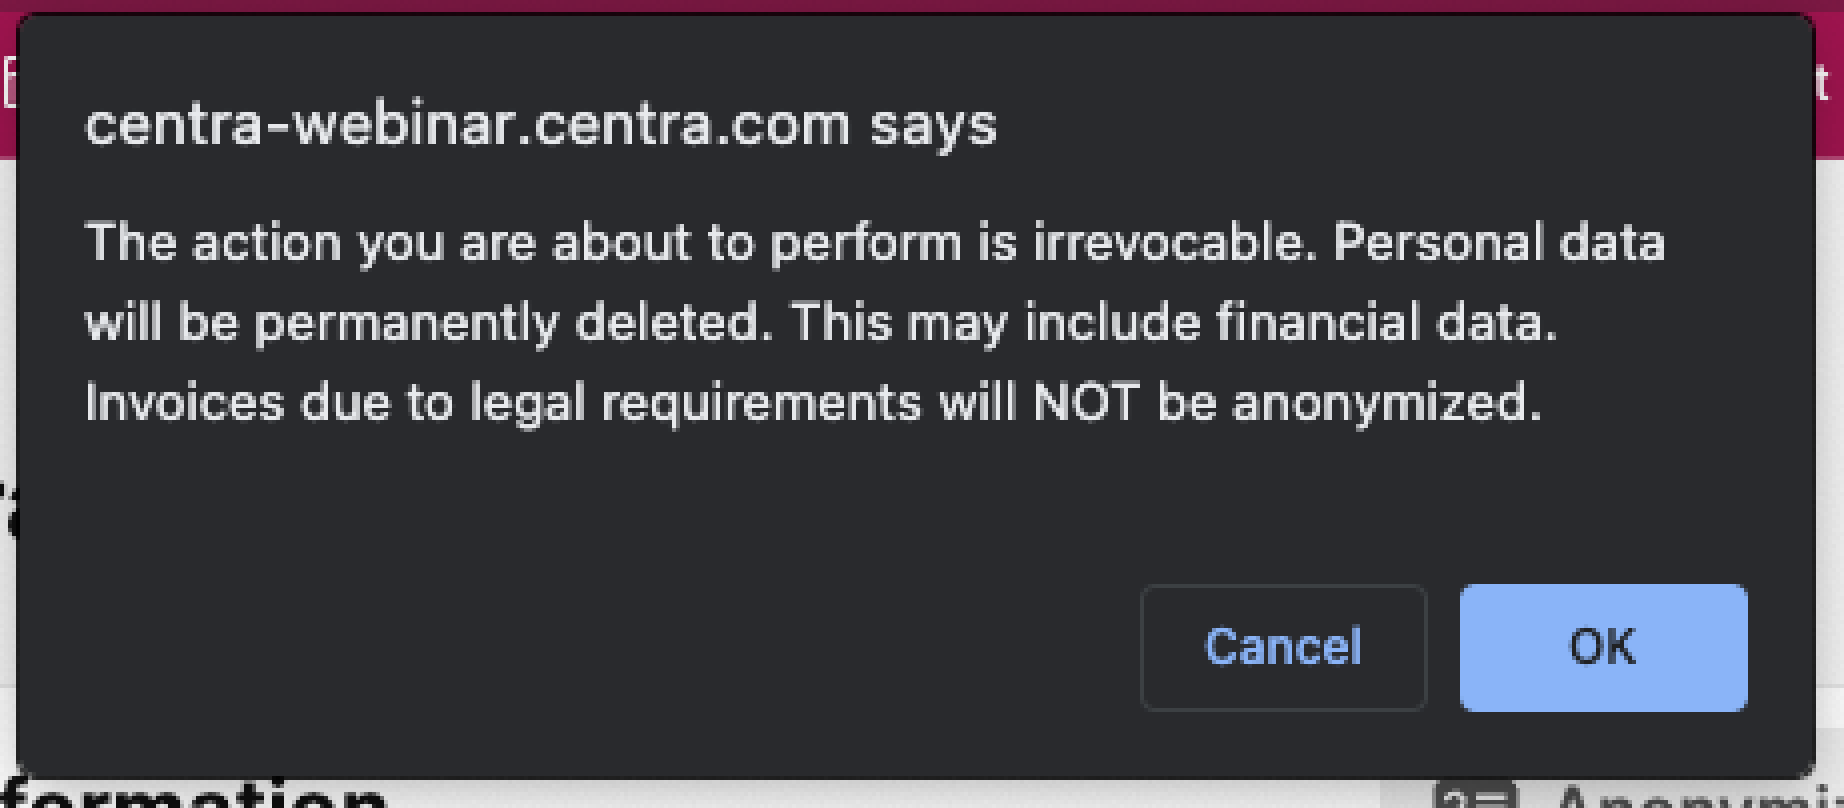
- Anonymize personal data - This removes all customer information and changes the customer status to ‘Canceled’.
Note that this change cannot be reversed, and that orders and shipments from this customer are also anonymized.
The following popup message appears when this button is clicked:
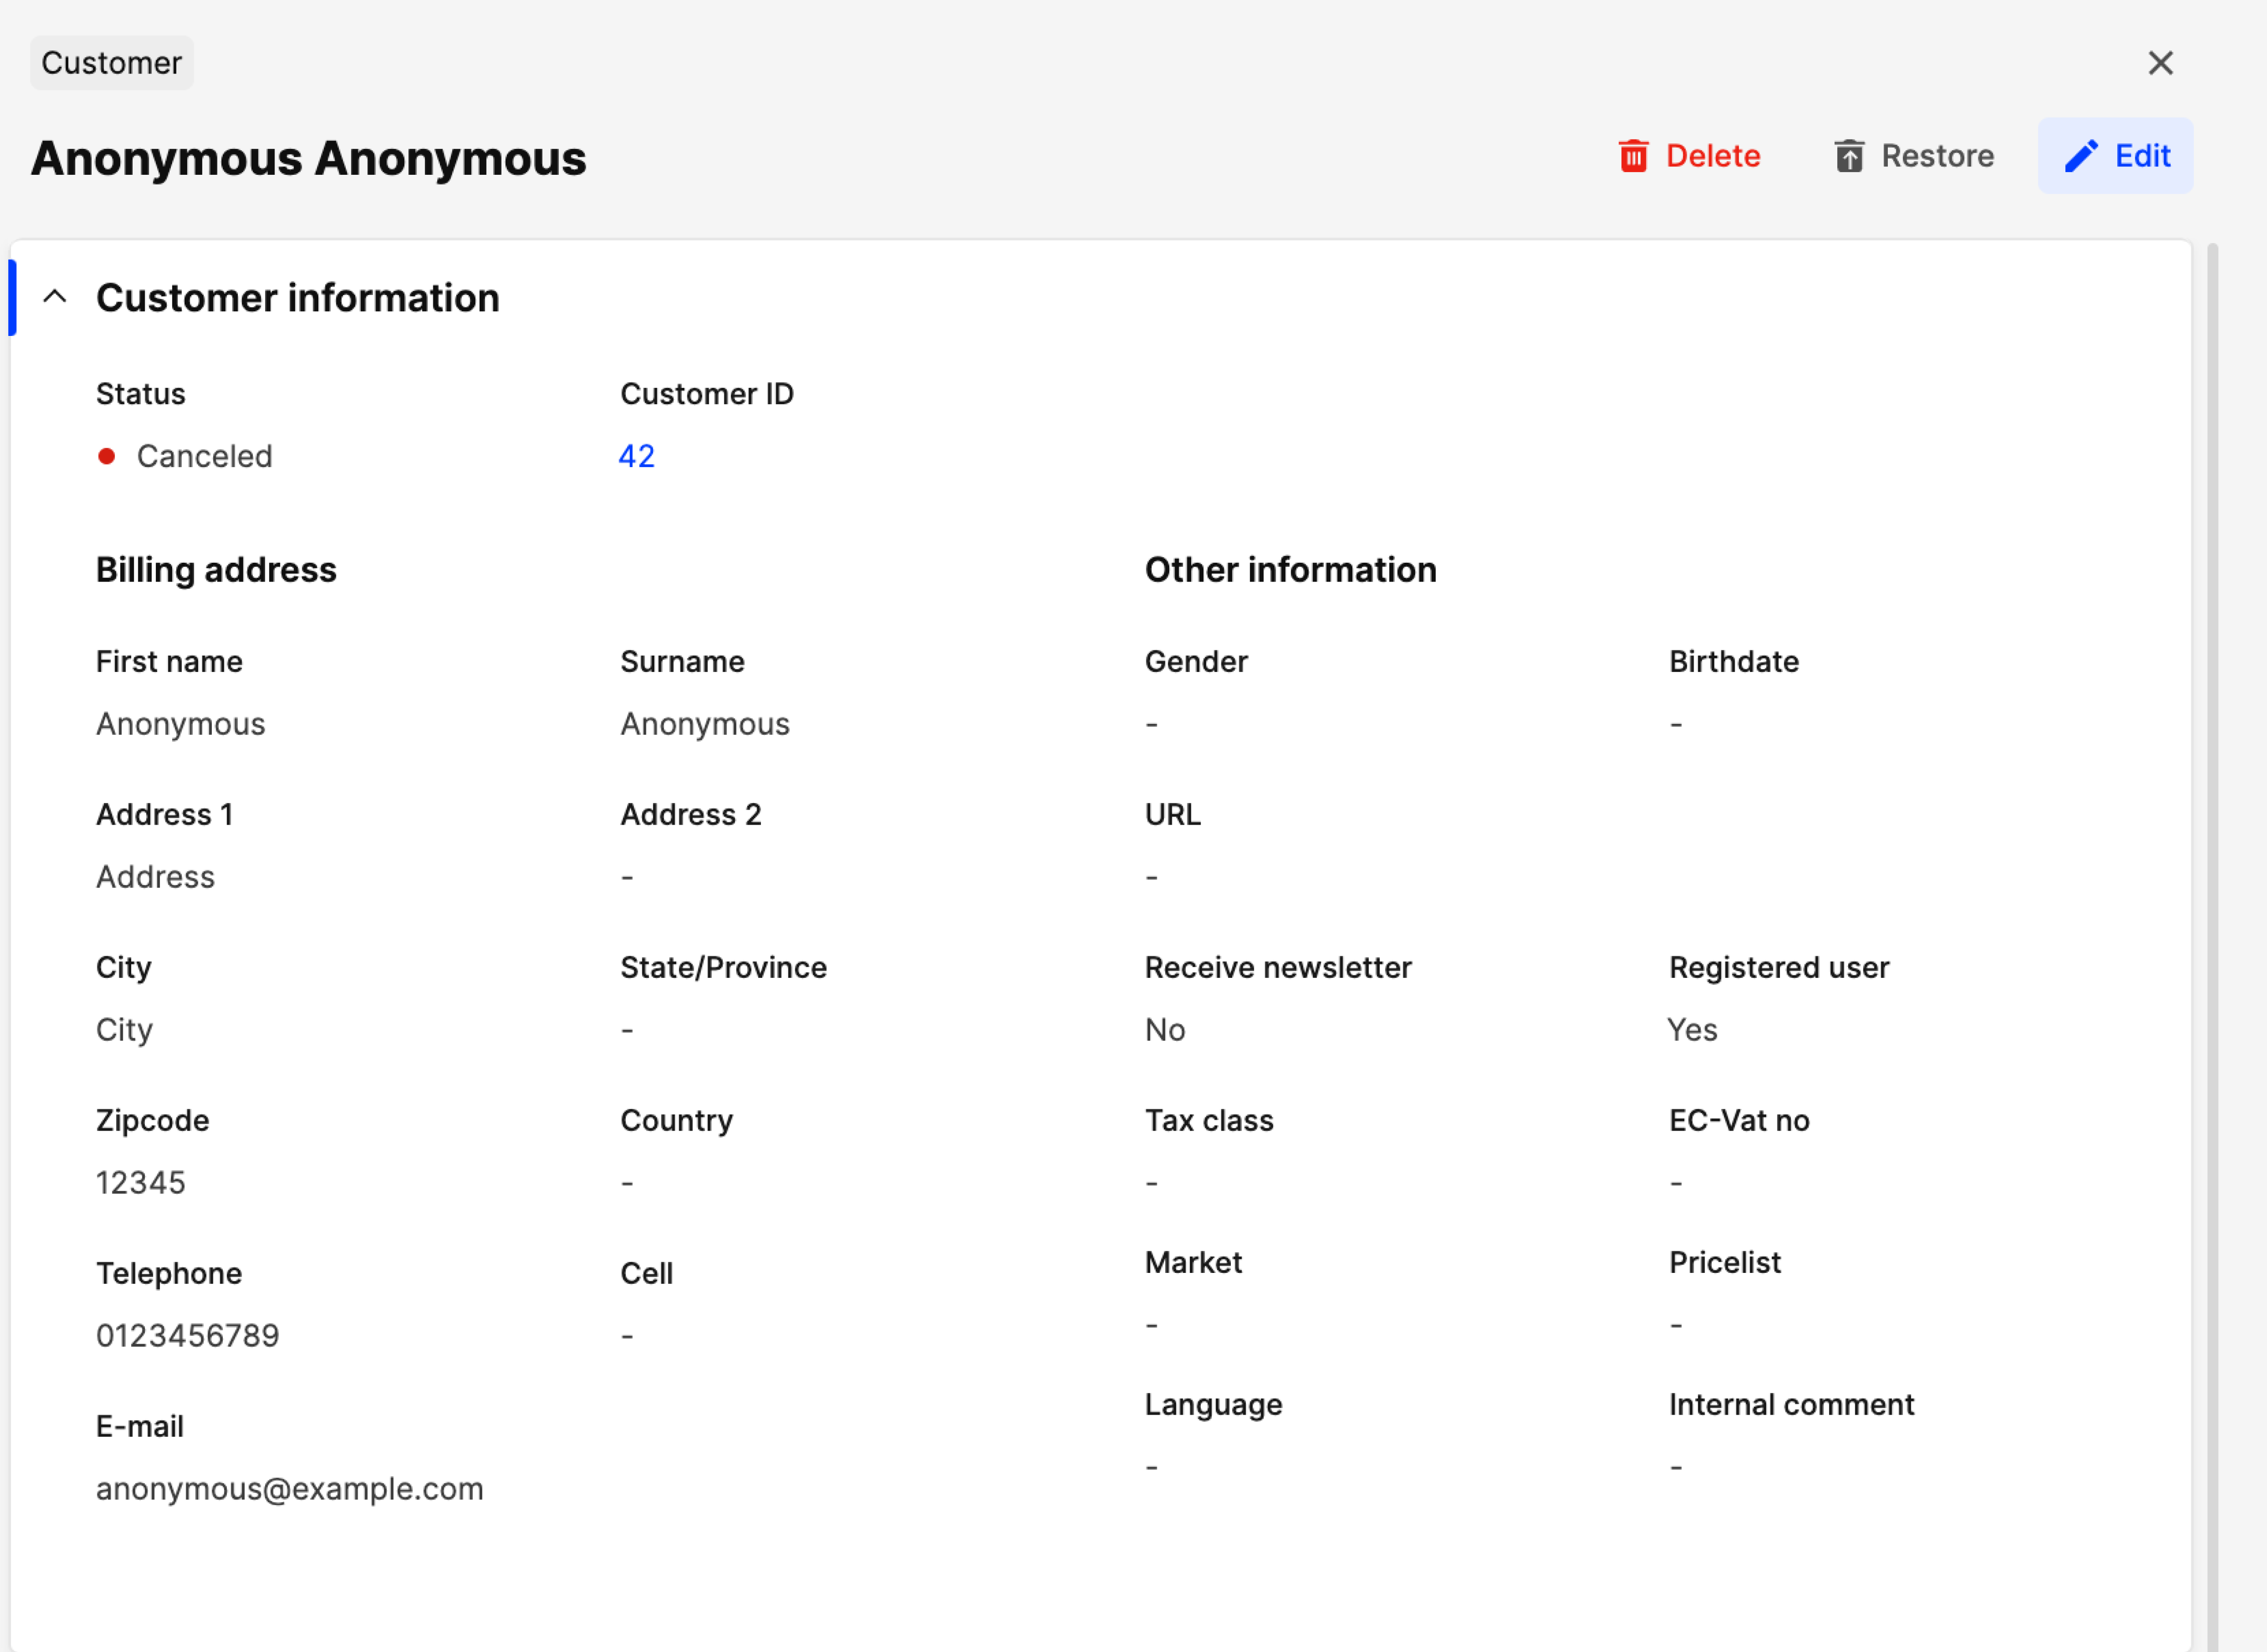
See an example of an anonymized customer card below:
- Export personal data - This can be used to send all personal data to the selected customer. The following pop-up appears when the button is clicked:
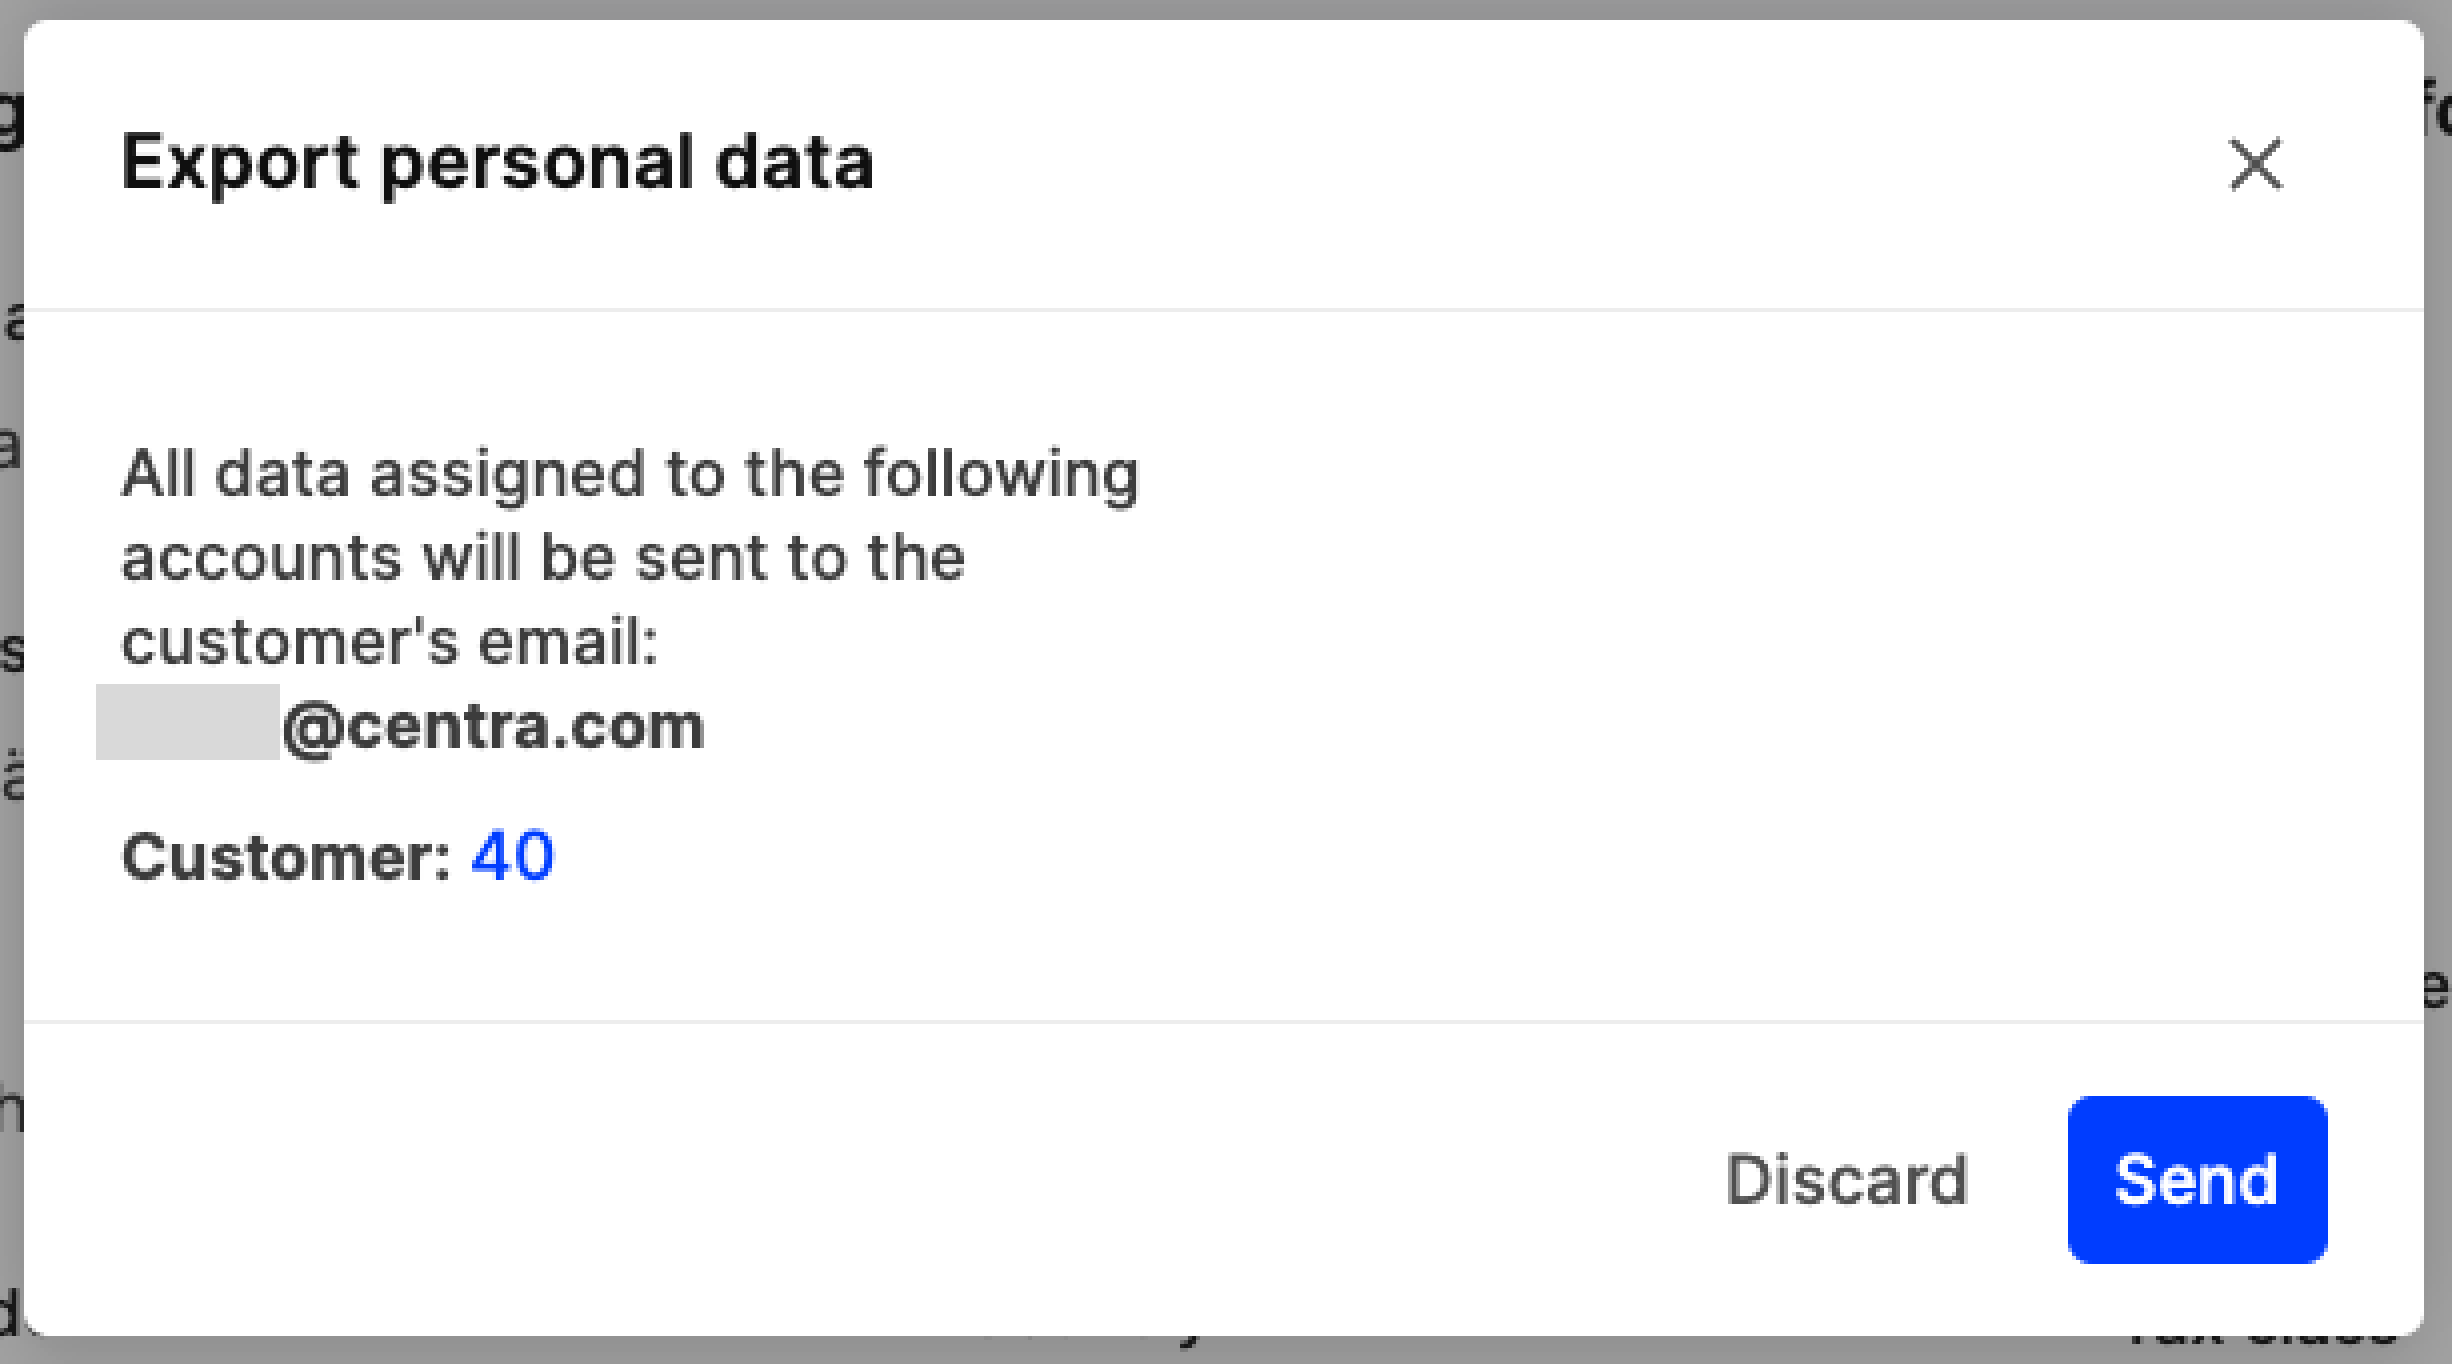
Note that if multiple customer cards include the same email address, more than one customer entry is seen in this popup and therefore all data connected to this email is shared.
- Send email - This allows you to send test emails or resend transactional emails to your customers. The following options can be found within the pop-up:
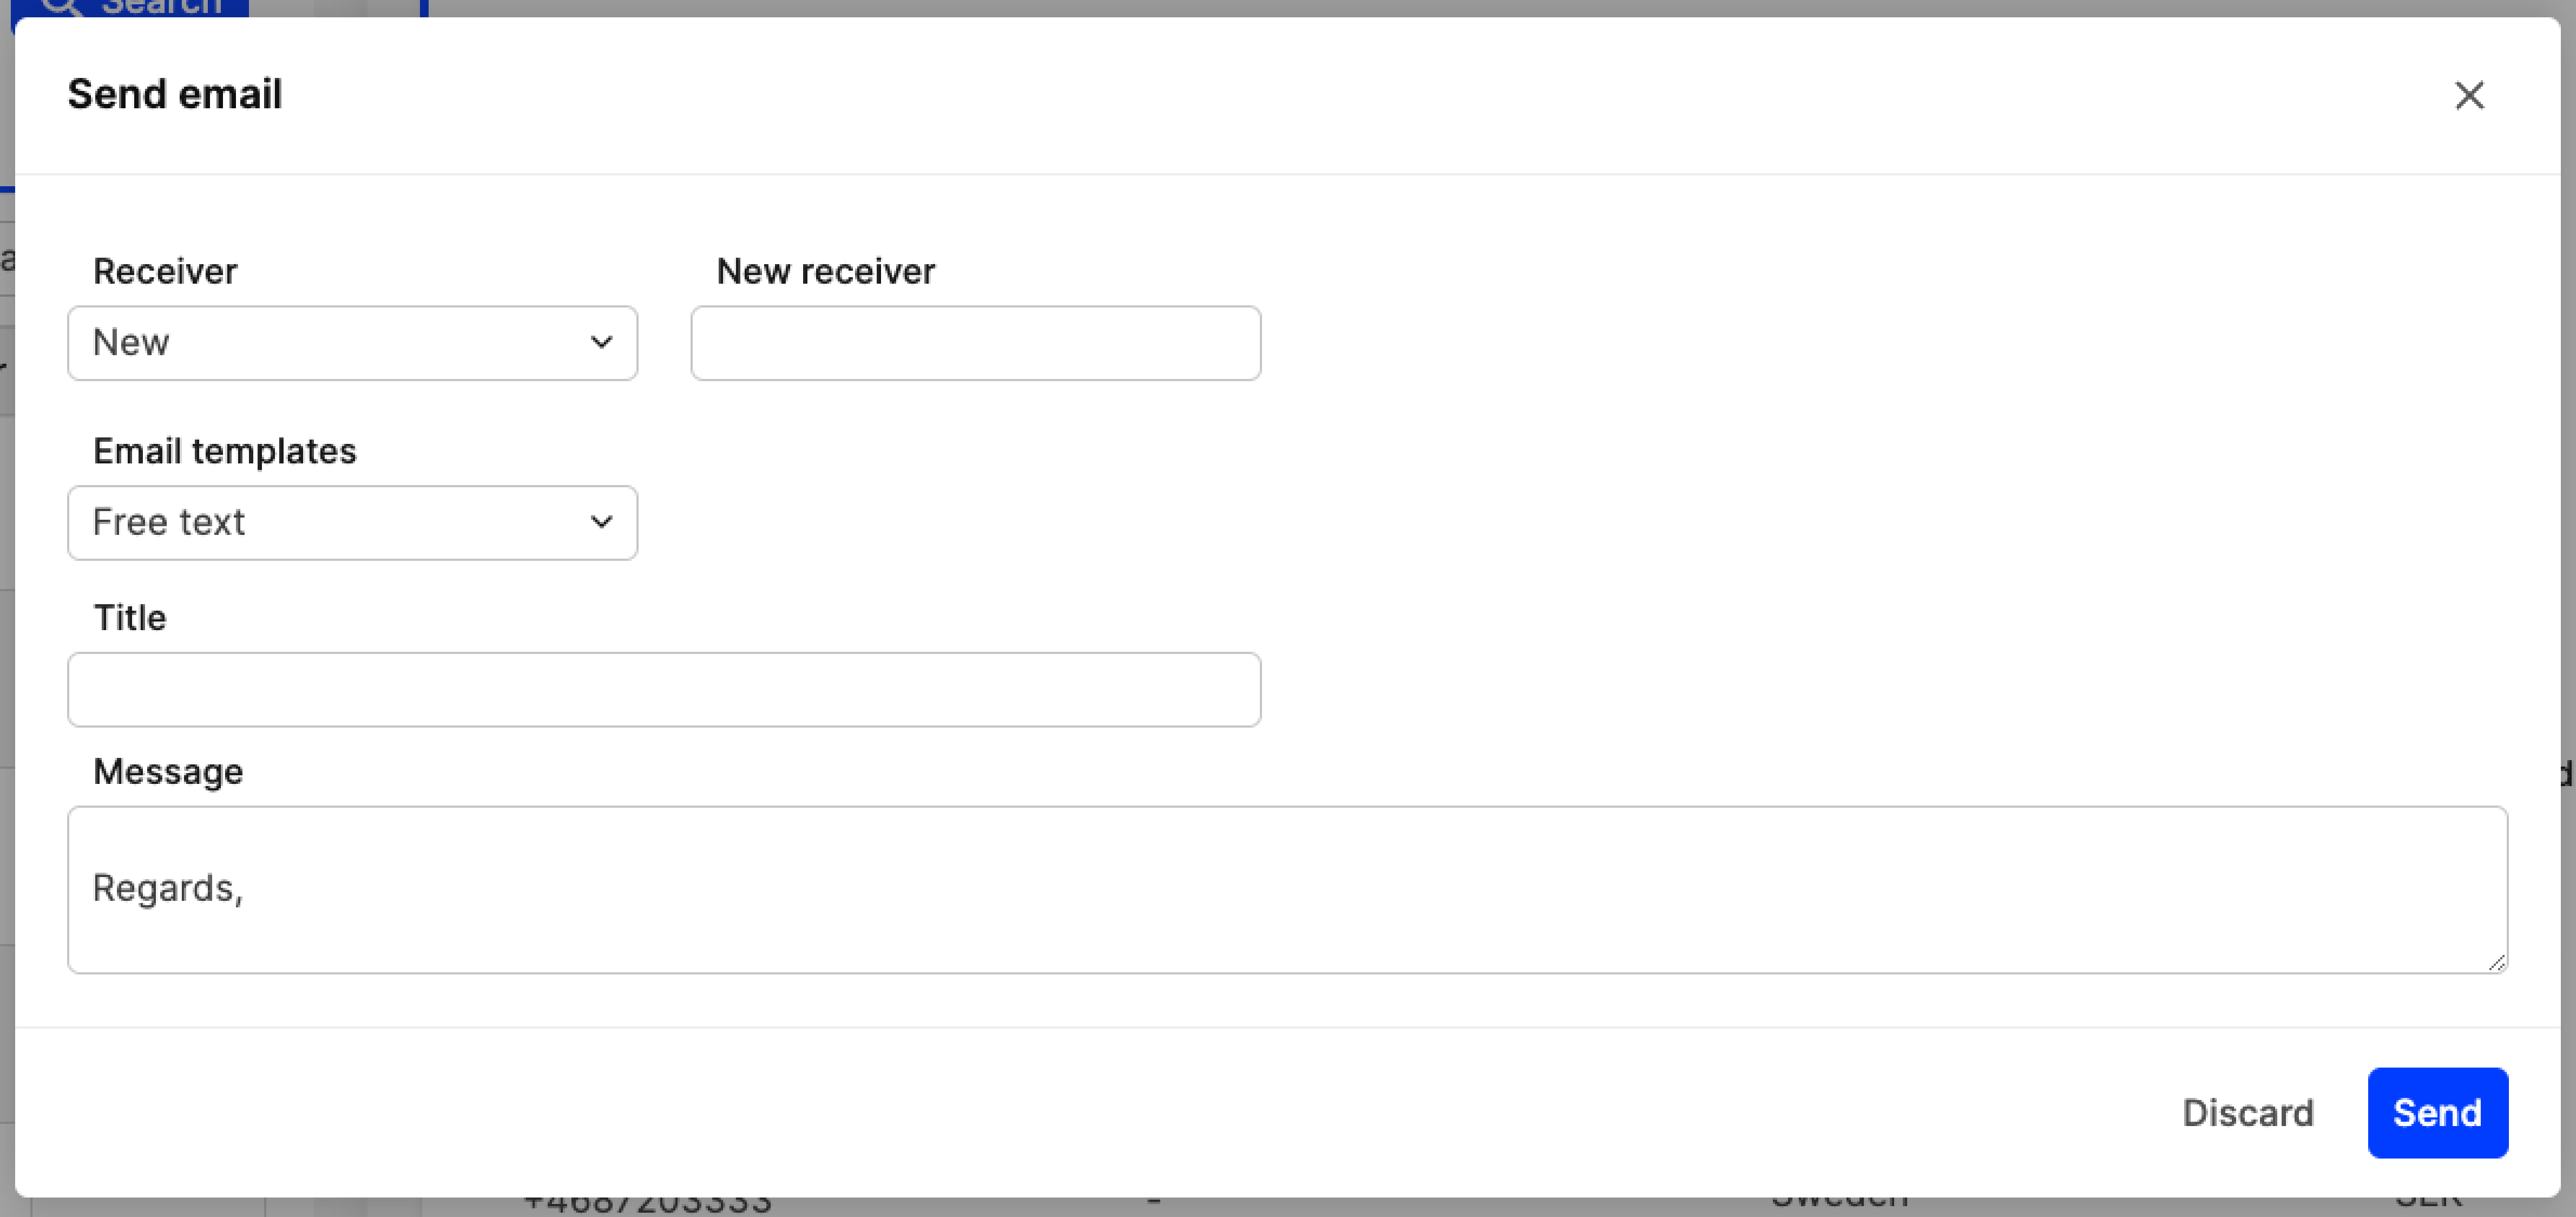
- Receiver - The email address found on the customer card appears automatically. Note that you can click on the dropdown menu and select ‘New’, which makes a ‘New receiver’ field available. Here you can insert any email address. This is great to use when you’d like to send a test email to yourself from a specific customer card to see the end result
- Email templates - Here you can find a list of email templates. Free text allows you to start an email from scratch, meaning that no predefined content is found in the ‘Title’ and ‘Message’ parts. An example of some of the options can be found below:
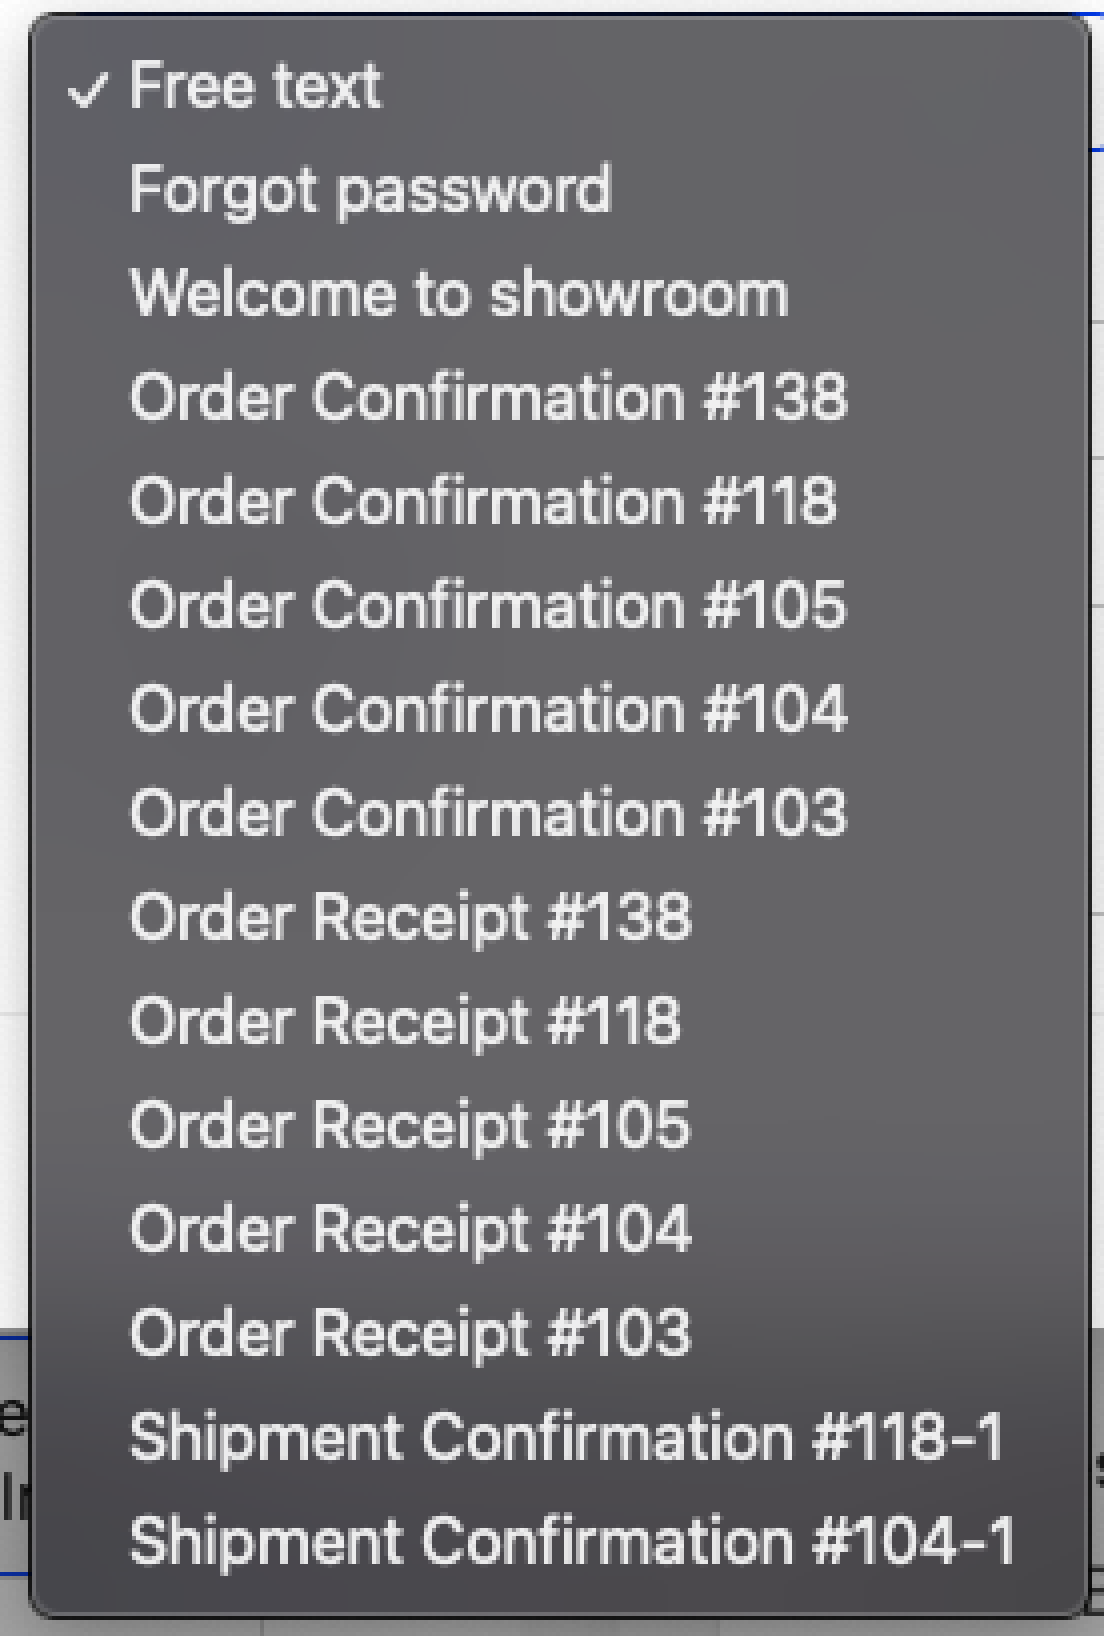
Any transactional emails connected to orders placed by this customer are found there (i.e. order confirmations, order receipts, shipment confirmations, invoice emails etc.)
- Title - When using a ‘Free text’ email, you can input content in the Title field which acts as the subject line for that email
- Message - If a specific email template is selected, the predefined content specified through the Statics come up. If, however, ‘Free text’ is selected, the content needs to be specified.
Consents
In this section you can register different types of consents, for example for GDPR purposes. Click ‘+Add consent’ to register a consent. The following popup appears where you can fill out the fields described below:
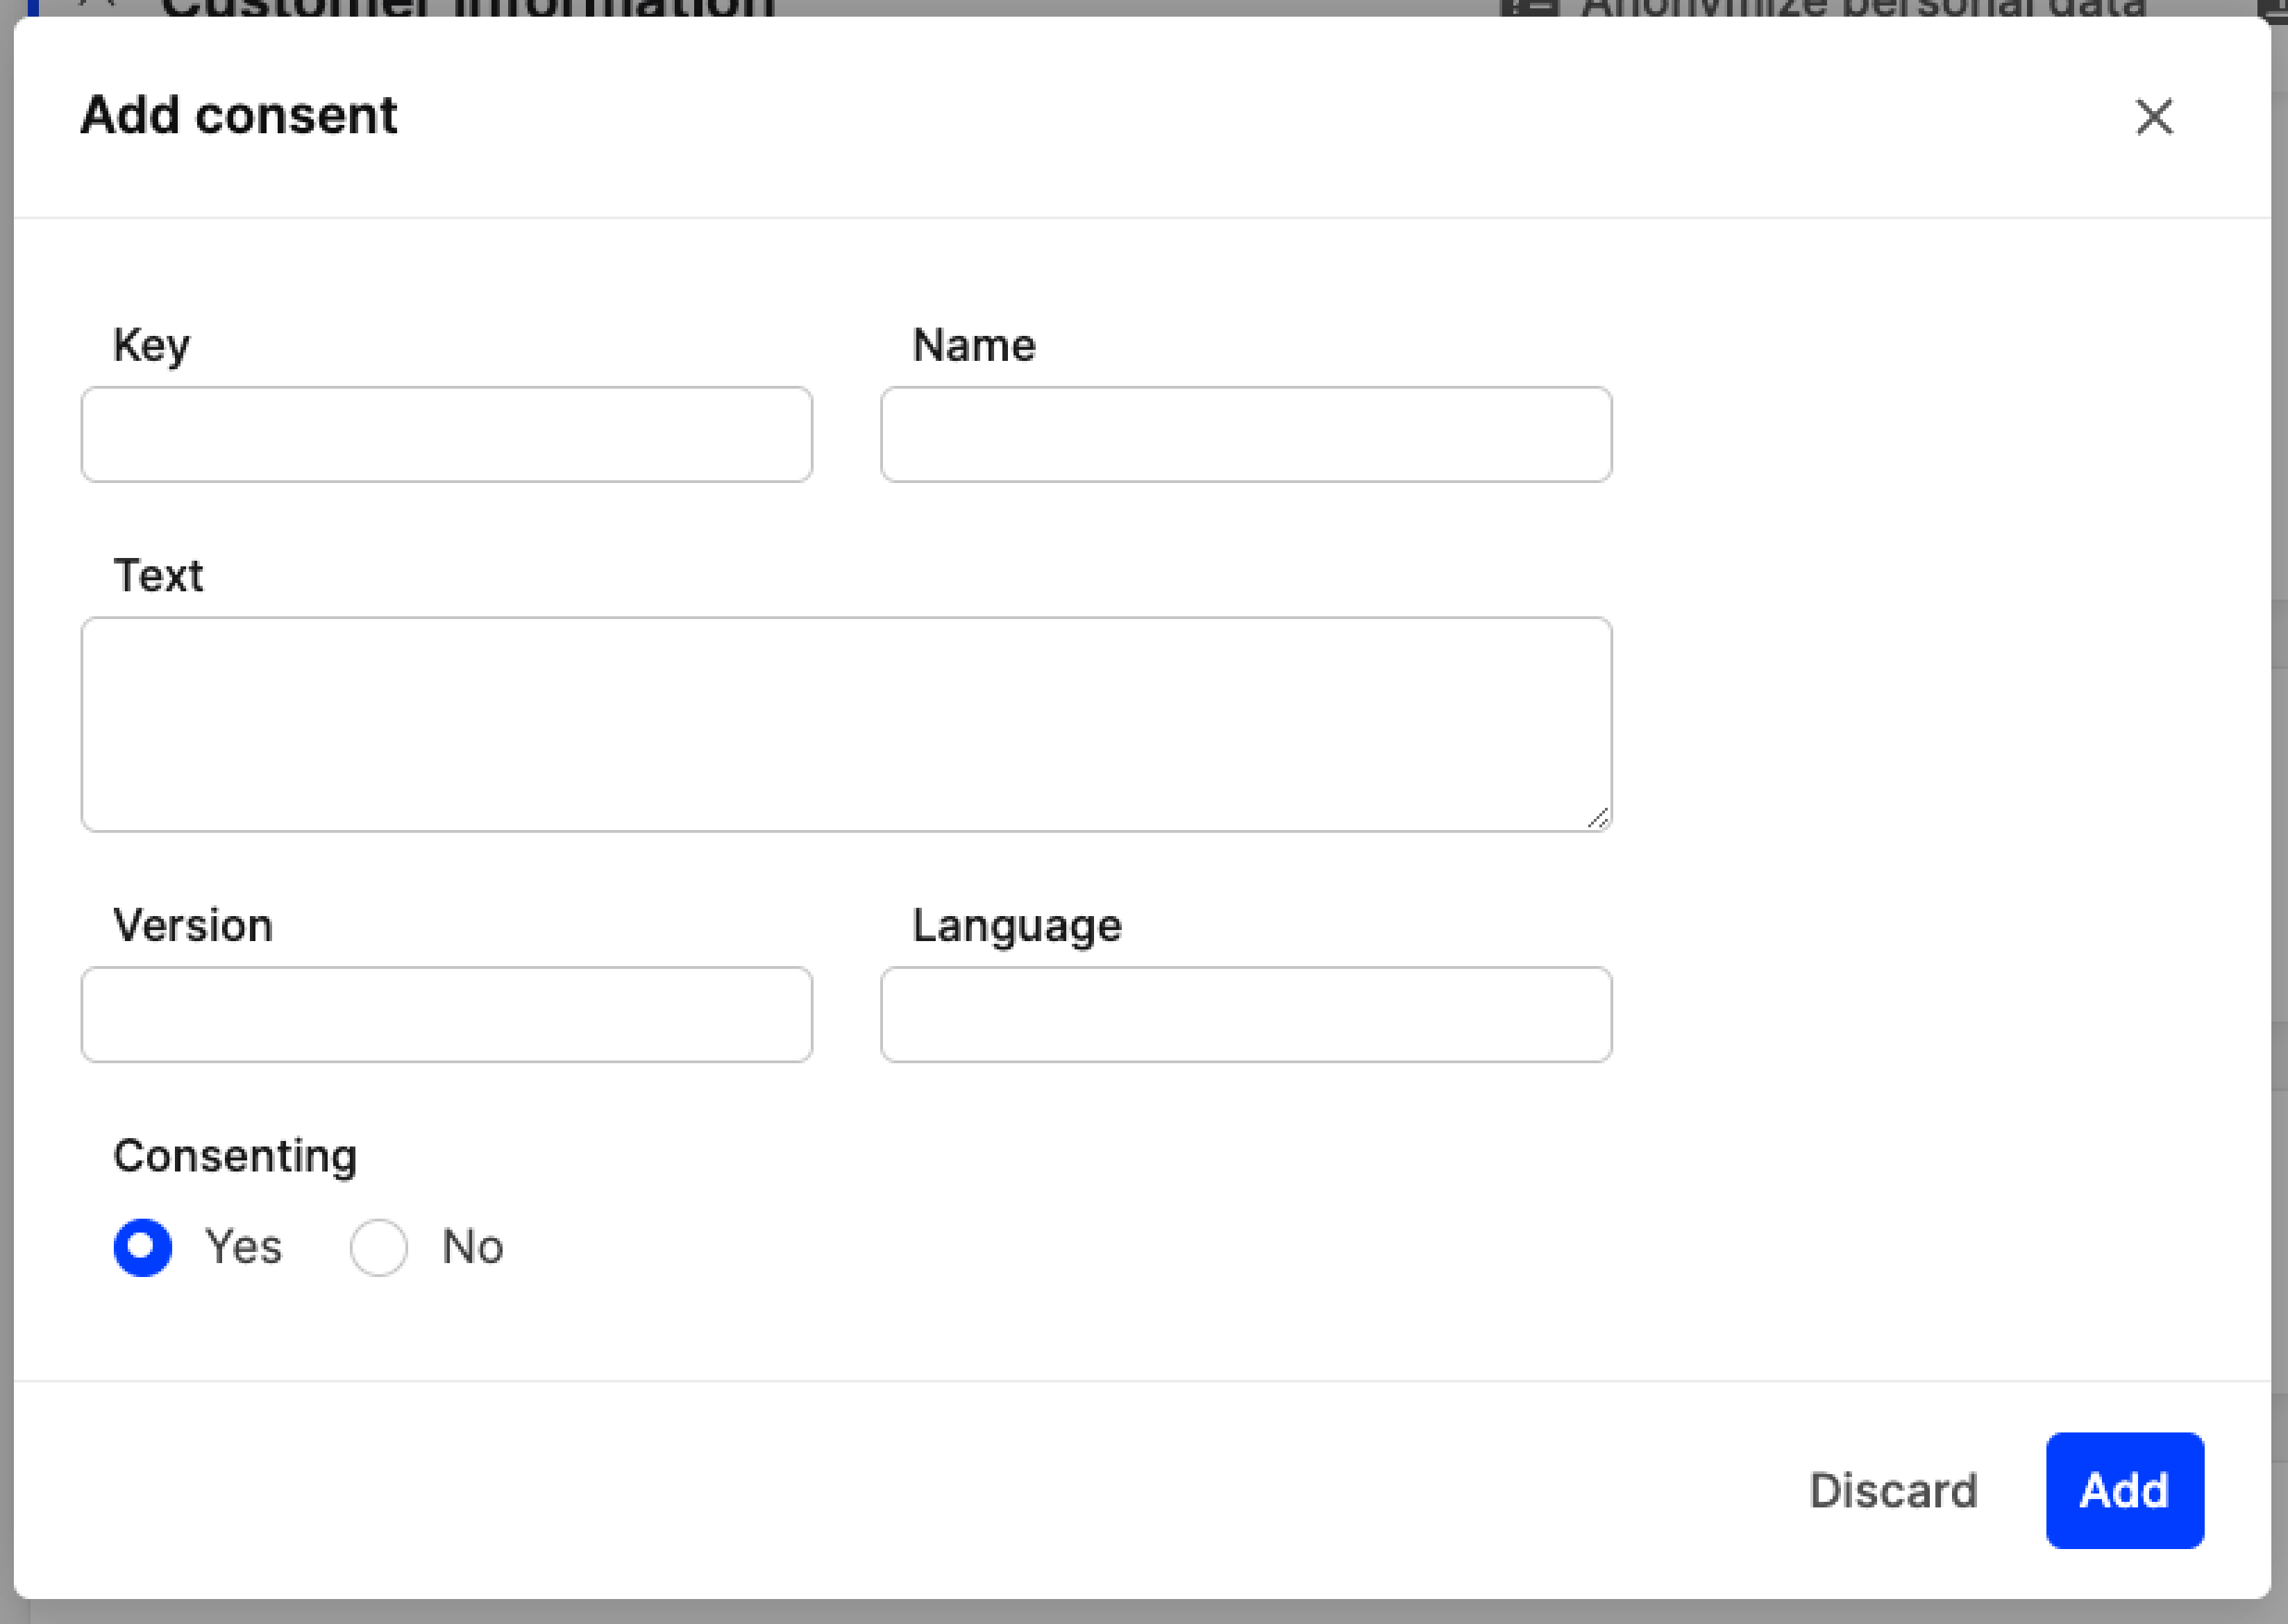
- Key - Identifier for this consent (required)
- Name - A descriptive name (optional)
- Text - Description of the agreement that the customer consented to (optional)
- Version - Version of consent. This can be used in cases where changes are made to the consent and need to be noted in different versions (optional)
- Language - Insert the language of the consent
- Consented - Set it to ‘Yes’ or ’No’ to indicate whether consent was given or not (required)
The ‘Consents’ section is mainly used through the Centra backend, where consents can be added manually. These can be then exported using the ‘Consents list’ through the Customer export explained in an earlier section.
Orders
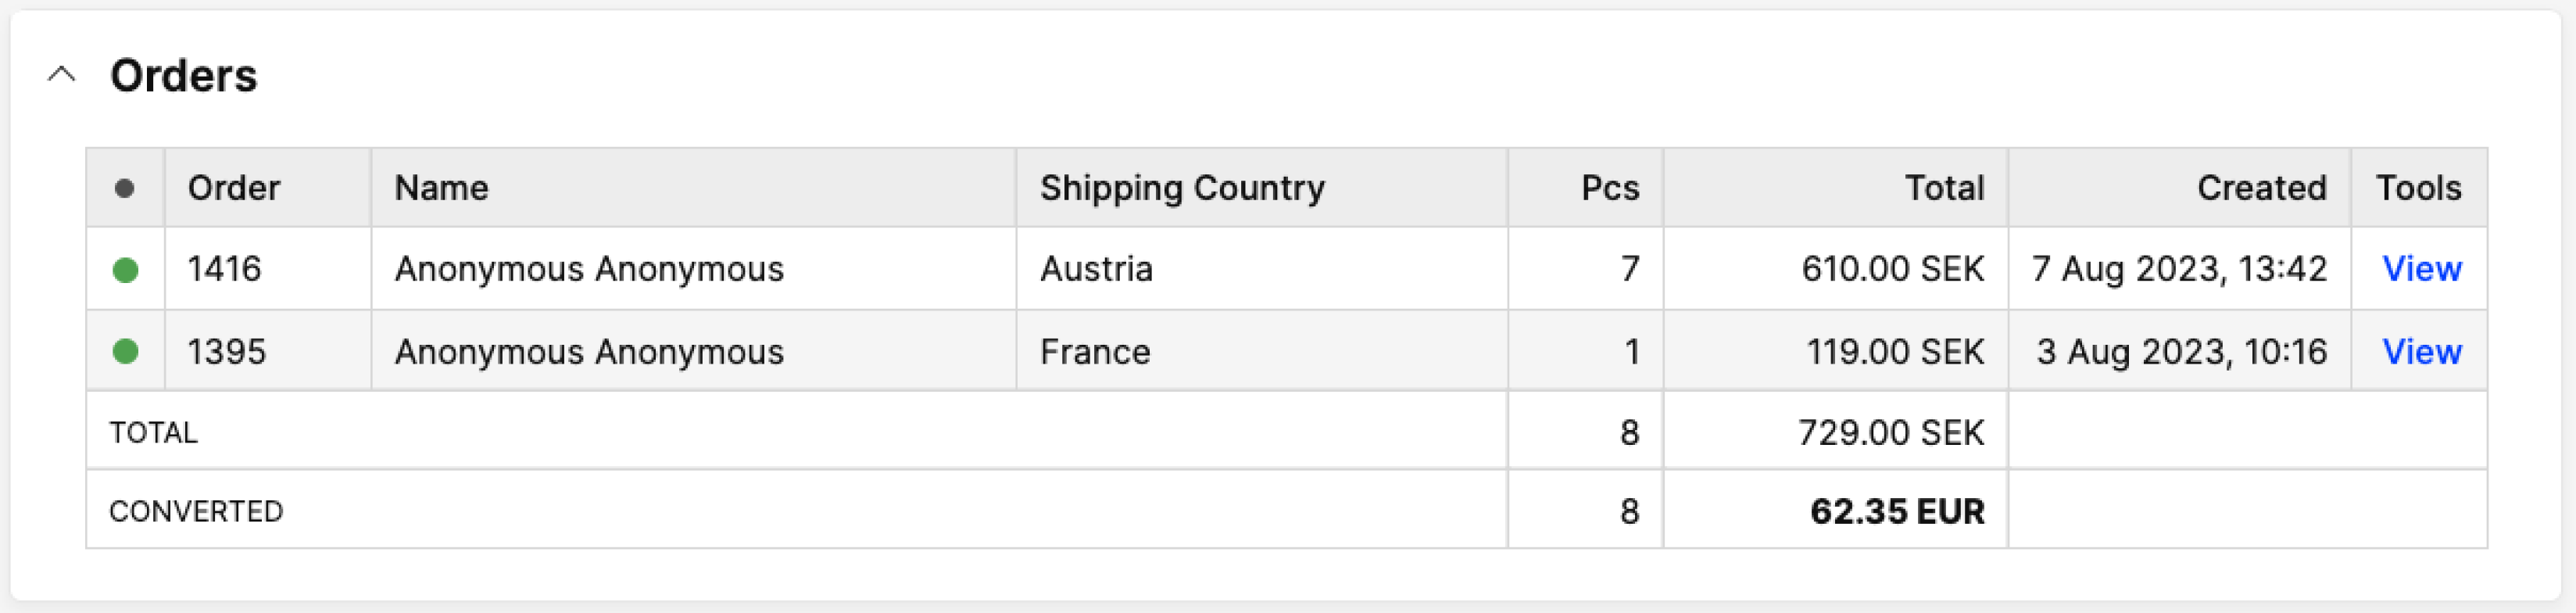
In this section, you can see all orders this customer has placed. The order status, along with the order ID, Customer Name, Shipping Country, Pieces ordered, Order total and Order creation date can be seen, as in the example below:
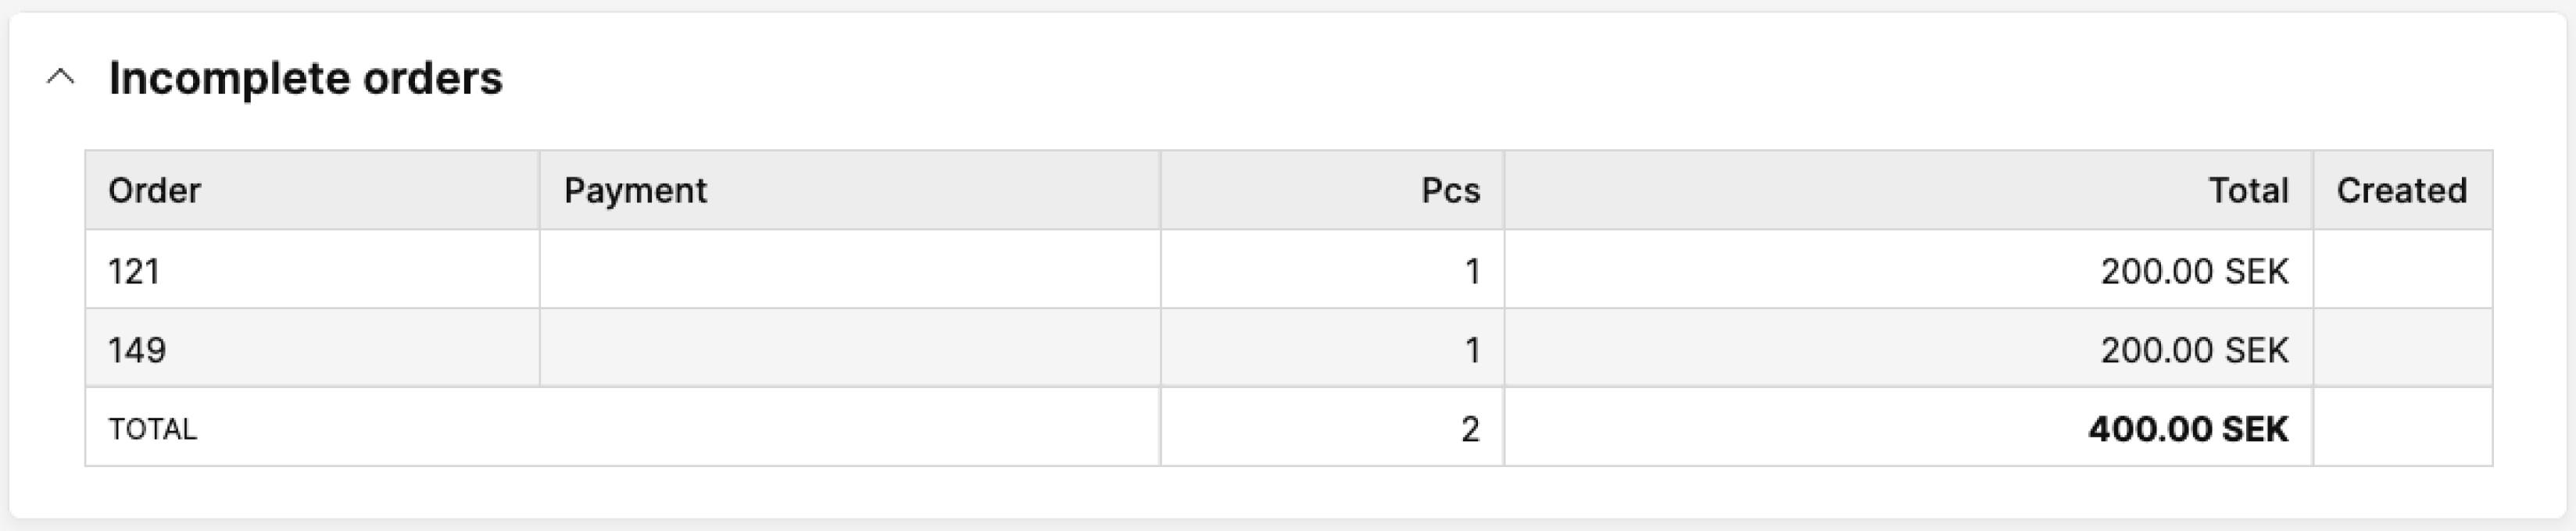
Incomplete orders
There are situations where a customer starts an order on your website but stops before placing it. An order like this is called an incomplete order in Centra. In this section, you can see a list of incomplete orders.
History
Here you can see a history of all changes made to this customer card, as well as changes to any orders placed by this customer and the respective shipments and returns.
Email history
All emails sent to this customer are listed in this section. If you wish to see the content of each email, click on ‘Open’ on the item line of the email you are interested in, or anywhere on the row. Note that if you click on ‘Order’, you are redirected to the order linked to this email.
Login history
Here you can view logs of the login history of this customer. Available only if login is available on your website.
How to create a new customer
To create a Retail Customer in the backend, follow the steps below
-
Click 'Customers' under DIRECT TO CONSUMER in the main menu at the left
-
Click '+Create customer' in the upper-right corner and you are redirected to this view:
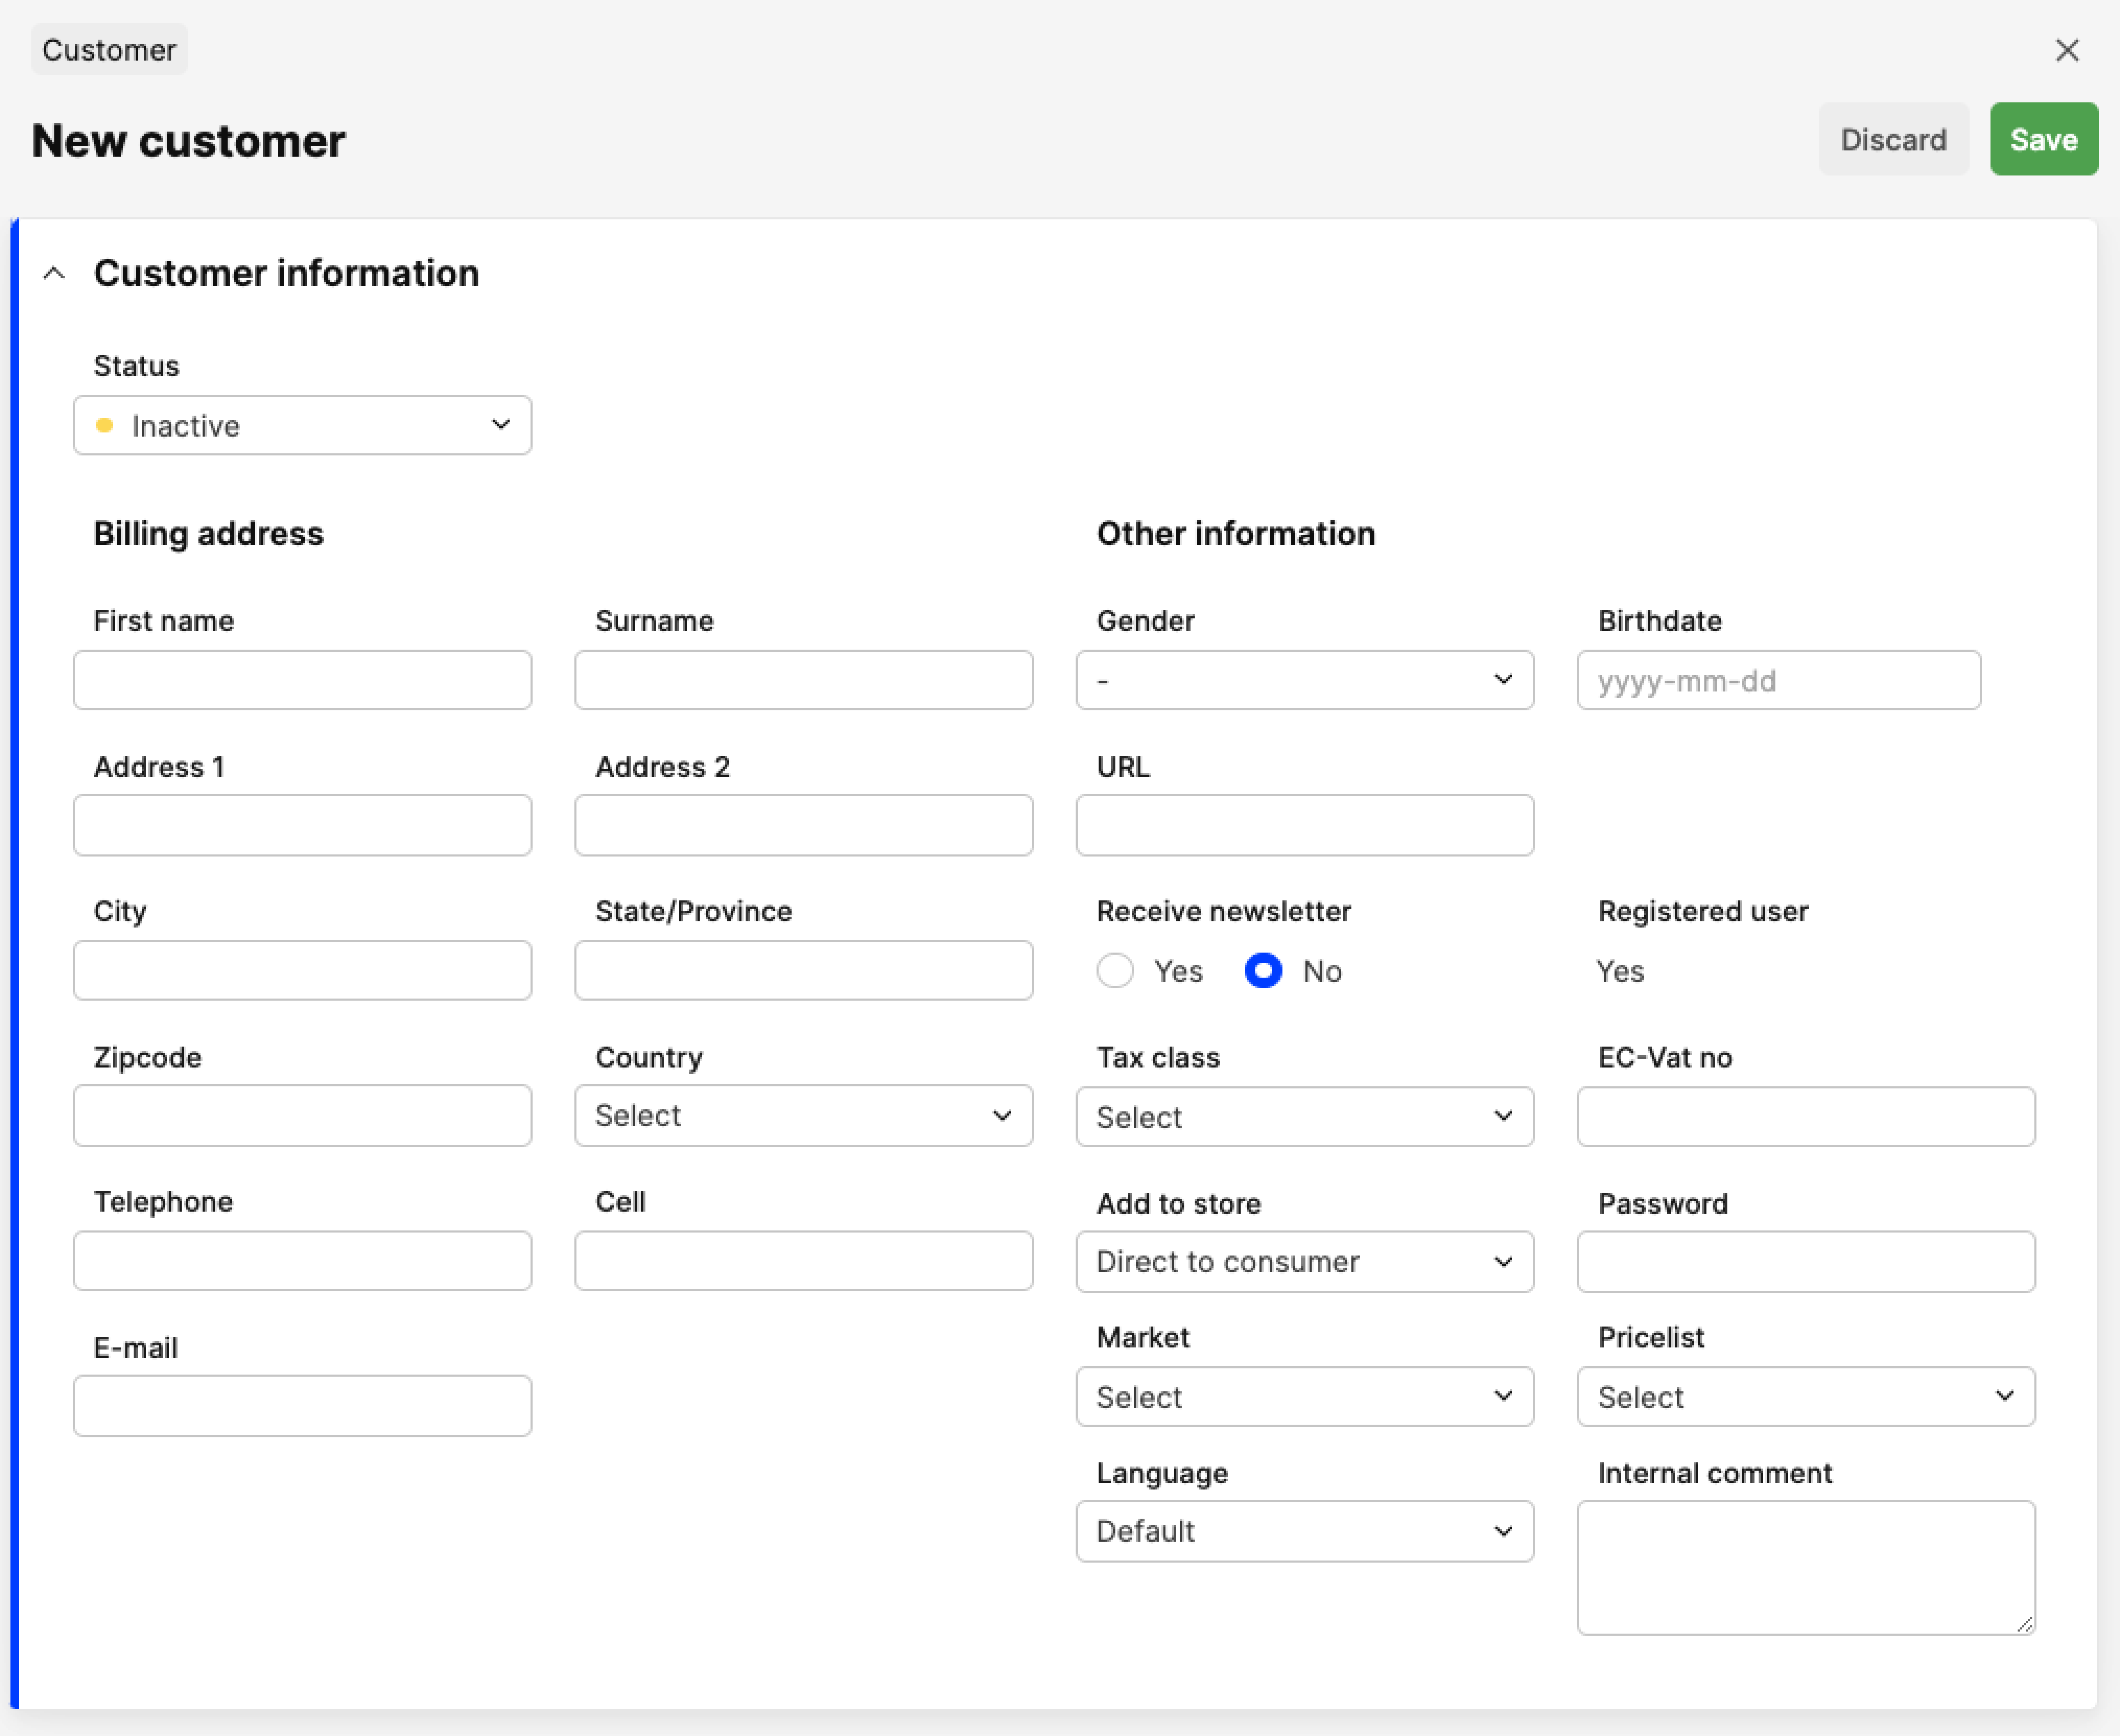
-
Enter the required information about the customer and make sure that the customer's status is 'Active'. All fields are explained above in the ‘Customer information’ section
-
Click 'Save' in the upper-right corner.